Double Pocket Bag
by Jenn Diercks
For a perfect treat for anyone, fill this easy-to-create bag with cards or cocoa - whatever you can fit!
Supplies
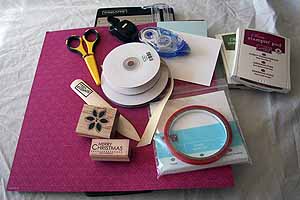
- Paper Trimmer with scoring blade
- 12" x 12" piece of patterned paper
- Sticky Strip
- Ribbon
- Horizontal Slot Punch
- Cardstock for decorating front
- Stamps
- Ink
- Scissors
- Bone Folder
- Adhesive
Step-by-Step
-
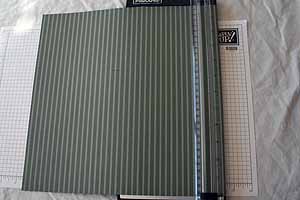
Step 1
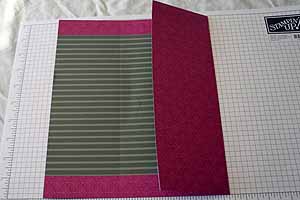
Lightly score the 12" X 12" patterned paper at 1" and 11".
-
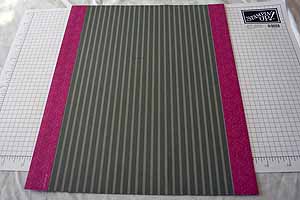
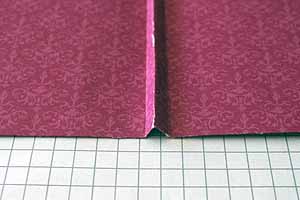
Step 2
Fold on score line and adhere, showing reverse side of paper.
-
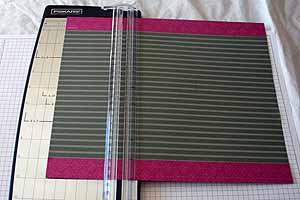
Step 3
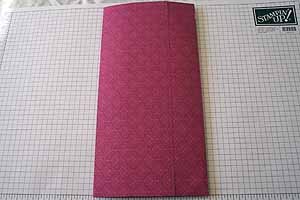
Rotate cardstock 90 degrees, then score the 12" side at 3 ½" and 8 ½".
-
Step 4
Fold on score lines.
-
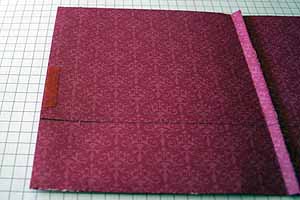
Step 5
Adhere the overlapping part to create a flat tube.
-
Step 6
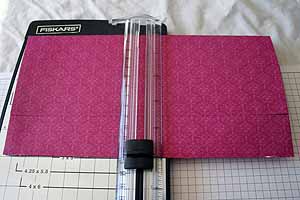
Score at 4 ¾", 5", and 5 ¼" as shown.
-
Step 7
Fold in half, burnishing folds with bone folder.
-
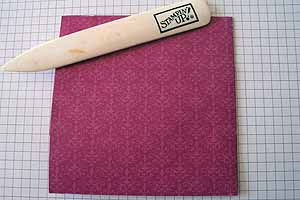
Step 8
Fold all score lines. The center score line will be folded up toward the center of the bag.
-
Step 9
Place a small amount of Sticky Strip at the center of the bag. Use only a small piece or the bag will not stand as well when finished.
-
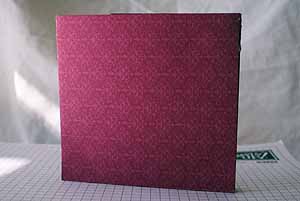
Step 10
Adhere bag together. It should stand freely at this point
-
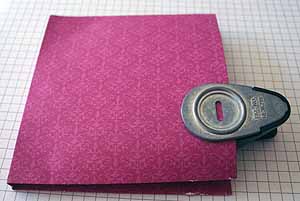
Step 11
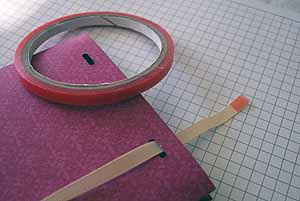
Using the horizontal slot punch, punch through just the top layer of folded paper. The punch rests inside of the pocket.
-
Step 12
Thread ribbon through the holes. Here, a small piece of Sticky Strip was used to adhere the ribbon to itself.
-
Step 13
Finish putting the ribbon onto the first side.
Flip the bag over and repeat steps 11 - 12 for the other side of the bag.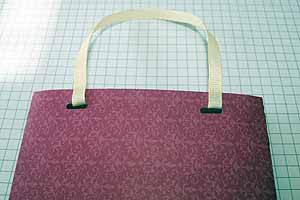
-
Step 14
Finish by decorating and embellishing the front of the bag.
The front of the bag measures 5" X 4 3/4" and the base is only about 1/2" thick.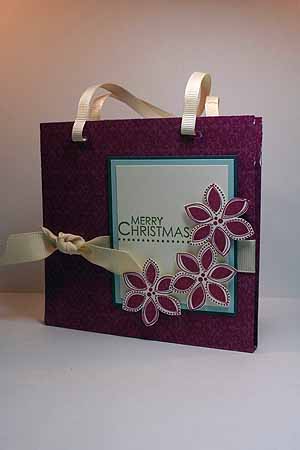
Video!
Your Turn
You've seen the tutorial, now you try it! We've got a section of the gallery set aside for Double Pocket Bag. Try this technique, then upload your artwork to the gallery. Show us your creations!
***Please note - Internet Explorer/Edge is not a supported browser, and will not allow you to see the videos. Please use Chrome, Firefox or Safari to view our tutorial videos.

Questions and Comments
We'd love to get your feedback or questions. Leave your comment below.
Thanks,
Katie
You need to put sticky strip to hold the two sides of the bag together, otherwise you will just have a tube of paper. This helps it to keep the shape of the bag and not unfold.
Katie
I have so many received cards which I will recycle and put these in the bags as gifts for my girlfriends
This is exactly why I need a computer in my craft room! TFS
Julie
Thanks,
Jogry
Page 1 of 3 pages 1 2 3 >