Distress Watercolor Dry Embossing
by Mel McCarthy
Combine dry embossing and watercoloring for a beautiful look.
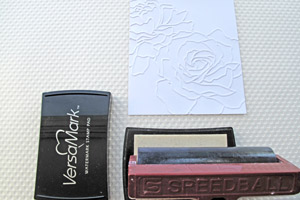
Supplies
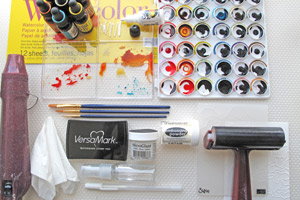
- Watercolor paper, 140lb cold press used here
- Embossing folder, Stampin' Up! Manhattan Flower used here
- Die Cutting Machine, Cuttlebug used here
- Rubber brayer
- Temporary adhesive
- Versamark Inkor another embossing ink
- Clear fine (or detail) embossing powder
- Heat gun
- Distress Ink refills and palette, or another coloring medium
- Paint brushes
- Spray bottle with water
- Double-sided tape
- Scor-Pal™
- White Pigment ink
- White Sakura Souffle gel pen
- Microglaze by Judikins
Step-by-Step
-
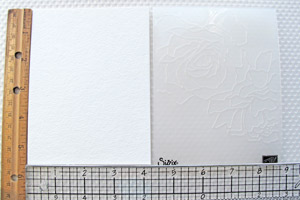
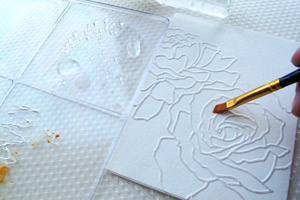
Step 1
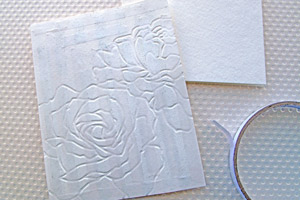
Cut a piece of watercolor paper to fit your embossing folder.
-
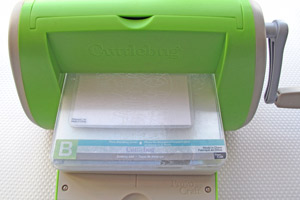
Step 2
Place the watercolor paper in an embossing folder and run it through your embossing machine. Make two or three passes for a deep impression.
-
Step 3
Add temporary adhesive to the back of the image and adhere it to a flat work surface.
-
Step 4
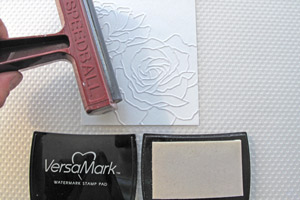
Cover a brayer in Versamark ink.
-
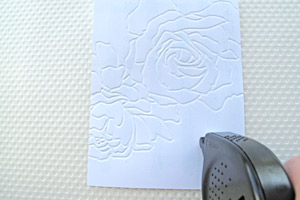
Step 5
Brayer the Versamark ink onto the raised areas of the embossed image.
-
Step 6
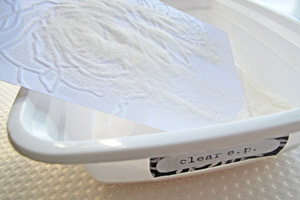
Cover the wet Versamark in with clear fine embossing powder.
-
Step 7
Brush off any areas of stray embossing powder from the negative (or un-raised) areas of the dry embossing.
-
Step 8
Heat the embossing powder with a heat gun to melt it.

-
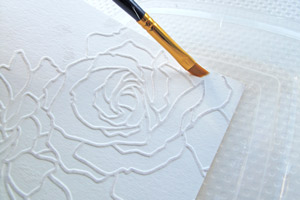
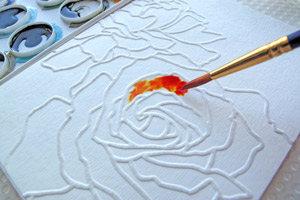
Step 9
Add color with distress ink, or another medium and a paint brush. Begin by wetting the watercolor paper liberally, so that the ink will bleed out and give a painterly look.
-
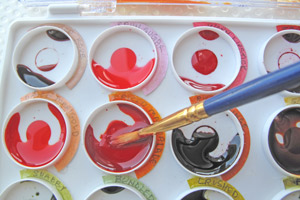
Step 10
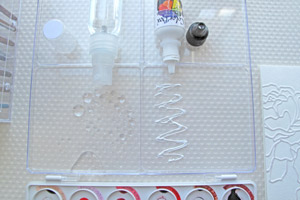
Add ink to the water. If there is enough water, the ink will spread out.
-
Step 11
To add bold sections of color dip straight into undiluted ink or paint.
-
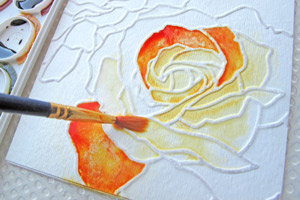
Step 12
To create areas that have softer shades add a wash of ink that is diluted with plenty of water.
-
Step 13
For a softer look you can add white pigment ink to your palette and mix it with water and ink.
-
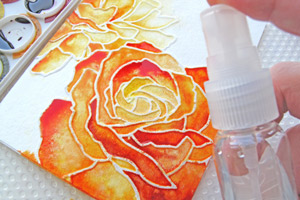
Step 14
Spray the paper with a fine mist of water to blend the ink. No need to worry about it if the ink bleeds out of the lines; it's part of that painterly look.
-
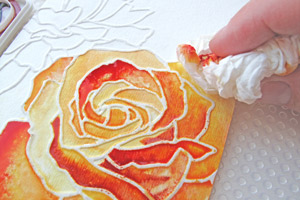
Step 15
Use a tissue or paper towel to remove any extra ink.
-
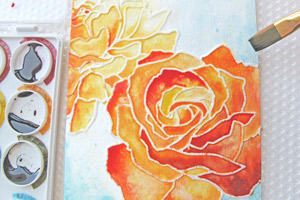
Step 16
Add a wash of a complimentary colour for a background.
-
Step 17
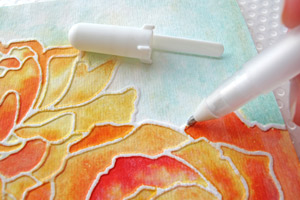
Use a Sakura Souffle pen to touch up any areas that you would like to be more white.
-
Step 18
Apply a thin layer of Microglaze to make the colors pop.

-
Step 19
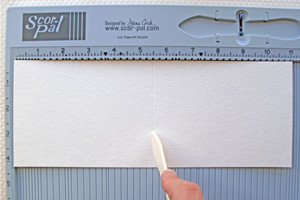
Score a card cut to fit the watercoloured panel.
-
Step 20
Adhere the panel to the card. Watercolor paper may warp a little, but with plenty of adhesive to the back of the embossed image it will lay nice and flat on the card.
-
Your card is finished.

Your Turn
You've seen the tutorial, now you try it! We've got a section of the gallery set aside for Distress Watercolor Dry Embossing. Try this technique, then upload your artwork to the gallery. Show us your creations!
***Please note - Internet Explorer/Edge is not a supported browser, and will not allow you to see the videos. Please use Chrome, Firefox or Safari to view our tutorial videos.

Questions and Comments
We'd love to get your feedback or questions. Leave your comment below.
I'm going to have a go making a card for my Aunt's 86th birthday in August. Such a pretty technique.
whoo hooo. not an ordinary one either, but one that screams to me: "heck with the house work, you gotta try this NOW" and, I think I will. thanks Mel.
Page 1 of 6 pages 1 2 3 > Last »