Digital Paper Piecing
by Tiffany Richards
Learn how to paper piece digital images.
Supplies
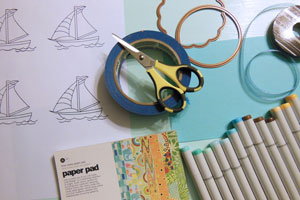
- Digital Image, Sailboat image from TiffanyDoodles used here
- Printer
- Copy paper
- Cardstock
- Patterned paper
- Removable tape
- Adhesive
- Scissors
Step-by-Step
-
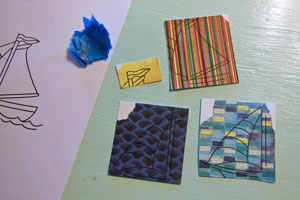
Step 1
Decide how many patterned papers will be needed for your design. For the sailboat 4 different papers were used, so 4 sailboats were printed onto a sheet of regular copy paper.
Be sure that each image is the same size.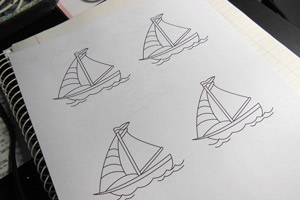
-
Step 2
Cut your chosen papers into pieces that will fit over the different sections of the image. Use removable tape to hold down all the corners.
Hint:
Make sure it is secured down well so that it doesn't get hung up in the printer.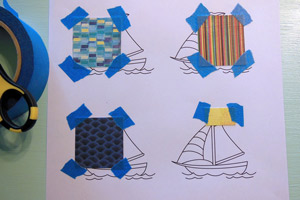
-
Step 3
Put the copy paper back into the printer (make sure it's facing the correct way) so that it prints over the patterned paper. Print the same sailboat images again.
Hint:
Pay attention to where you place the removable tape. If you notice on the first sailboat (light blue checkerboard paper) the top right piece of tape almost got too close to the the line of the sail. If it had gotten any closer I would have have to re-print that one. So when you are taping be sure not to tape over the piece that will be cut.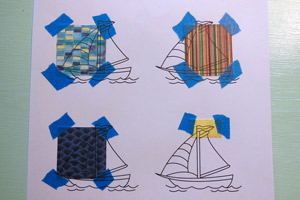
-
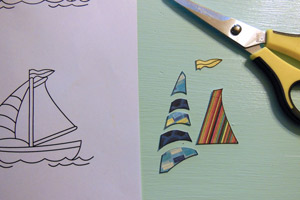
Step 4
Remove the paper pieces from the copy paper.
-
Step 5
Cut your pieces just outside of the print lines.
-
Step 6
Print your image one more time onto a piece of white cardstock. Make sure it is the same size as the others you printed.
Die cut around the image and color all the parts that don't get paper pieces. Assemble the card.
-
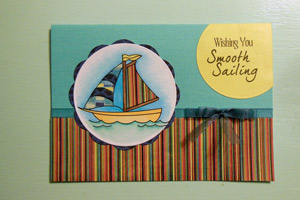
Step 7
Adhere the pieced paper pieces over the image printed on cardstock to finish your card.
Your Turn
You've seen the tutorial, now you try it! We've got a section of the gallery set aside for Digital Paper Piecing. Try this technique, then upload your artwork to the gallery. Show us your creations!
***Please note - Internet Explorer/Edge is not a supported browser, and will not allow you to see the videos. Please use Chrome, Firefox or Safari to view our tutorial videos.

Questions and Comments
We'd love to get your feedback or questions. Leave your comment below.
Ann
Love the card and such good info. Thanks
Page 1 of 2 pages 1 2 >