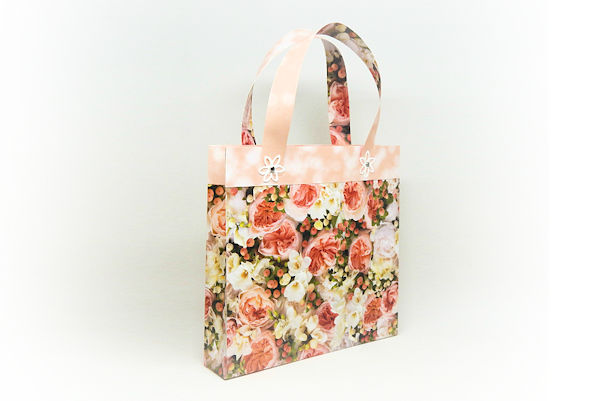
Designer Paper Gift Bag
by Kelly Acheson
Make a gift bag out of scrapbook paper.
Supplies
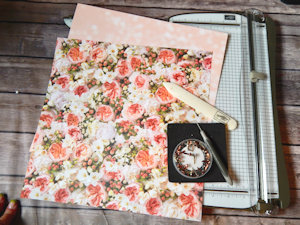
- Cardstock (Stampin’ Up!® Petal Promenade Designer Series Paper)
- Adhesive (Tombow Multipurpose Liquid Glue used here)
- Scissors
- Paper trimmer
- Other supplies as needed to complete the project: (Stampin’ Up! supplies used here: Springtime Impressions Thinlits Dies, Metallic Brads, Paper Piercing Tool, Bone Folder, Piercing Mat)
Step-by-Step
-
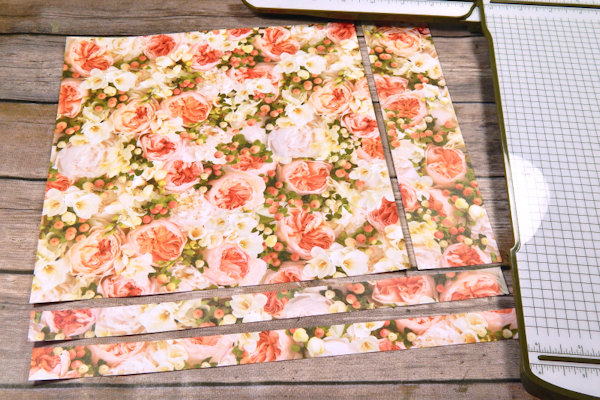
Step 1
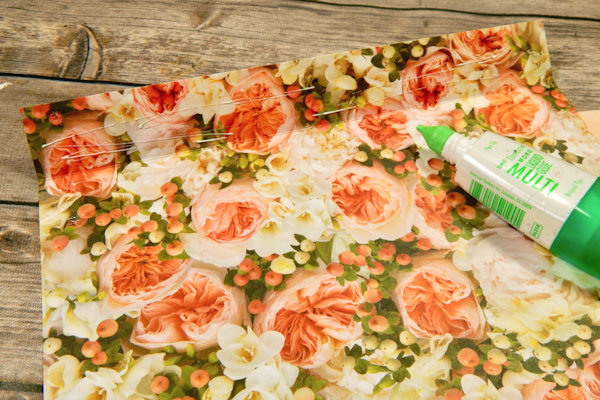
Select 2 sheets of 12" x 12" patterned paper.
From one piece, cut two pieces at 3/4" x 12" for the handles. Trim the remaining section to 9 3/4" x 9 3/4" square. Cut the second piece of paper to 9 3/4" x 9 3/4" - you will need two pieces this size. -
Step 2
Score both pieces of paper 1 1/4" from the top and bottom.
Turn and score the left side of each piece at 1/2", 1 1/4" and 2".
Cut as shown on the bottom only, and trim off the outside tab. -
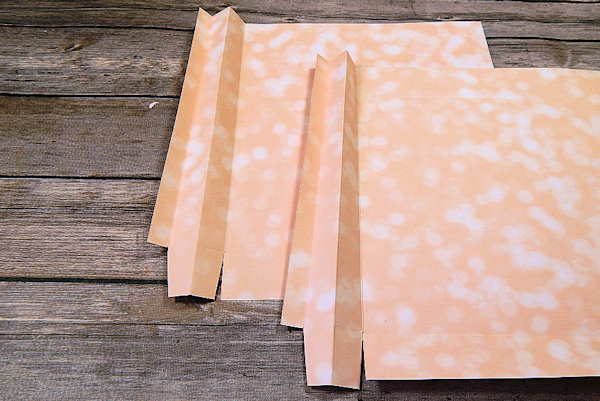
Step 3
Fold the top of each layer down at the 1 1/4" score line and glue in place.
-
-
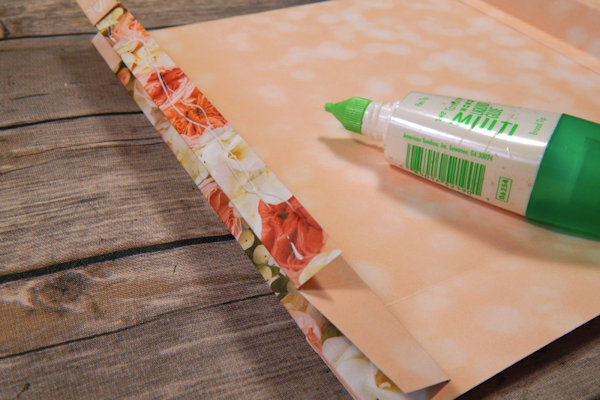
Step 4
Add glue to the 1/2" tab on each piece and glue the bag together.
-
Step 5
Fold the bottom side tabs in and secure with a little glue. Glue long panels.
-
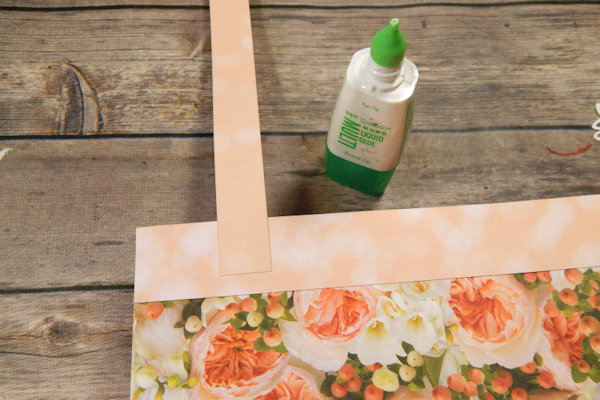
Step 6
Glue the handles to the bag.
-
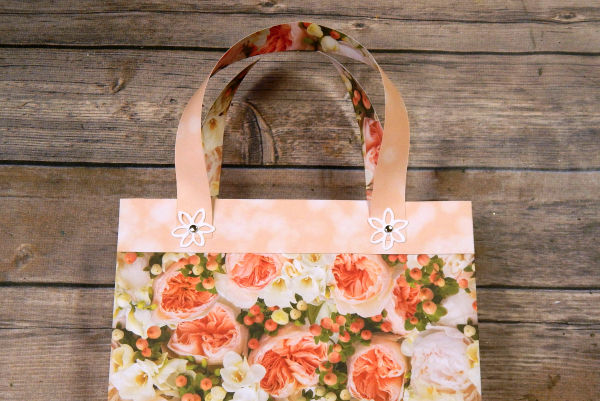
Step 7
Add a flower and brad to the end of each handle to secure them in place.
-
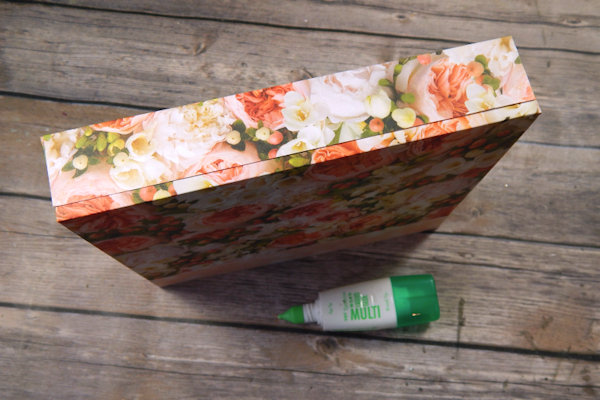
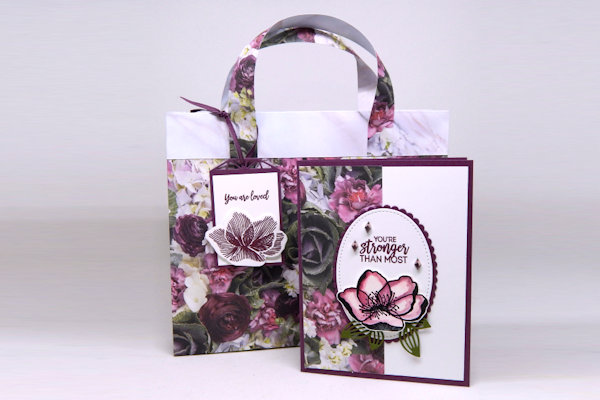
Step 8
Complete the project.

Video!
Your Turn
You've seen the tutorial, now you try it! We've got a section of the gallery set aside for Designer Paper Gift Bag. Try this technique, then upload your artwork to the gallery. Show us your creations!
***Please note - Internet Explorer/Edge is not a supported browser, and will not allow you to see the videos. Please use Chrome, Firefox or Safari to view our tutorial videos.

Questions and Comments
We'd love to get your feedback or questions. Leave your comment below.
Page 1 of 1 pages