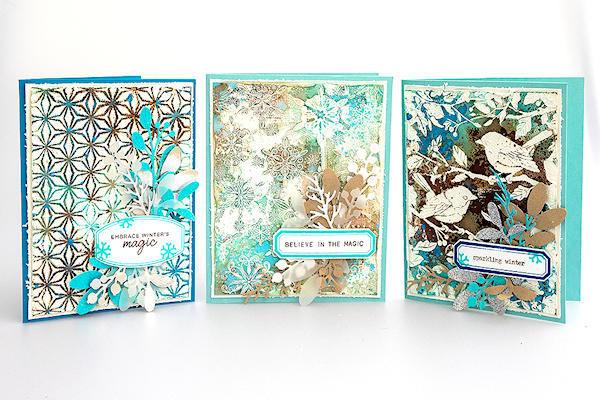
Debossed Inky Resist
by Anna-Karin Evaldsson
Combine debossing with heat embossing for a different background each time.
Supplies
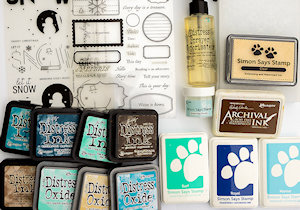
- Watercolor paper (Canson Montval Cold Pressed Watercolor Paper used here)
- Embossing folder (Simon Says Stamp Scandinavian Christmas used here)
- Embossing powder - clear or white (Simon Says Stamp White Detail Powder used here)
- Embossing ink (Simon Says Stamp Clear Embossing and Watermark Ink used here)
- Heat tool
- Die cutting machine
- Non-stick craft sheet
- Distress and Distress Oxide inks (or other water-based inks - Ranger Tim Holtz Distress Ink: Salvaged Patina, Mermaid Lagoon, Uncharted Mariner, Frayed Burlap, Ground Espresso; Ranger Tim Holtz Distress Oxide Ink: Antique Linen, Salvaged Patina, Mermaid Lagoon used here)
- Other supplies as needed to complete the project (used for samples here: Stamps - Simon Says Stamp: Mixed Labels, Let It Snow; Stamper’s Anonymous Tim Holtz Tiny Text Christmas. Ink - Simon Says Stamp Pawsitively Saturated Ink: Surf, Marine, Royal; Ranger Archival Ink: Potting Soil. Embossing folders: Simon Says Stamp: Filigree Snowflakes, Kaleidoscope, Lumen, Friendly Birds; Papers: Vellum, Glimmer Cardstock, Aqua and Silver Glitter Cardstock, Sea Glass Cardstock, Island Blue Cardstock, White Cardstock; Neenah: Solar White, Desert Storm. Die – Simon Says Stamp: Mixed Labels, Budding Branches, Berry Stems; Foam tape)
Step-by-Step
-
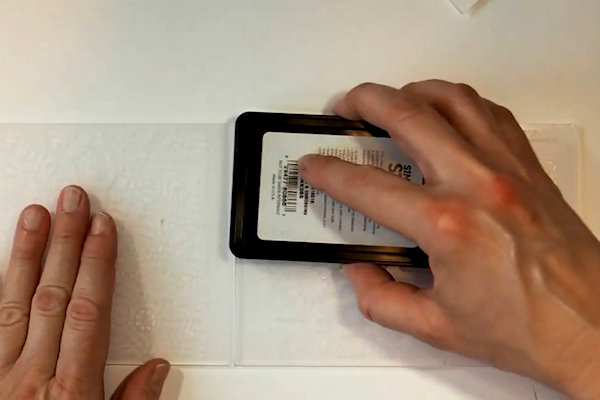
Step 1
Apply embossing ink to the embossing folder by carefully dragging or dabbing the ink pad across the design. The ink should go on the side of embossing folder which will make a debossed pattern in (press into) the paper.
-
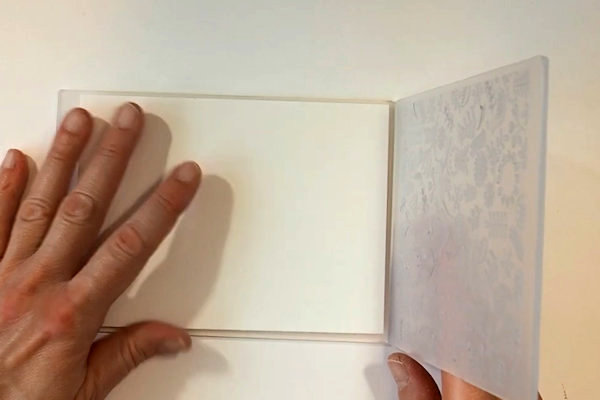
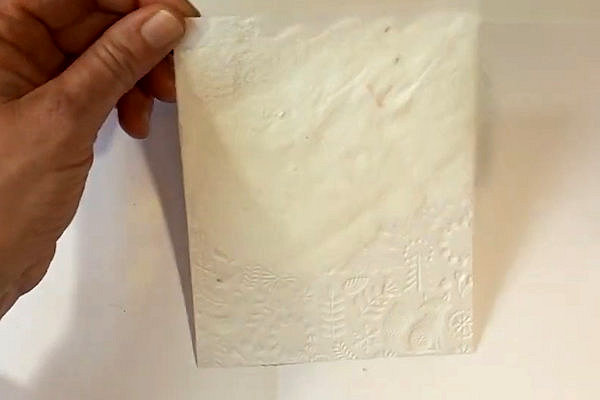
Step 2
Place watercolor paper in the folder and emboss.
-
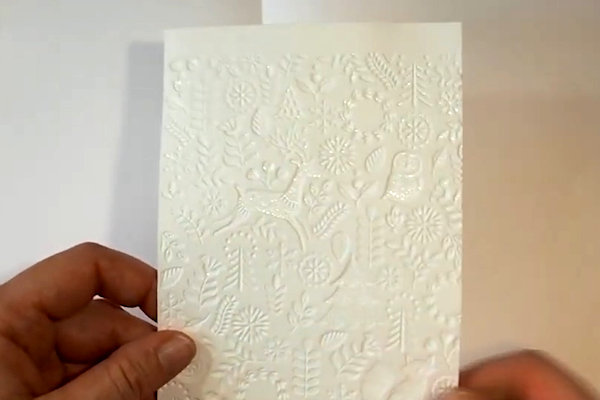
Step 3
Cover with clear or white embossing powder and melt with a heat tool.
NOTE:
Always be careful when using a heat tool and don’t touch the melted powder until it has cooled down completely. -
-
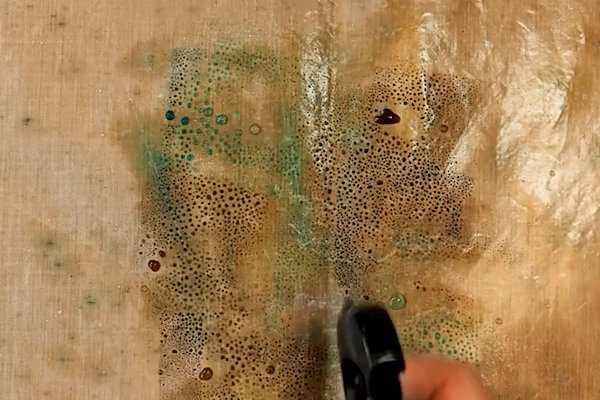
Step 4
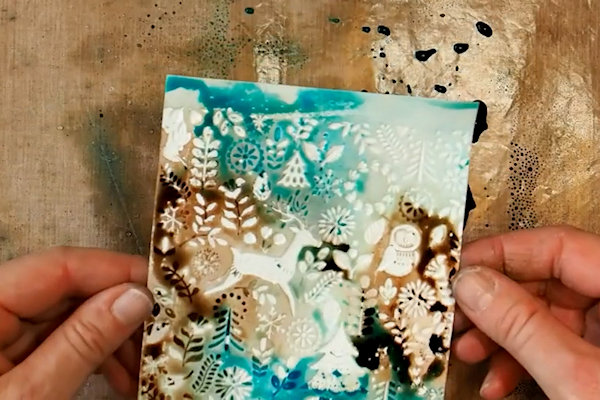
Smear Distress Inks on a non-stick craft sheet, mist with water and press the paper into the ink. The embossing will resist the ink.
-
-
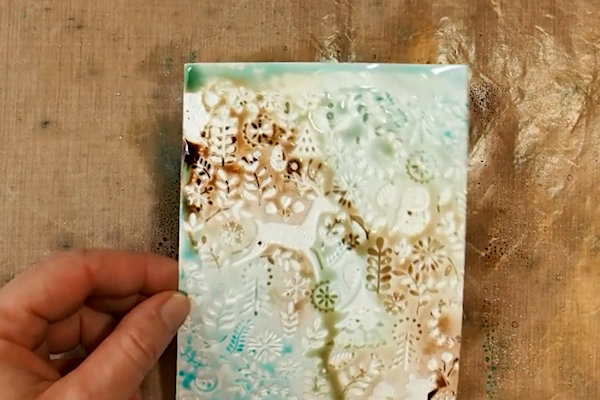
Step 5
Let dry and repeat step 4 to get darker colors and more texture.
-
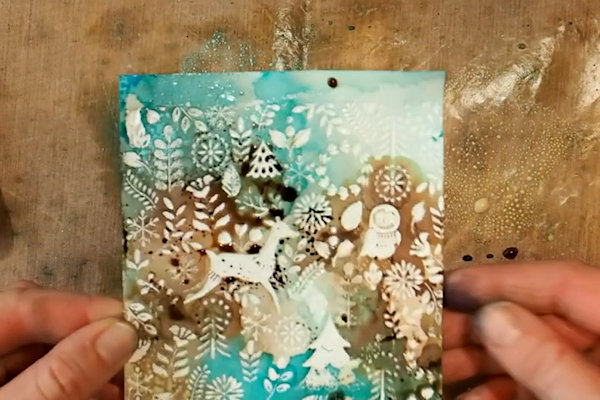
Step 6
When the paper is dry, apply Distress Oxide Inks and Ground Espresso Distress Ink on a non-stick craft sheet. Mist with water and just lightly touch the paper to the ink here and there.
Distress the edges of the watercolor paper if desired. -
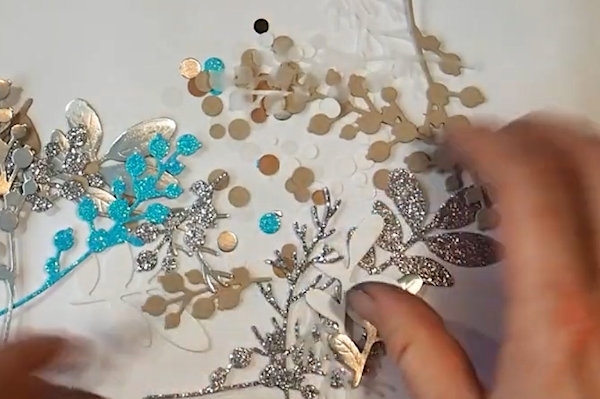
Step 7
Embellish card as desired. For the sample, Labels were stamped on white paper and die cut. The card was embellished with die cut foliage and berries from a mix of vellum, kraft, glitter and glimmer papers.
-
Step 8
Complete the project.
Video!
Your Turn
You've seen the tutorial, now you try it! We've got a section of the gallery set aside for Debossed Inky Resist. Try this technique, then upload your artwork to the gallery. Show us your creations!
***Please note - Internet Explorer/Edge is not a supported browser, and will not allow you to see the videos. Please use Chrome, Firefox or Safari to view our tutorial videos.

Questions and Comments
We'd love to get your feedback or questions. Leave your comment below.
Page 1 of 1 pages