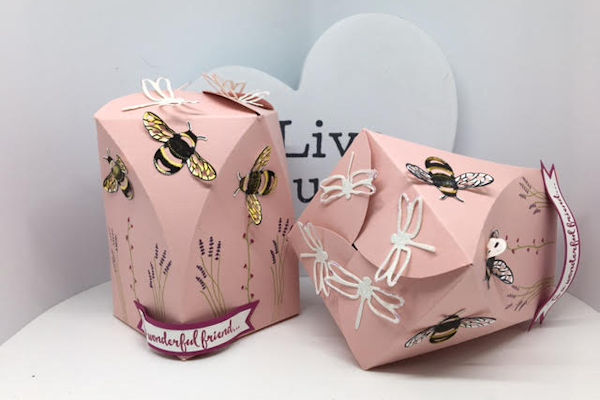
Curve-Sided Box
by Heidi Smith
Create a box with arched sides to hold a small bottle or other favor.
Supplies
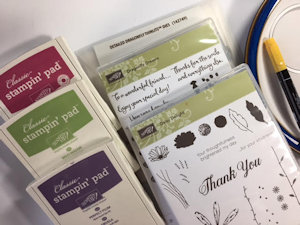
- Cardstock (Stampin’ Up!® Blushing Bride used here)
- Paper trimmer
- Scoring tool
- Adhesive (red liner tape and Tombow Mono Multipurpose Liquid Glue used here)
- Scissors
- 2 3/4" (7 cm) cut circle or die (Layering Circles die used here)
- 10 1/2" (26.5 cm) plate
- Other supplies as needed to complete the project: (Stampin’ Up products used here: Blushing Bride, Whisper White, and Berry Burst Cardstock and Dazzling Diamonds Glimmer Cardstock; Memento Black, Crushed Curry, Berry Burst and Wild Wasabi inks; Dragonfly Dreams stamp set; Layering Circle dies and Detailed Dragonfly Thinlits)
Step-by-Step
-
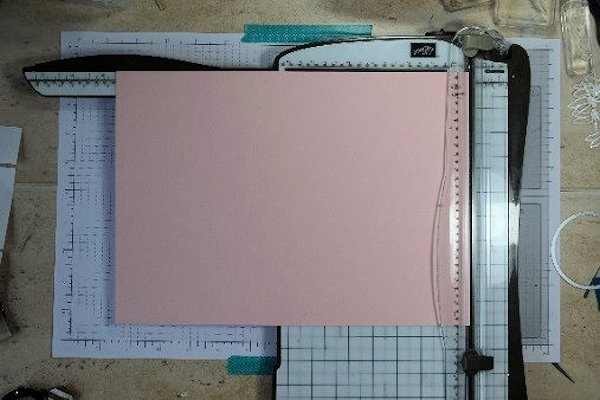
Step 1
Cut cardstock to 8 1/4" x 11 1/2" (29.5 x 21 cm).
-
Step 2
Score along the short edge at 1 3/8” and 5 1/2" (3.5 and 14 cm).
Turn the cardstock. Score along the long edge to the first horizontal score line only at 1 1/4", 4”, 6 3/4", and 9 1/2". At 11" score all the way to the bottom (3.5, 10.5, 17.5, 24.5 cm; 28 cm).
Turn the cardstock so that the short section is at the top. Score to the first score line only at 3 1/4", 6, and 8 3/4" (8.5, 15.5, and 22.5 cm). -
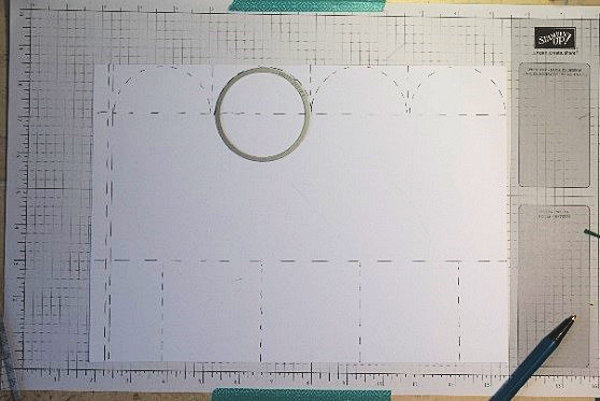
Step 3
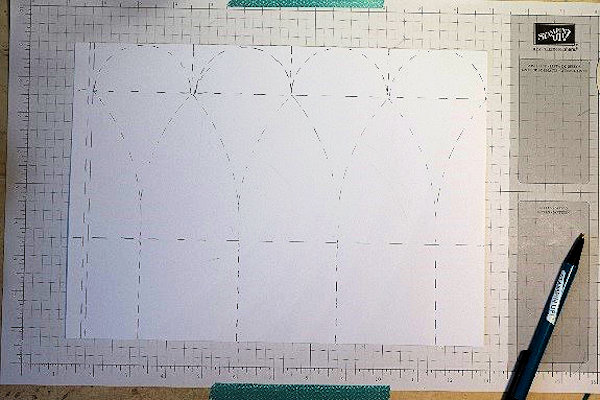
With the short scored section at the top, place a 2 3/4" (7 cm) circle or die between the score lines so that it just touches the top edge. Trace around the outer edge with a stylus.
Repeat four times. -
Step 4
Use a 10 1/2" (26.5 cm) diameter plate and score from between each of the semi circles to the intersecting score lines below.
Repeat. -
Step 5
Trim the semi circles using scissors.
Stamp a design across the middle section. -
Step 6
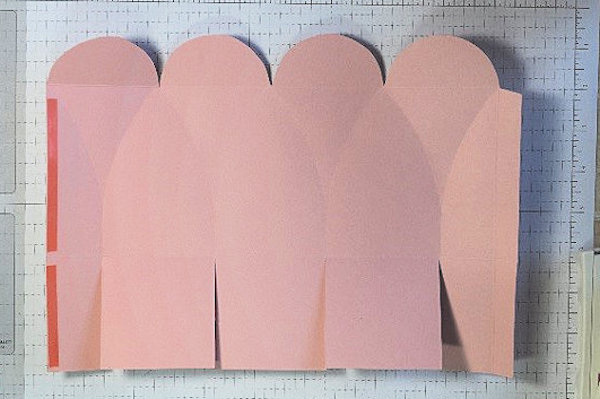
Fold and burnish all straight score lines. Cut up to the score line on the bottom section.
Add adhesive tape to the side and to three of the base panels.
You should now have a piece of cardstock that looks like this. -
Step 7
Fold the base into a box shape, then adhere the side.
-
Step 8
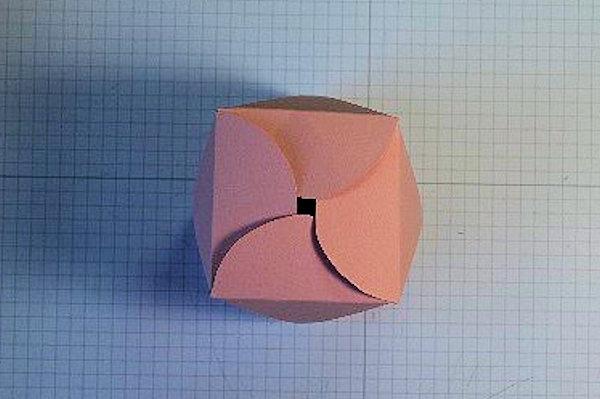
Close the bottom of the box, folding the tabs in.
-
Step 9
Fold in the four semi circles to close the box top.
-
Step 10
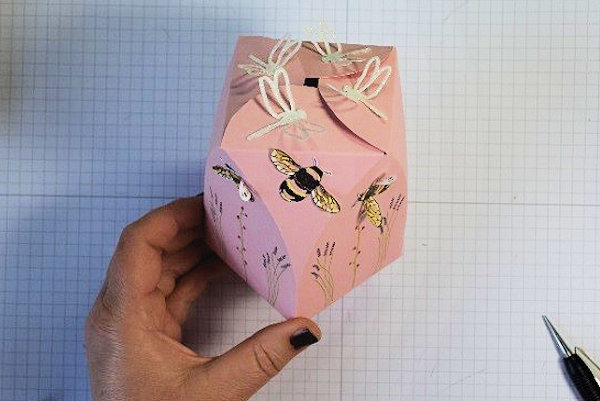
Embellish the box as desired.
-
Step 11
Complete the project.


Video!
Your Turn
You've seen the tutorial, now you try it! We've got a section of the gallery set aside for Curve-Sided Box. Try this technique, then upload your artwork to the gallery. Show us your creations!
***Please note - Internet Explorer/Edge is not a supported browser, and will not allow you to see the videos. Please use Chrome, Firefox or Safari to view our tutorial videos.

Questions and Comments
We'd love to get your feedback or questions. Leave your comment below.
Page 1 of 1 pages