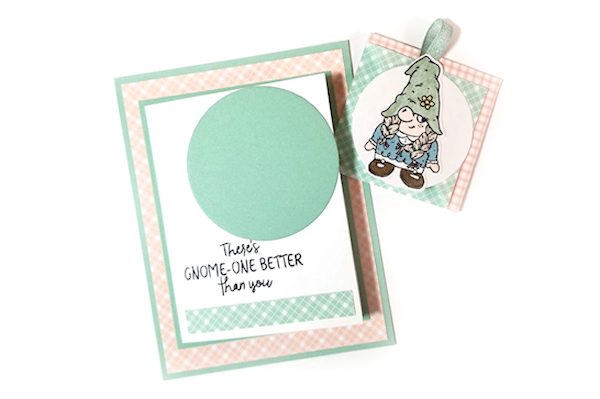
Corner Bookmark Card
by Twila Davis
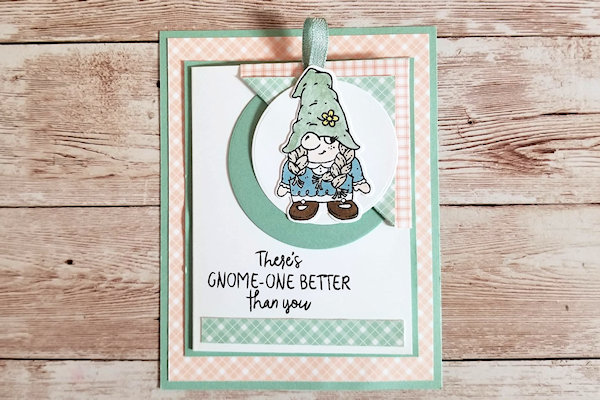
This card features a removable corner bookmark as a keepsake.
Supplies

- Cardstock (Stampin’ Up!® Mint, Macaron, Basic White cardstock used here)
- Coordinating double-sided paper (SU Country Gingham Designer Series Paper used here)
- Paper trimmer w/ scoring blade
- Adhesive (Stampin’ Seal used here)
- Circle dies or punches (SU Layering Circle Dies used here)
- Other supplies as needed to complete the project (SU supplies used here: Friendly Gnomes Stamp Set, Gnome Dies, Clear Blocks, Tuxedo Black Memento Ink, Stampin’ Blends, Mint Macaron Ribbon, Scissors)
Step-by-Step
-
Step 1
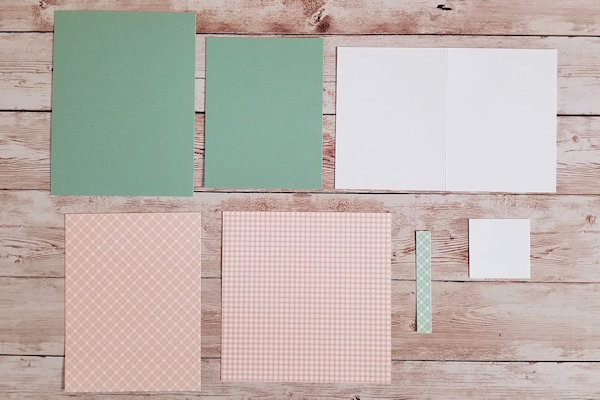
Cut the following
For card base: 5 1/2" x 4 1/4”, 4 1/2” x 3 1/2”
White: 6 1/2” x 4 1/4" scored at 3 1/4” on the long side, 1 3/4” x 1 3/4”
Patterned paper: 5 1/4” x 4”, coordinating papers 5” x 5”, 3” x 7/16” -
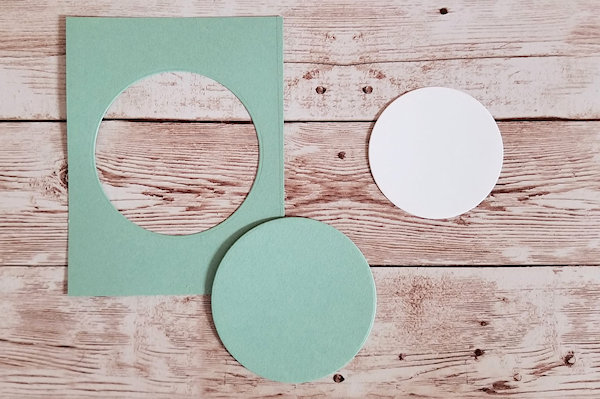
Step 2
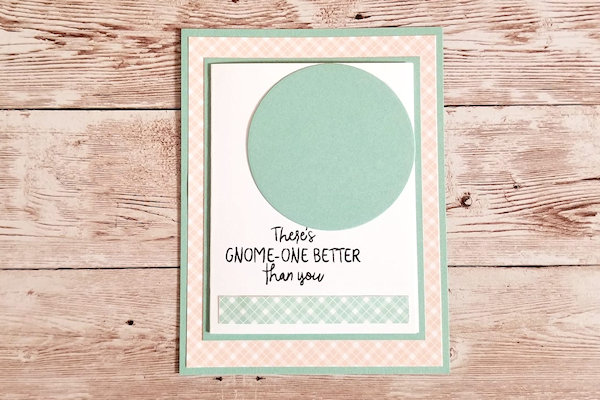
Die cut or punch out a 2 3/4” circle from the middle of the 4 1/2” x 3 1/2” card base, as well as a white 2 1/4” circle.
-
Step 3
Stamp a greeting on the front of the 6 1/2” x 4 1/4” white piece using the small long strip of pattern paper as a guide for placement.
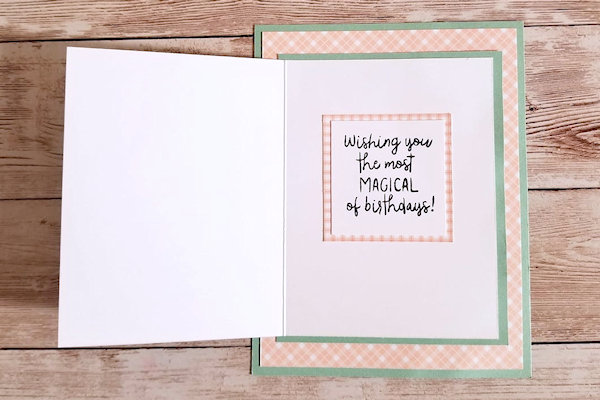
Stamp an inside sentiment on the small white square. Stamp image; color and cut out. -
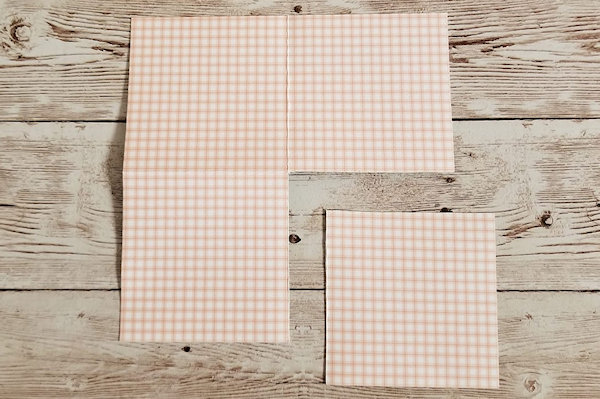
Step 4
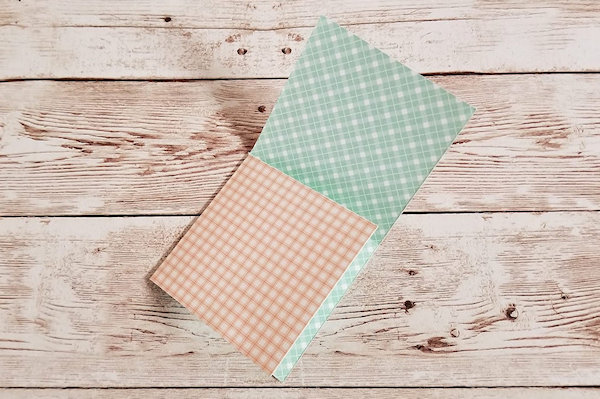
Fold the 5” x 5” piece of patterned paper in half, then open up and fold in half the other way.
Trim away one of the squares. Cut that square down to 2” x 2”. -
Step 5
Fold one flap over. Add adhesive to the top of it and fold the remaining flap over. This makes the bookmark.
-
Step 6
Flip the bookmark over and fold the flap back so that some of the coordinating side shows a little. Cut a 3 1/2” piece of ribbon and adhere it between the flap and book mark, adding more adhesive to keep that top flap closed. Layer the white circle and your image to the bookmark
-
Step 7
Layer the card pieces as shown. On the inside, layer the small stamped white square onto the larger patterned paper square.
-
-
Step 8
Slide the bookmark over the top right corner of the card front and your project is now complete.


Video!
Your Turn
You've seen the tutorial, now you try it! We've got a section of the gallery set aside for Corner Bookmark Card. Try this technique, then upload your artwork to the gallery. Show us your creations!
***Please note - Internet Explorer/Edge is not a supported browser, and will not allow you to see the videos. Please use Chrome, Firefox or Safari to view our tutorial videos.

Questions and Comments
We'd love to get your feedback or questions. Leave your comment below.
Page 1 of 1 pages