Concertina Fold Card
by Cherie Franklin
Create a unique card fold.
Supplies

- Two 5 1/2" x 8 1/2" pieces of cardstock for accordion part
- One 5 1/2" x 4 1/4" of cardstock for base back of card
- Sticky Strip or other strong adhesive
- Decorative Edgelit die or Decorative Border Punch
- Scoring Tool
- Ruler
- Paper Trimmer
- Extra Cardstock for Stamping and tracing
- Ink, Stamps and Punches
- Patterned Paper
Step-by-Step
-
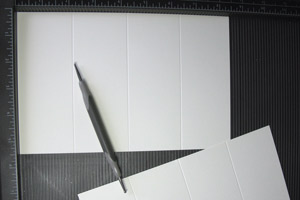
Step 1
Score both 5 1/2" x 8 1/2" pieces of cardstock at 2 1/8", 4 1/4" and 6 3/8" across the long side. Each piece should have three score lines evenly spaced at every 2 1/8".
-
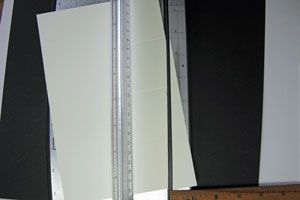
Step 2
Place the first score line on the edge of the cutting channel of your paper trimmer and extend the end of the cardstock past the cutting channel 1" and cut at that angle. Do this on both scored pieces.
-
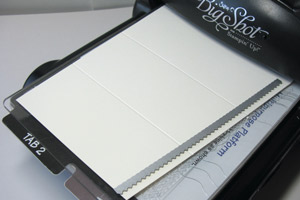
Step 3 (Optional)
Use an Edgelit or border punch along the cut angled sides of both pieces of scored cardstock. Start at the shorter angled end and work up towards the un-trimmed straight section.
-

-
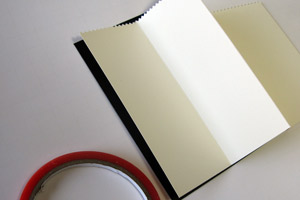
Step 4
Fold along the scored lines starting with a valley fold at the tallest section then mountain fold for the next score line ending with valley fold. Do it the same on both pieces.

-
Step 5
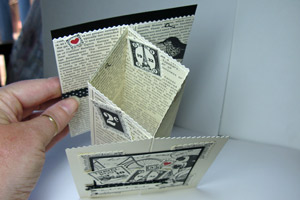
Adhere one accordion folded piece to the 5 1/2" x 4 1/4" panel using Sticky Strip, lining up the bottom and side with the outer edges. Make sure the fold is in the middle on the panel. Do the same for the other side, butting the second folded edge up against the first one in the middle with no gaps.
-
Note:
The card should now be free standing with the front parts loose.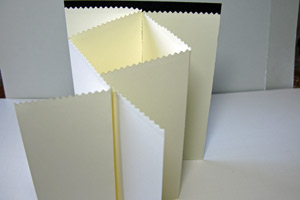
-
Step 6
Create section tracing Guides for cutting patterned paper to fit in the different sections by using a piece of scratch cardstock, repeat steps one and two then cut apart at score lines and trim to fit. (These can be saved for multiple uses.)
When flipped over they will serve as a tracing guide for the opposite sections as well.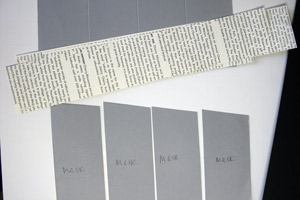
-
Step 7
Cut strips of patterned paper 2" wide and use the tracing guides to mark and cut the strips to fit in the sections.

-
Step 8
Do any stamping on these sections at this point.
-
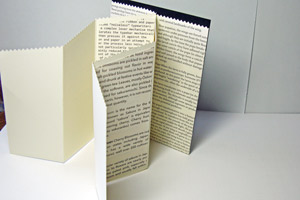
Step 9
Adhere patterned paper to the different sections.
-
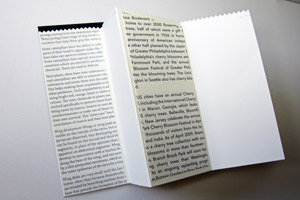
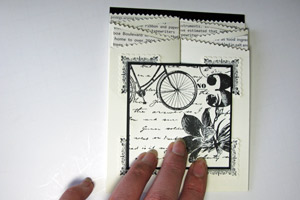
Step 10
Fold layers flat, position focal point image in the center of both top sections and adhere. This is what unites both sections together and makes it functional as an accordion card. Embellish with ribbon, stamps and punches.
-
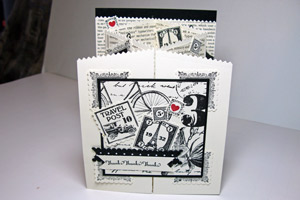
Step 11
Your concertina fold card is finished.
-
Video!
Variations
-
Try a different angle
Instead of lining your cardstock up at 1" at step 2, try 1 1/2", 2" or even a higher number for a deeper slant.
In this sample the cardstock was lined up at 2" before cutting.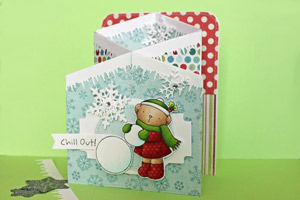
Your Turn
You've seen the tutorial, now you try it! We've got a section of the gallery set aside for Concertina Fold Card. Try this technique, then upload your artwork to the gallery. Show us your creations!
***Please note - Internet Explorer/Edge is not a supported browser, and will not allow you to see the videos. Please use Chrome, Firefox or Safari to view our tutorial videos.

Questions and Comments
We'd love to get your feedback or questions. Leave your comment below.
Nancy
Just use happy patterned paper and either a birthday sentiment and/or birthday image on front.
I always list all supplies that I used in my gallery uploads. The My Mind's Eye paper I used is from the Winter Wonderland 6" x 6" paper pack.
I am sorry! Cherie didn't answer any of my emails for about 6 weeks now. She hasn't blogged or posted here either. I hope she is not sick. But no, we don't have a supply list!
The bicycle postage stamp is from a Stampin' Up! set called Postage Due.
You can write it on the back of the card.
You can also use a 4 1/4" x 11" piece of cardstock, folded in half to tape the two sides down. This way you have a card inside to write on.
Page 1 of 1 pages