Color Blocking with Cardstock
by Beate Johns
Turn your paper scraps into a fun background.
Supplies
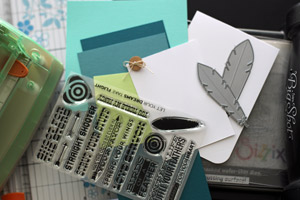
- Colored Cardstock, Bazill cardstock used here
- Thin Cardstock for background base
- Adhesive, Xyron 5" Creative Station and Scor-Tape used here
- Paper Trimmer
- Dies, My Favorite Things Feathers and Arrows used here
- Stamps, My Favorite Things Right on Target stamp set used here
Step-by-Step
-
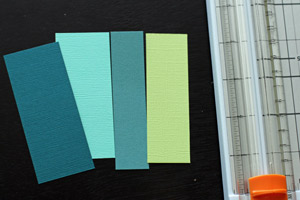
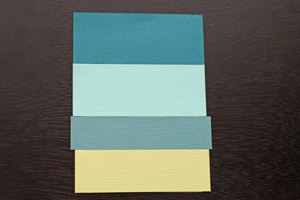
Step 1
Cut your colored cardstock in different size strips.
-
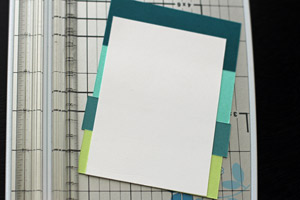
Step 2
Cut a piece of thin cardstock down to the size you want your background to be. Cover with adhesive.
Alternative:
Add adhesive to the back of your cardstock strips.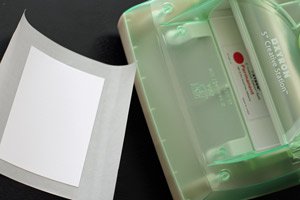
-
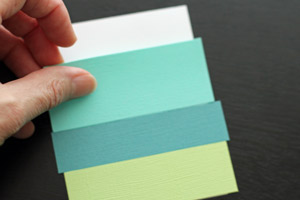
Step 3
Adhere your strips over your thin cardstock base.
-
-
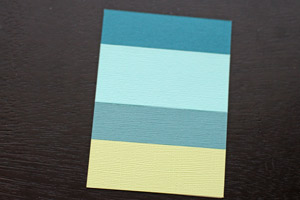
Step 4
Flip background over and trim paper strips down to the side of your thin cardstock layer.
-
-
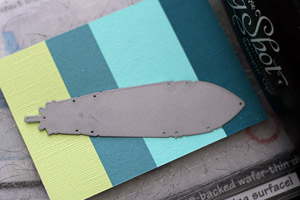
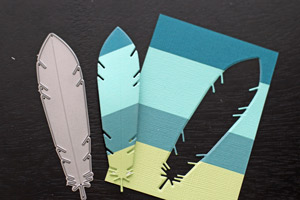
Step 5
Use die to cut part of your background out.
-
Step 6
You can now use the negative cut (as shown in this tutorial), or the die cut itself for your project.
-
Sample created with die cut from background.

-
Step 7
Adhere your background to your card base.
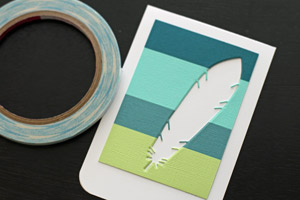
-
Optional:
You can place a die cut of different color into the space you cut.
-
Step 8
Finish your card.

Video!
Variations
-
Emboss it!
For a different look follow all steps until Step 4. Stamp your image in Embossing ink, then emboss with white or black embossing powder.
Mix it up
Adhere your cardstock in horizontal and vertical layers.
Use Ink
Instead of creating a color block look with cardstock, use your inks. Try these tutorials:
- Stamped Acrylic Block Background
- Direct To Paper (DTP)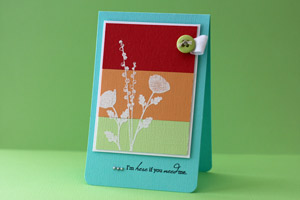
Your Turn
You've seen the tutorial, now you try it! We've got a section of the gallery set aside for Color Blocking with Cardstock. Try this technique, then upload your artwork to the gallery. Show us your creations!
***Please note - Internet Explorer/Edge is not a supported browser, and will not allow you to see the videos. Please use Chrome, Firefox or Safari to view our tutorial videos.
Questions and Comments
We'd love to get your feedback or questions. Leave your comment below.
Smiles, Laura
Page 1 of 2 pages 1 2 >