Chipboard Calendar
by Beate Johns
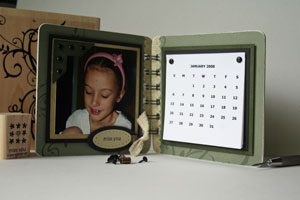
Create a small desk calendar with two coasters. They make great gifts.
Supplies
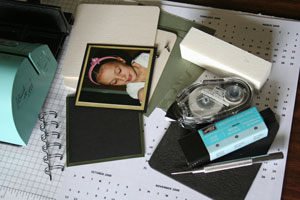
- Two 4" square Coasters
- Four 4" squares of Patterned Paper
- Glue Stick
- Tape adhesive
- Brads
- Paper Piercing tool
- Binding machine (Bind-It-All™ Machine used here)
- Binding wire (7/16" wire used here)
- Calendar pages
- Additional cardstock
- Paper Cutter
Step-by-Step
-
Step 1
Print out your calendar pages and cut them in equal pieces.
I printed mine out at redcastle. I set my template to a 2 3/4" square and used Tahoma Small Cap font. I cut the pages into 2 3/4" squares.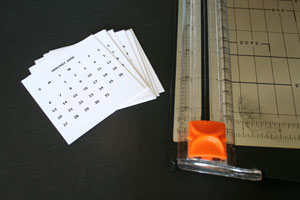
-
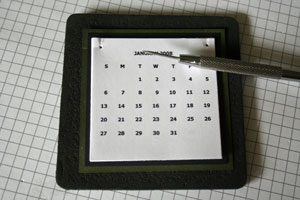
Step 2
Line the pages up on top of each other, center it over additional cardstock layers (I used a 3" black cardstock and 3 1/4" sponge Always Artichoke cardstock squares.) and use your paper piercer to add two holes on the top two corners.
-
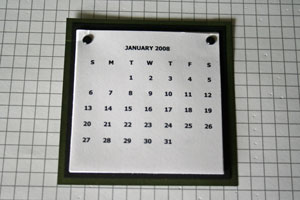
Step 3
Secure your calendar pages with brads to your cardstock layers.
-
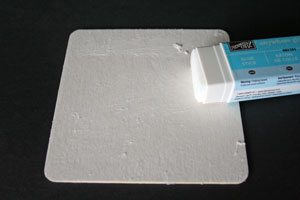
Step 4
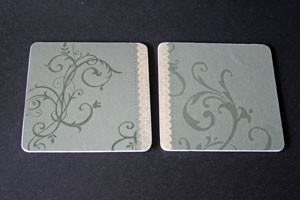
Apply glue all over your chipboard coaster.
-
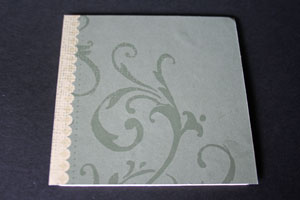
Step 5
Adhere one of your patterned paper pieces to your coaster.
-
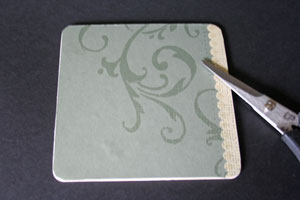
Step 6
Clip the corners of the patterned paper around the coaster.
-
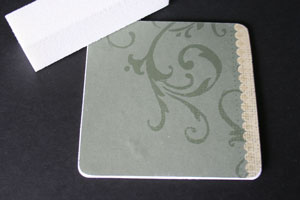
Step 7 (Optional)
Sand the edges of the paper with a sanding block.
-
Step 8
Adhere patterned paper to the second coaster as well as to the back side of both coasters.
-
Step 9
Punch binding holes in both coasters with your Binding Machine.
Alternative:
You can also use a Crop-a-dile to make the holes.
-
Step 10
Insert wire through binding holes and close it.
Alternative:
Use ribbon or binding rings to connect the coasters together.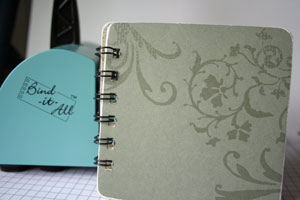
-
Step 11
Tape the calendar to one side, decorate the other page with a stamped image or photo.
Variations
Use only one coaster and add magnets to the back to make a calendar to put on the fridge.
Use one coaster for each month and bind them together with bigger wire.
You can buy preprinted calendars at vippies.
Your Turn
You've seen the tutorial, now you try it! We've got a section of the gallery set aside for Chipboard Calendar. Try this technique, then upload your artwork to the gallery. Show us your creations!
***Please note - Internet Explorer/Edge is not a supported browser, and will not allow you to see the videos. Please use Chrome, Firefox or Safari to view our tutorial videos.
Questions and Comments
We'd love to get your feedback or questions. Leave your comment below.
Happy New Year,
Jennifer
This is such an adorable idea! Thanks for sharing your step by step project!
Thanks for sharing Trish
Page 1 of 2 pages 1 2 >