Chalkboard Marker Magic
by Melissa Banbury
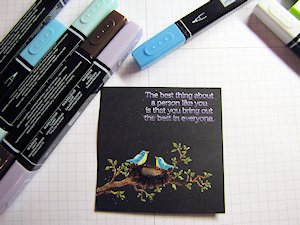
Create a color pop on black cardstock using alcohol markers.
Supplies
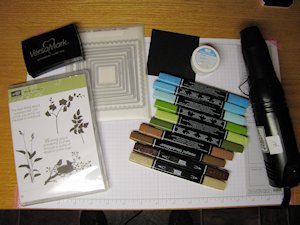
- Black cardstock
- Solid image stamp (Stampin' Up! World of Dreams set used here
- Embossing ink (Versamark used here)
- White embossing powder
- Heat gun
- Alcohol markers (Stampin’ Up! Blendabilities used here)
- Other supplies as needed to complete the card (die cuts used here)
Step-by-Step
-
Step 1
Cut a piece of black cardstock to the desired size of the project.

-
Step 2
Stamp a solid image onto the cardstock using embossing ink.

-
Step 3
Cover the image with white embossing powder and set with a heat gun.

-
Step 4
Color the embossed image using alcohol markers. In most cases work with the lightest color first, then choose progressively darker colors to add shade and depth, as when coloring an open image.
-
Step 5
Use the colored panel to complete a card.

Video!
Your Turn
You've seen the tutorial, now you try it! We've got a section of the gallery set aside for Chalkboard Marker Magic. Try this technique, then upload your artwork to the gallery. Show us your creations!
***Please note - Internet Explorer/Edge is not a supported browser, and will not allow you to see the videos. Please use Chrome, Firefox or Safari to view our tutorial videos.

Questions and Comments
We'd love to get your feedback or questions. Leave your comment below.
Denatured alcohol, the main component of the marker is the ingredient used to remove heat-activated powder.
Maybe I'll try it and let you know
Page 1 of 1 pages