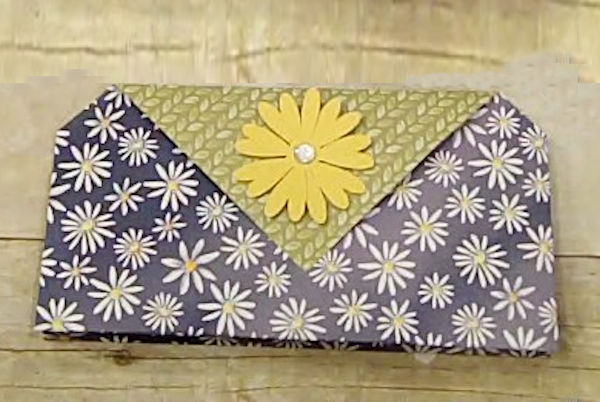
Card Clutch
by Dee Slater
Create a folded pocket clutch for an adorable notecard presentation.
Supplies
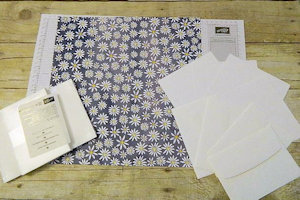
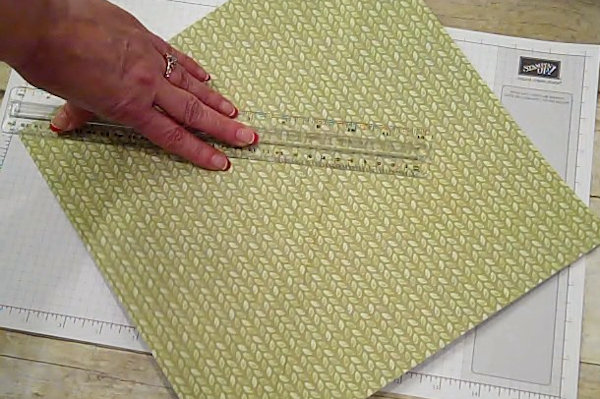
- 12” x 12” 2-sided paper (Stampin’ Up!® Delightful Daisy Designer Series Paper used here)
- Glue Dots
- 3 1/2” x 5” notecards and envelopes (Stampin’ UP!’s Whisper White Note Cards & Envelopes used.)
- Matching embellishments for clutch décor
- Velcro or magnets for closure options
Step-by-Step
-
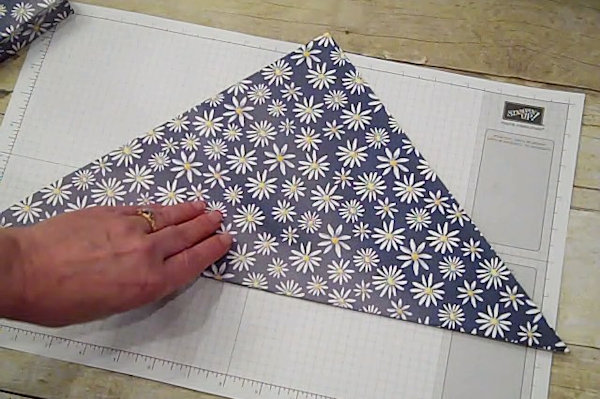
Step 1
With the right side of the 12” paper down, bring the corners together and press down the fold at the bottom to form a triangle.
-
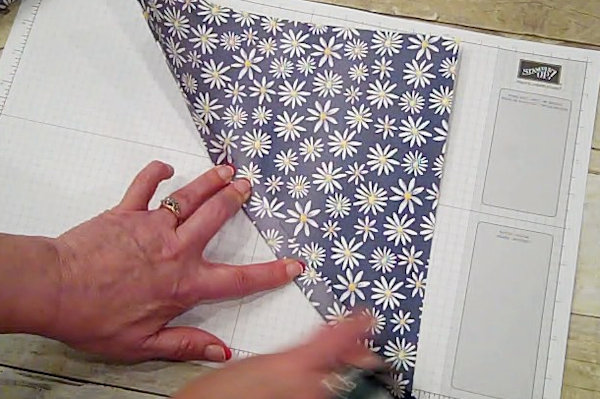
Step 2
From the fold, turn up approximately 1/2” and press the fold along the bottom.
Flip the triangle over and turn the 1/2” fold to the other side. Press along the same fold line to reinforce it. -
Step 3
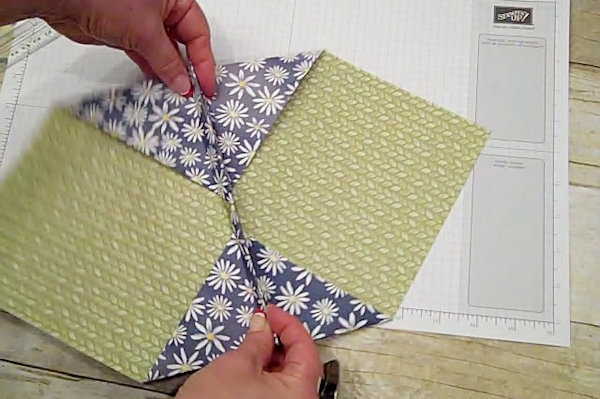
Open up the paper to the inside of the purse. Turn the paper so the fold lines are vertical.
TIP:
Use grid paper to line up the points and find the center. -
Step 4
Bring both corners with folds up to the center of the paper.
-
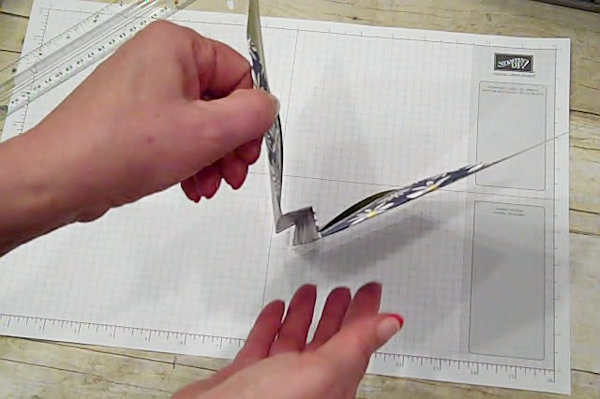
Step 5
Fold in a mountain-valley style.
-
The center fold up should be up in a mountain fold.
-
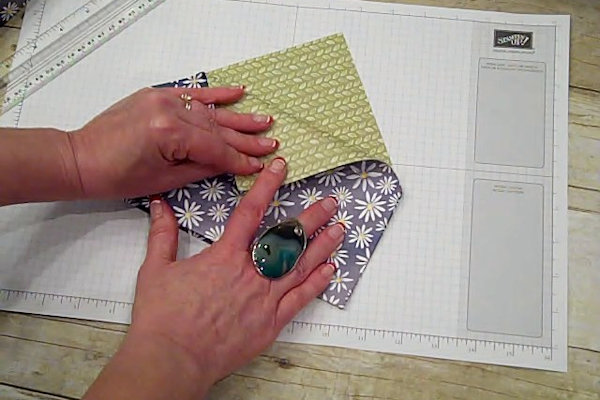
Step 6
Close the purse.
Fold back the corner. Flip and repeat on the other side. -
Step 7 (Optional)
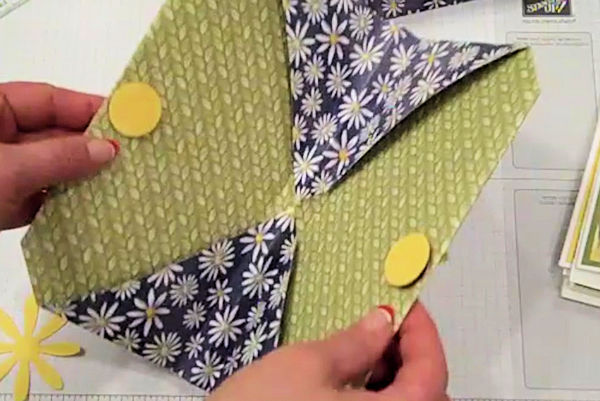
Add a closure of magnetics or Velcro on the inside of the purse.
-
Step 8
Add embellishments to the front of the purse and decorate note cards to tuck inside.
-
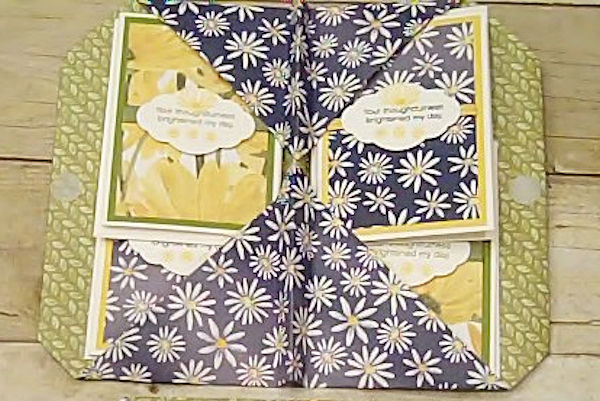
Step 9
Complete the project.
The finished clutch is 8 1/2" tall, and 4-6" wide depending on the depth of your fold in step 6.

Video!
Your Turn
You've seen the tutorial, now you try it! We've got a section of the gallery set aside for Card Clutch. Try this technique, then upload your artwork to the gallery. Show us your creations!
***Please note - Internet Explorer/Edge is not a supported browser, and will not allow you to see the videos. Please use Chrome, Firefox or Safari to view our tutorial videos.

Questions and Comments
We'd love to get your feedback or questions. Leave your comment below.
p.s. Would it be easier to just measure up 6" from the point on the score line to find the centre?
Would a standard A2 card ( 4.25 x 5.5) fit in there as well?
Page 1 of 1 pages