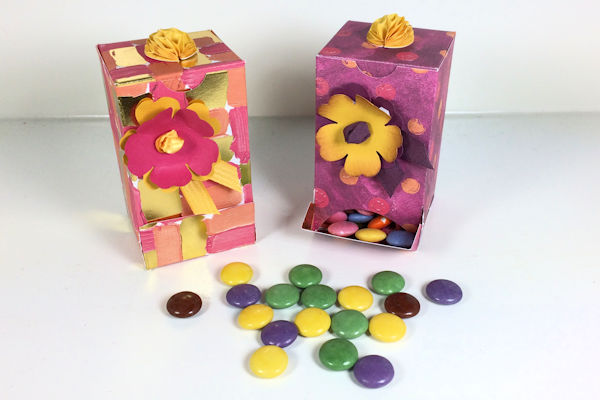
Candy Dispenser
by France Martin
Make a candy box with easy access to the good stuff inside.
Supplies
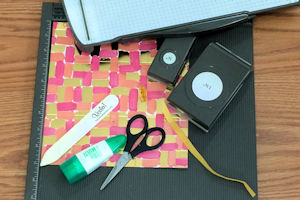
- Cardstock (Stampin’ Up!® Painted with Love Specialty Designer Paper, Melon Mambo and Crushed Curry cardstock used here)
- Adhesive (Tombow Mono Liquid Glue and Glue Dots used here)
- Scissors
- Bone folder
- Paper trimmer
- Scoring tool
- Circle punches (1 3/4” and 1/2" used here)
- Other supplies as needed to complete the project (SU supplies uses here: Balloon Honeycomb embellishment, Pansy Punch, ribbon)
Step-by-Step
-
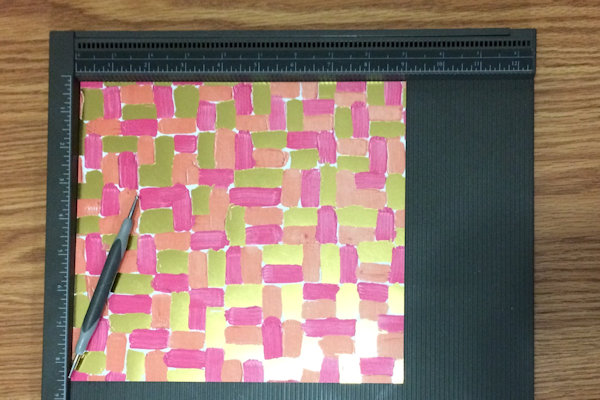
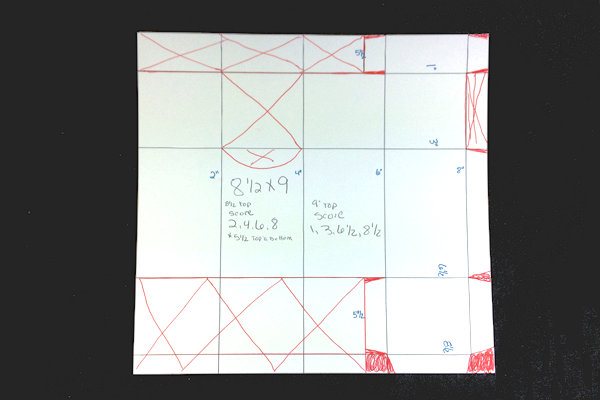
Step 1
Cut cardstock to 8 1/2" x 9.
With the 8 1/2" side at the top, score at 2”, 4”, 6” and 8”.
Turn and place the 9” side at the top. Score at 1”, 3”, 6 1/2" and 8 1/2".
Rotate the paper again so the 8 1/2" side is at the top, and score at 5 1/2" from the top to the 1” line, and from the 6 1/2" line to the bottom. -
Step 2
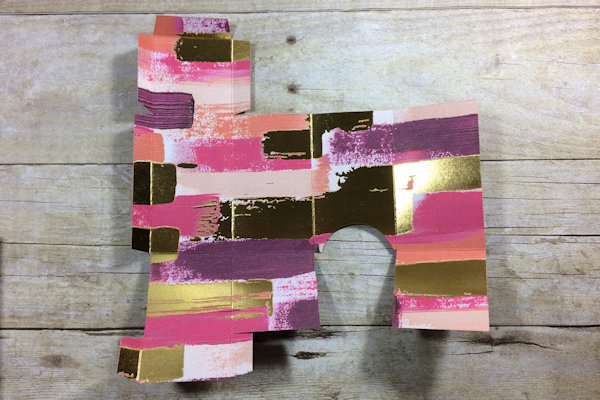
Trim away all the sections marked with a red X in the photo. Reinforce all score lines.
-
The cut piece should look like this.
-
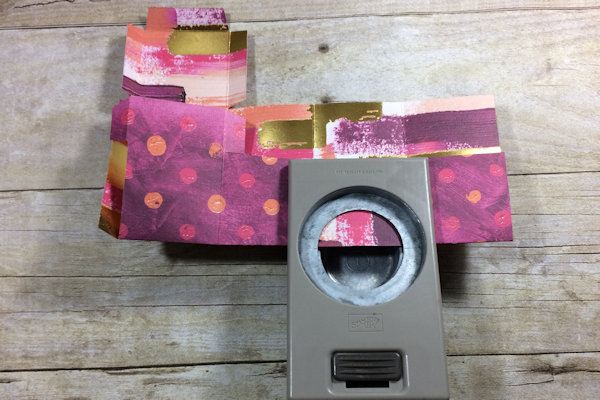
Step 3
Fold the bottom up, and insert the 1 3/4"circle punch in the center of the third panel. Punch out about half of the circle.
-
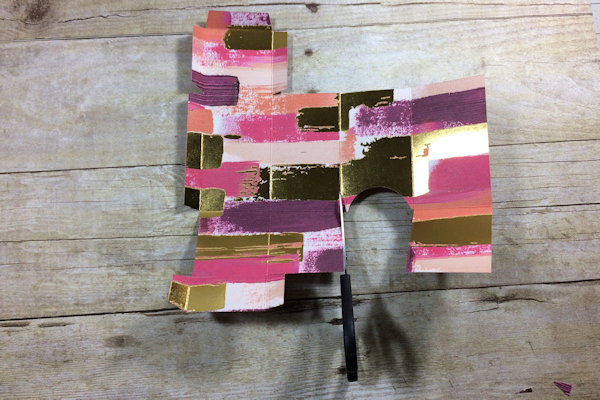
Step 4
On each side of the half circle on the score line, cut up about 3/4".
-
Step 5
To assemble the box, first apply liquid glue on the middle flap only. Fold the other side over onto the top of the flap.
-
Step 6
Adhere the 2 side flaps at the bottom, and then the third one with the extra flap. Slide the side flap in the slits on each side of the half circle. Trim up as needed to accommodate the flaps.
-
Step 7
Insert the 1/2” circle punch at the top of the center panel and punch out about half of the circle.
-
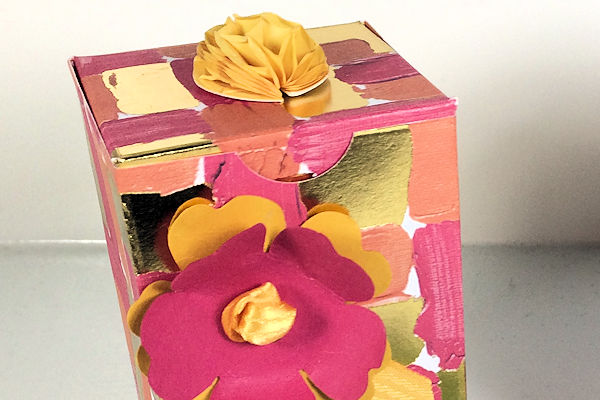
Step 8
Embellish the box as desired.
-
Step 9
Complete the project and fill with candy for gift giving.


Video!
Your Turn
You've seen the tutorial, now you try it! We've got a section of the gallery set aside for Candy Dispenser. Try this technique, then upload your artwork to the gallery. Show us your creations!
***Please note - Internet Explorer/Edge is not a supported browser, and will not allow you to see the videos. Please use Chrome, Firefox or Safari to view our tutorial videos.

Questions and Comments
We'd love to get your feedback or questions. Leave your comment below.
Enjoyed!
Page 1 of 1 pages