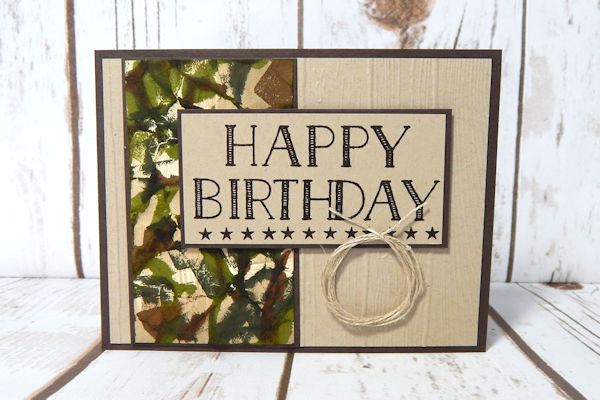
Camouflage Background
by Kelly Acheson
Use various inks to create the look of camouflage.
Supplies
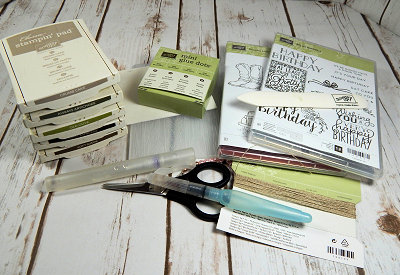
- Cardstock - white or ivory (Stampin’ Up!® Very Vanilla used here)
- Ink pads in various earthy colors (Early Espresso, Crumb Cake, Soft Suede, Old Olive, Always Artichoke ink pads used here)
- Bone folder
- Other supplies as needed to complete the project: (Stampin’ Up! supplies used here: Pinewood Planks Dynamic Textures Impressions Embossing Folder, Linen Thread, Early Espresso and Crumb Cake cardstock, Aqua Painter, scissors, Die Cutting Machine, Adhesive )
Step-by-Step
-
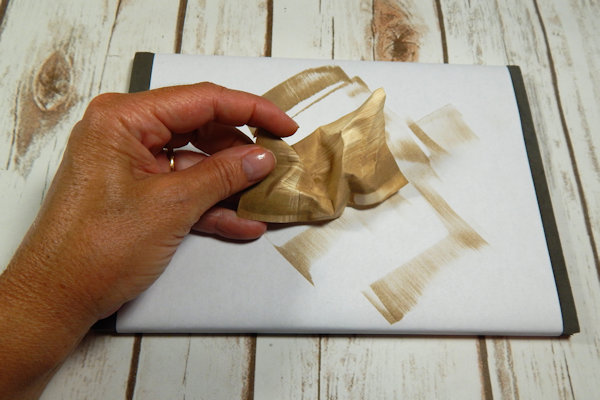
Step 1
Drag a tan ink pad across a piece of ivory cardstock (SU Crumb Cake ink used here).
-
Step 2
Crumple up the panel.
-
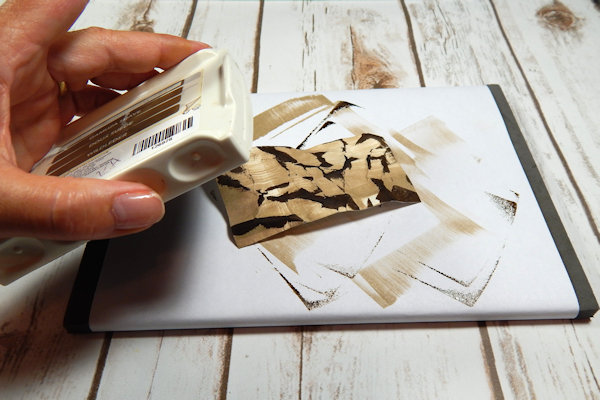
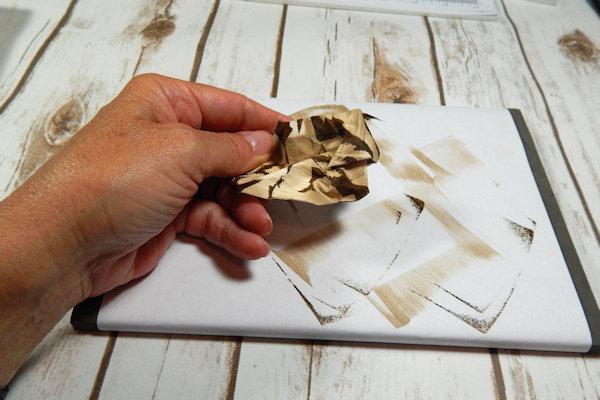
Step 3
Apply a darker brown ink directly to the cardstock, leaving it crumpled up so the ink only touches the panel randomly as shown (SU Soft Suede ink used here).
-
Step 4
Crumple up the panel again.
-
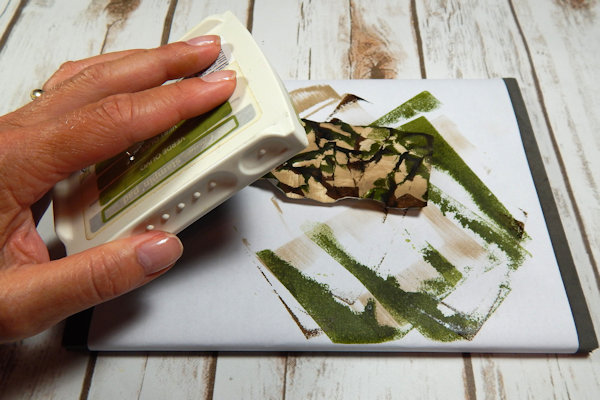
Step 5
Apply olive green ink directly to the cardstock, leaving it crumpled up so the ink only touches the panel randomly as shown (SU Old Olive ink used here).
-
Step 6
Crumple up the panel again.
-
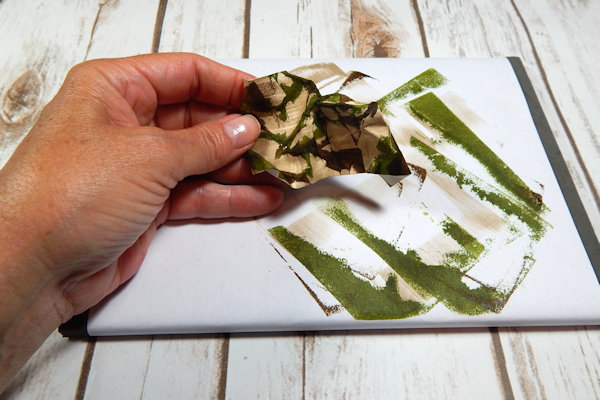
Step 7
Apply another green ink directly to the cardstock, leaving it crumpled up so the ink only touches the panel randomly as shown (SU Always Artichoke ink used here).
-
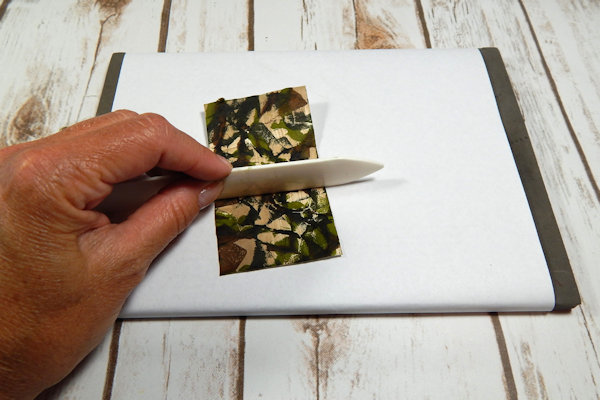
Step 8
Use a bone folder to flatten out the camo layer.
-
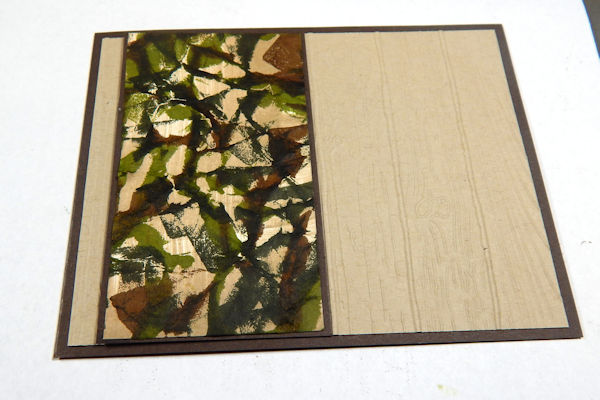
Step 9
Use the panel to embellish a card or other project as desired.
-
Step 10
Complete the project.


Video!
Your Turn
You've seen the tutorial, now you try it! We've got a section of the gallery set aside for Camouflage Background. Try this technique, then upload your artwork to the gallery. Show us your creations!
***Please note - Internet Explorer/Edge is not a supported browser, and will not allow you to see the videos. Please use Chrome, Firefox or Safari to view our tutorial videos.

Questions and Comments
We'd love to get your feedback or questions. Leave your comment below.
L
Page 1 of 2 pages 1 2 >