Cami’s Trifold Card
by Beate Johns
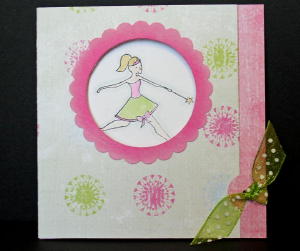
Cambria Turnbow created this cute trifold card design.
Supplies
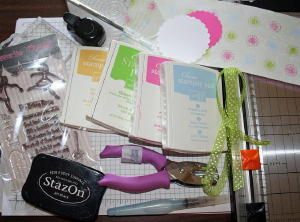
- Stamps (Princess Birthday set, My Favorite Things)
- 4" x 11" cardstock (Delicious. Fancy Pants Designs, Key Lime Pie collection)
- Ink
- Paper Scorer
- Coluzzle®, other cutting system, or punch
- Slit punch
- Hole punch
- Ribbon
- Scrap cardstock (optional, for layers and inside image)
Step-by-Step
-
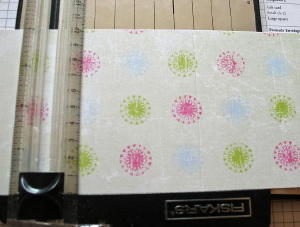
Step 1
Score the cardstock at 3 1/2" and 7".
-
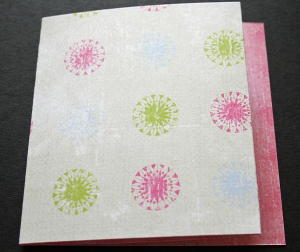
Step 2
Prefold scores so the longer panel is on the right.
-
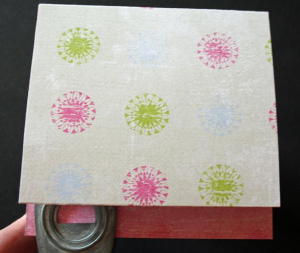
Step 3
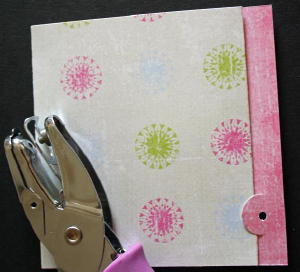
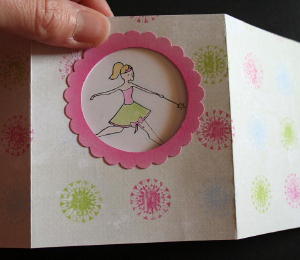
Slide the slit punch in so that the semicircle is slightly under the folded card. Punch.
-
Step 4
Tuck the folded card into the just-punched slit to keep the card closed.

-
Step 5
Punch a hole in the center of the slit punch, making sure the punch doesn't go through the other panels of the card.
-
Step 6 (Optional)
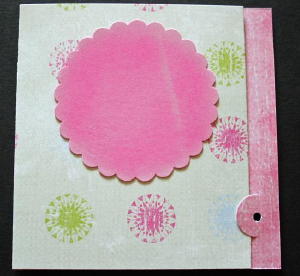
If you'd like a framed window, add a layer for the frame now.
-
Step 7
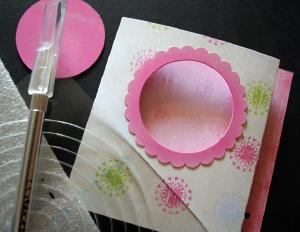
Unfold the card. Cut or punch a window through the middle panel only. The Coluzzle™ cutting system was used here.
-
Step 8
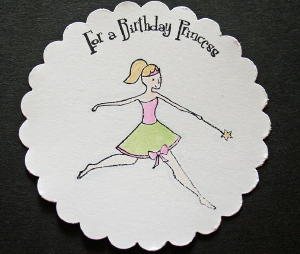
Stamp and color the main image on scrap cardstock.
-
Step 9
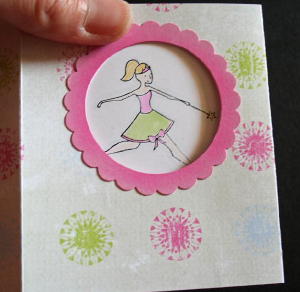
Apply adhesive to the back of the main image. To center the main image, start by aligning it behind the cut-out window.
-
Step 10
When satisfied with the image placement, fold the right side of the card over and adhere the image.
-
Step 11
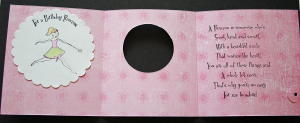
Unfold and stamp the inside if needed.
-
Step 12
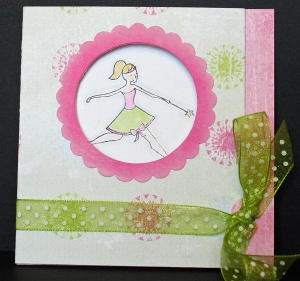
Refold the card. Wrap ribbon around, run it through the hole and around the card, then tie shut.
-
Or....just tie ribbon through the hole as an accent.
Video!
Variations
- Try different sizes.
- Try different window shapes.
- Add two or three flaps on the right hand side with your slit punch.
Your Turn
You've seen the tutorial, now you try it! We've got a section of the gallery set aside for Cami’s Trifold Card. Try this technique, then upload your artwork to the gallery. Show us your creations!
***Please note - Internet Explorer/Edge is not a supported browser, and will not allow you to see the videos. Please use Chrome, Firefox or Safari to view our tutorial videos.
Questions and Comments
We'd love to get your feedback or questions. Leave your comment below.
If you don't have a C cutter (for the slot) use a brad and a little arm piece they have like the things that pivot on the back of a photo frame to hold the picture in.
Love the idea. Thanks for sharing.
Lagene
Linda D.
Page 1 of 1 pages