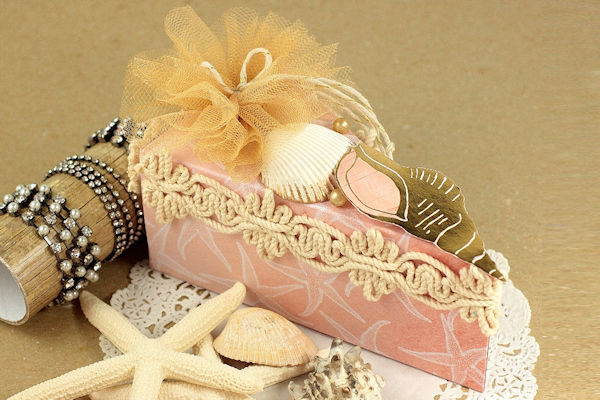
Cake Box
by Rebecca Ednie
Make a shaped box that looks like a slice of cake.
Supplies

- Printable Cake Box Template
- Cake Box Template svg
- Medium- to heavy-weight patterned paper or cardstock, 8.5” x 11” (Craft Smith ocean-themed paper from Michaels used here)
- Scoring board
- Pencil
- Scissors
- Adhesive (1/4” Scor-Tape used for box tabs; foam squares, Ranger Multi-Medium matte and Glossy Accents used for embellishments; Glue Dots used to hold box closed)
- Ribbon, border diecut or trim
- Embellishments (used here: vintage pearls, real shell, 24”x3” White tulle, Gold Shimmer spray by Luminarte, 16-20” Gold-accent twine by Two Berry Creative, gold Rub n Buff wax paste, Copic E93 marker)
Step-by-Step
-
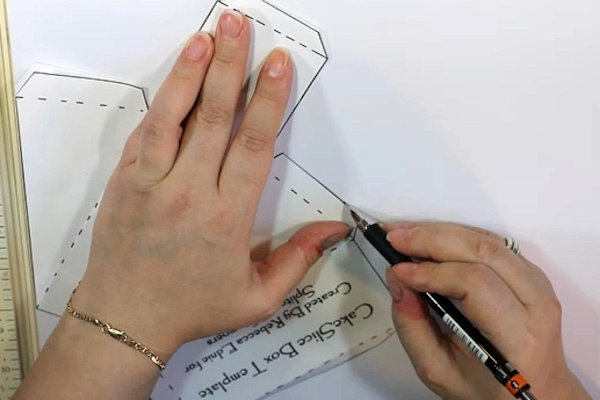
Step 1
Print the Cake Box Template onto printer paper and trace on to 8.5" x 11” medium- to heavy-weight patterned paper or cardstock. (Alternatively, you can print directly onto your paper, but keep in mind that the fold line markings and title will be seen on the inside of your project if you do this.)
NOTE:
Make sure your printer scales correctly. You may have to choose “Print to Fit Page” or “Scale to Fit Page”. -
Step 2
Cut out the shape with scissors. If needed, transfer your dash lines.
Score all dash lines. Fold all score lines.
TIPS:
To make the cleanest cuts on sharp inner corners, use small scissors or use the center of larger scissor blades. Using the tip of large scissors on an inner cut will crack your paper.
This template goes together best with careful and accurate cutting and scoring especially near the pointed tip. -
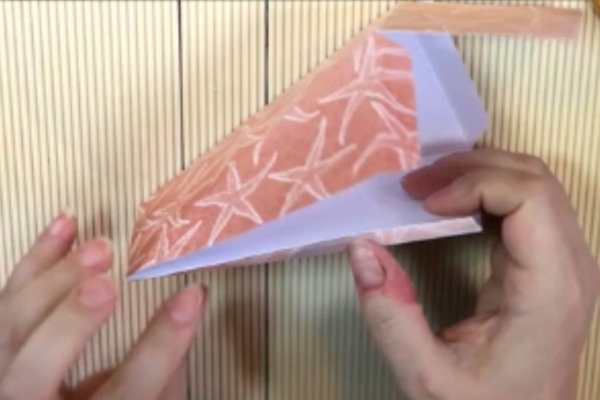
Step 3
Adhere the tabs to form the box. Double sided tape will be placed on the long and short tabs along the outside rectangle area.
If you prefer, stamp your box first. Be sure to note which pieces will be upright. -
TIP:
Do NOT apply adhesive to all tabs if you wish to be able to open the box. -
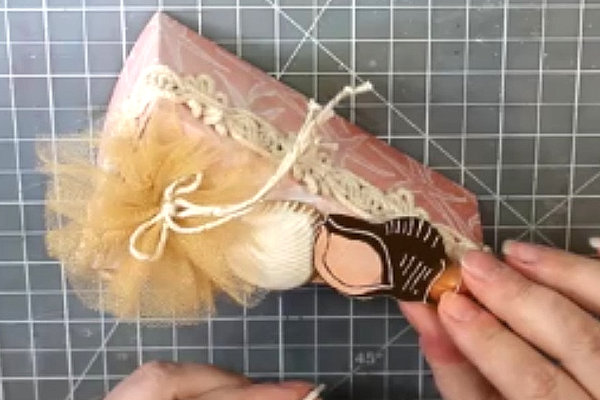
Step 4
Decorate the box. If you wish to use ribbon, trim, or a die cut border around the box, you will need 13”.
To mat the sides, you may wish to reprint the template. Cut off 1/4" from the length and width of each rectangular panel. For the triangles, remove 1/2” from the short side. This will give you a perfect mat shape with an 1/8” border. -
Step 5
Complete the project.
Make a single slice, or make multiple slices and arrange them in a round on a cake stand for party or wedding guests!


Video!
Your Turn
You've seen the tutorial, now you try it! We've got a section of the gallery set aside for Cake Box. Try this technique, then upload your artwork to the gallery. Show us your creations!
***Please note - Internet Explorer/Edge is not a supported browser, and will not allow you to see the videos. Please use Chrome, Firefox or Safari to view our tutorial videos.

Questions and Comments
We'd love to get your feedback or questions. Leave your comment below.
Page 1 of 1 pages