Button Tree Pendant
by Glenda Marklew
Use wire and buttons to create a cute holiday pendant.
Supplies
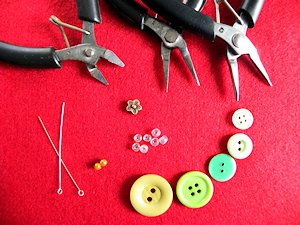
- Craft pliers - round nose and flat
- Craft wire cutters
- Head or eye pins (2), 2 inches long or more
- 4mm brown beads (2)
- 5mm clear beads (8-10)
- 5-6 green buttons, ranging in size from large to small
- Gold bead, star or flower shaped
Step-by-Step
-
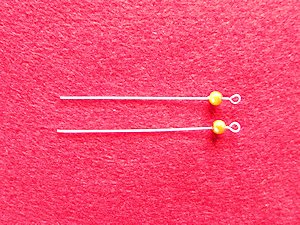
Step 1
Place a brown bead onto each wire post.
-
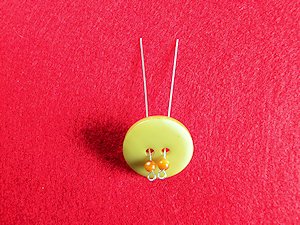
Step 2
Add the largest button. (If the buttons have 4 holes, thread the wires through opposite holes.)
-
Step 3
Add a clear bead to each wire post.
-
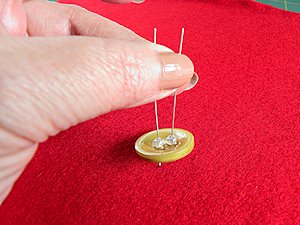
Step 4
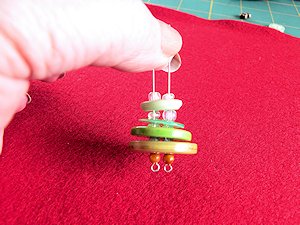
Repeat steps 2 and 3 three times more. Complete by adding the smallest button.
-
Step 5
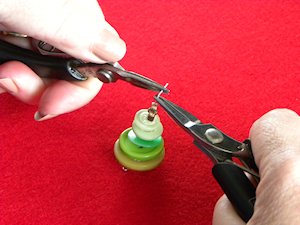
Holding one wire post securely with pliers, using your remaining fingers to keep the buttons still. Wind the other wire post around the first one using the long nosed pliers.
NOTE:
This is a tricky process but works best when the buttons are held very firmly.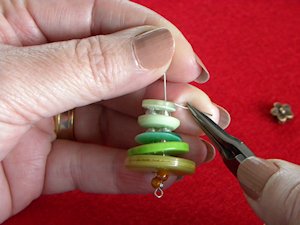
-
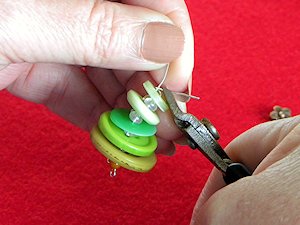
Step 6
Use the wire cutters to cut off the excess wire as close to the first post as possible.
-
Step 7
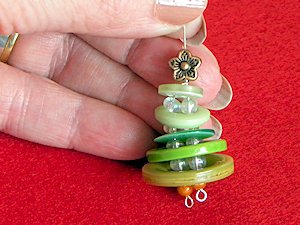
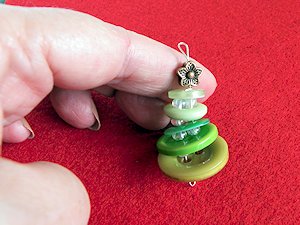
Add the gold bead, star or flower to the wire.
-
Step 8
Using both sets of long nose pliers, fold the wire over half way up the exposed section.
-
Step 9
Bend the wire down to form a loop.
-
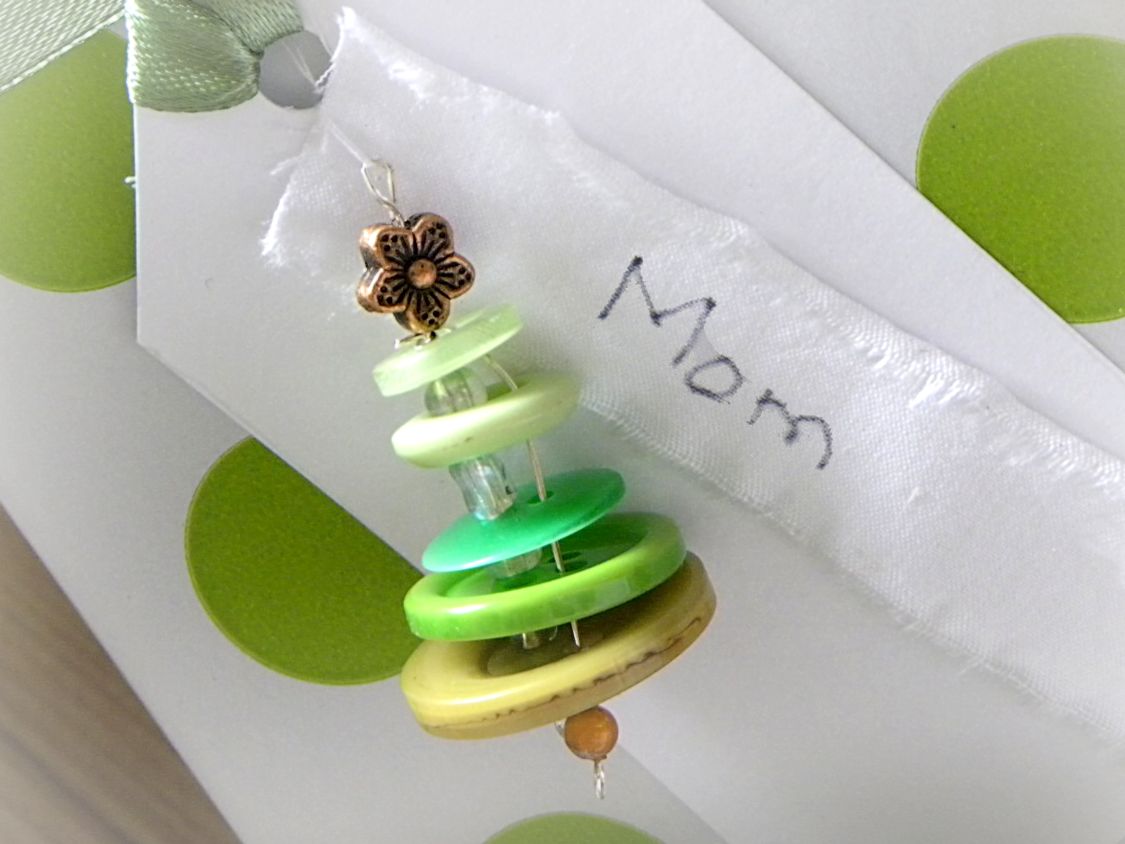
Step 10
Use the finished tree to decorate a gift, as a miniature ornament, or as a jewelry pendant.
Video!
Your Turn
You've seen the tutorial, now you try it! We've got a section of the gallery set aside for Button Tree Pendant. Try this technique, then upload your artwork to the gallery. Show us your creations!
***Please note - Internet Explorer/Edge is not a supported browser, and will not allow you to see the videos. Please use Chrome, Firefox or Safari to view our tutorial videos.

Questions and Comments
We'd love to get your feedback or questions. Leave your comment below.
Page 1 of 1 pages