Burst Through
by Dina Kowal
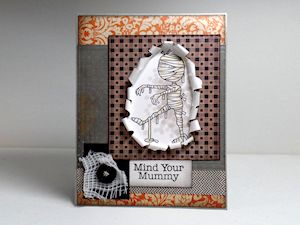
Create an opening in your card where a character can emerge.
Supplies
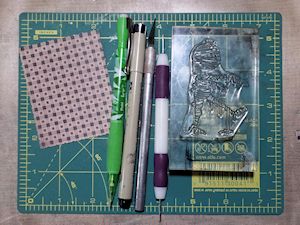
- Cardstock
- Craft knife
- Cutting mat
- Pen or pencil
- Eraser
- Unmounted or clear stamp (Brains! clear set from The Cat’s Pajamas used here)
- Quilling tool, or another long and narrow tool for rolling paper (skewer, stylus, narrow tweezers, jewelry pliers)
- Other supplies as needed to complete the card (cardstock scraps, button, swatch of gauze, Touch Twin Markers)
Step-by-Step
-
Step 1
Determine your card layout, and where you will position the image that will be bursting through the focal panel.
-
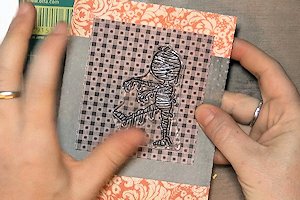
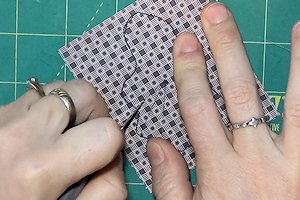
Step 2
Lay the stamp onto the focal panel and trace around the edge with a pen or pencil.
-
If only a portion of the stamped image will be showing through the opening, trace only around the outline of the portion that will show. Set the stamp aside, and connect the end points of the traced line in a loose curve.
-
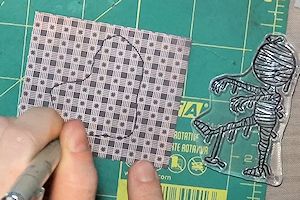
Step 3
Set the stamp aside. Mark a point roughly in the center of the traced outline.

-
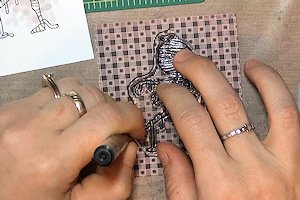
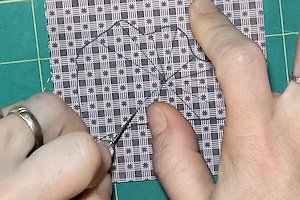
Step 4
Using a craft knife, cut through the cardstock from the center point straight out to the traced line.
-
Make a cut about every 1/2" to 3/4" around the entire outline.
-
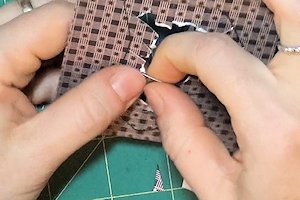
Step 5
Tear off the point of each cut wedge, leaving at least 1/2" from the line. Vary the lengths as you go.
-
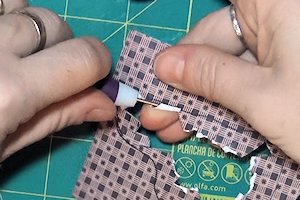
Step 6
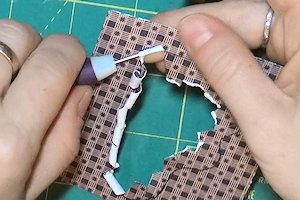
Use a quilling tool or other long and narrow tool to roll each piece in a tight curl over and out toward the outline.
-
Don’t worry if the paper tears between the wedge cuts as you roll; this will only add to the burst through effect when you finish.
-
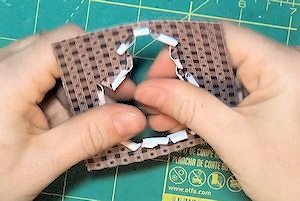
Step 7
Adjust the curled pieces as desired, loosening the curl in some, adding more tears, distressing, etc.
-
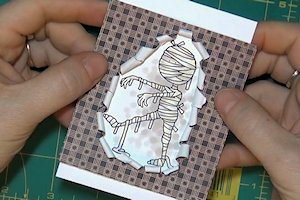
Step 8
Prepare the stamped image and position it in the opening. (Sample was colored with Touch Twin Markers.)
-
For a more dramatic look, fussy cut the image and position it so that a part of it comes out of the opening.
-
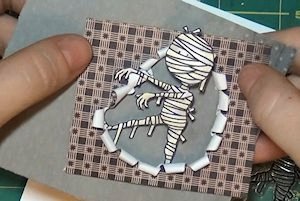
Step 9
Assemble and complete the card.
Video!
Your Turn
You've seen the tutorial, now you try it! We've got a section of the gallery set aside for Burst Through. Try this technique, then upload your artwork to the gallery. Show us your creations!
***Please note - Internet Explorer/Edge is not a supported browser, and will not allow you to see the videos. Please use Chrome, Firefox or Safari to view our tutorial videos.

Questions and Comments
We'd love to get your feedback or questions. Leave your comment below.
thanks for sharing
This idea is perfect. Away I go to my stamping area!
Thank you!
Page 1 of 1 pages