Burned Batik
by Beate Johns
This is a fun and easy way to make a batik background.
Supplies
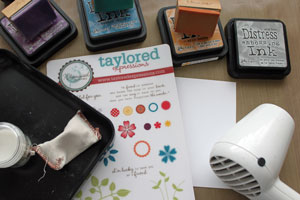
- Clear Embossing Powder
- Embossing Buddy
- Embossing Ink
- Stamps, Taylored Expressions Friendship Blooms used here
- Heat tool
- White Cardstock
- Distress inks (Two or more)
- Blending tools
Step-by-Step
-
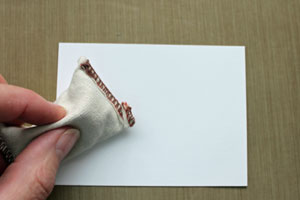
Step 1
Rub your Embossing Buddy over the entire piece of White Cardstock.
-
Step 2
Stamp your images on cardstock with Embossing Ink.
Hint:
Bolder images work better for this technique.

-
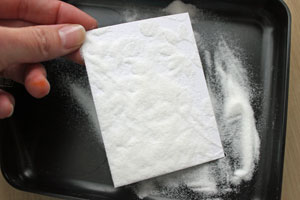
Step 3
Add Embossing Powder over your stamped images.
-
Tap excess powder off.
-
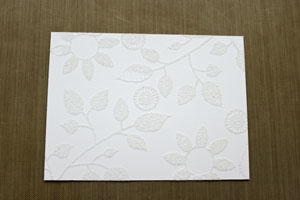
Step 4
Start heating your images with your Heat Tool.

-
Don't stop when the powder is melted, but heat it until most of the shine of your embossing powder is gone.
Hint:
Check the back of the cardstock. Your embossed image will have "soaked" through.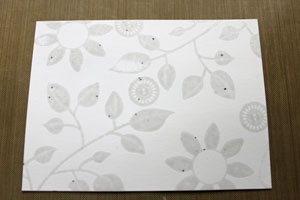
-
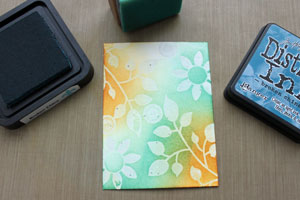
Step 5
Start sponging your first ink color over your embossed background.

-
Apply your second color.
-
Step 6
Continue sponging color over your background until it's completely covered and you are happy with the look.
Hint:
If you are not using Distress inks, but other dye inks, you might have to spray your cardstock lightly with water before starting to sponge.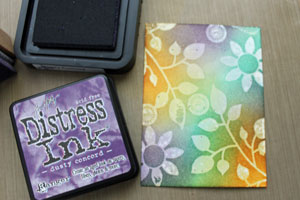
-
Step 7 (Optional)
Stamp a subtle texture over your batik background.
Once you are done with sponging and stamping your embossed cardstock, wipe over it with a paper towel or piece of cloth. The embossed parts will resist the ink sponged/stamped over it.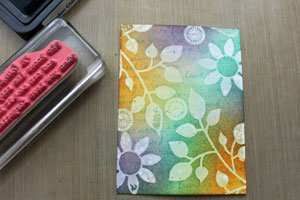
-
Step 9
Finish your card.

Video!
Variations
Alternative Heating
If you have trouble like I did to "melt" the embossing powder, try going over the image with your iron. Put your embossed cardstock on your ironing board and cover with copy paper. Heat iron to medium heat and set to no steam. Go over your card. That should help to overheat the image.
Experiment with Colors
Try using various color combinations or altering the embossing powder used. Gold or copper might look really neat!
Your Turn
You've seen the tutorial, now you try it! We've got a section of the gallery set aside for Burned Batik. Try this technique, then upload your artwork to the gallery. Show us your creations!
***Please note - Internet Explorer/Edge is not a supported browser, and will not allow you to see the videos. Please use Chrome, Firefox or Safari to view our tutorial videos.
Questions and Comments
We'd love to get your feedback or questions. Leave your comment below.
Thanks for sharing.
Crafty-liz
The overheated image doesn't shine anymore. The sponged over background looks a lot softer, then with embossing resist.
Page 1 of 1 pages