Bow-Easy™ Basics
by Dina Kowal
Learn easy steps for tying perfect bows, using the Bow-Easy™ and a kitchen fork.
NOTE: The instructions below are written for a right-handed person. For left-handed instructions, all 'left' and 'right' directives are switched. Please watch the video below for clarity.
Supplies
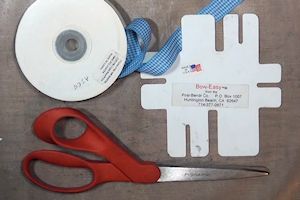
- Ribbon
- Bow making template (Bow-Easy© and kitchen fork demonstrated here)
- Scissors
- Heat tool (optional)
- Other supplies as needed to complete the project (used here: Basic Grey and Bazzill cardstock; watercolor paper; QoR watercolor paints; stamps from Purple Onion Designs, Unity Stamp Co. and Simon Says Stamp; Scor-Pal; Aleene's Tacky Glue; paper trimmer)
Step-by-Step
-
Step 1
For a single bow:
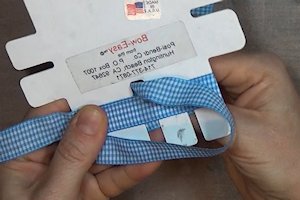
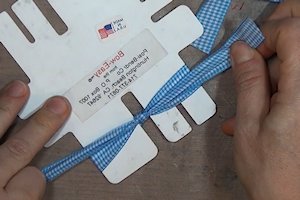
Choose the ribbon template that best fits the width of your desired bow. Select your ribbon. Leave a tail of about 3"-4" hanging past the left edge of the template, and hold it in place with your left hand.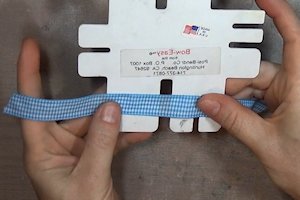
-
Step 2
Wrap the ribbon once completely around the template, making sure to keep it flat without any twists.
-
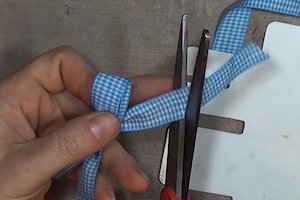
Pull the ribbon to the right side of the template and trim it, leaving plenty of length to work with (3"-4” works well).
TIP:
Cut the ribbon end at an angle to make the next step easier.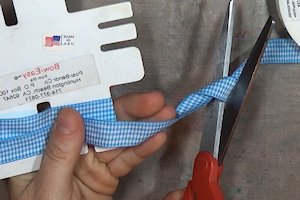
-
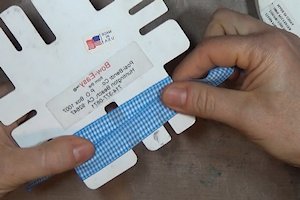
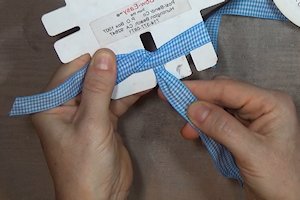
Step 3
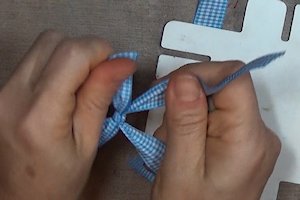
Take the cut end of the ribbon, and thread it through the central opening in the template above the ribbon loop.
-
Pull the ribbon through, and bring it up below the ribbon loop in the same groove.
-
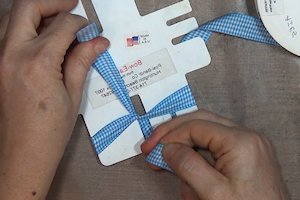
Step 4
Pull the left tail up and the right tail down, tightening the ribbon around the template and tightening the twist at the center.
-
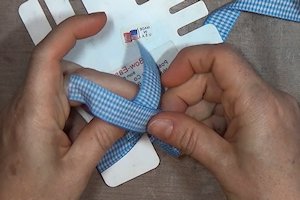
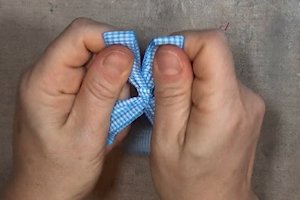
Step 5
Cross the ends right over left, and tie a knot, keeping the ribbon wrapped tight around the template.
-
Pull the ends out straight to the sides to tighten the bow.
-
Step 6
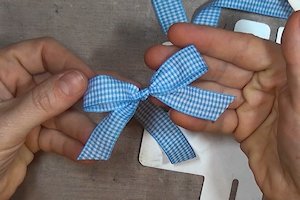
Slide the bow straight off the template. Pull on the loops and tails evenly to make adjustments. The loops and knot should be perfectly even.
-
Trim the tails as desired.
-
Step 7
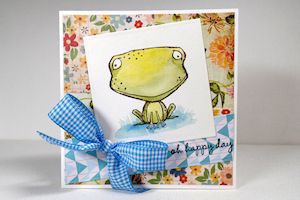
Complete the bow.
-
Use it to embellish a card or other project.
-
Step 8
For a multi-loop bow:
Follow the steps above, wrapping the ribbon around the template twice for a double loop bow, three times for a triple, etc.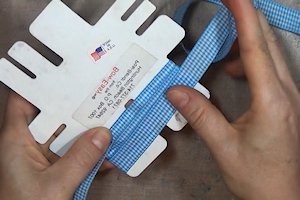
-
Step 9
Pull the loops evenly to separate and round them.
-
If the ribbon is synthetic, lightly heat the center with a heat tool just until it begins to crinkle. This will permanently shape the bow.
NOTE:
Take care not to overheat the ribbon, as it can melt or burn. Sheer ribbon may develop holes if overheated.
-
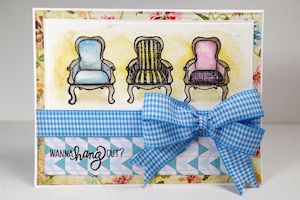
Step 10
Use the bow on a finished card or project.
-
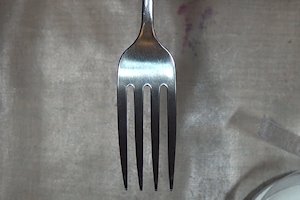
Step 11
To create tiny bows, use a fork with an even number of tines as a template. Secure the fork under a heavy weight or clamp it to keep it still. (For the photo, the fork is secured on a shelf under some heavy boxes.)
-
Step 12
Following the instructions above, wrap the ribbon around the fork.
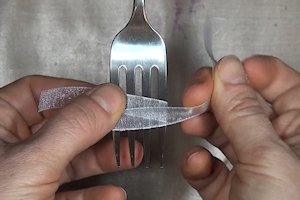
-
Thread the tail down through the top center and up at the bottom of the same groove. Pull the ends tight and tie them together, right over left.
-
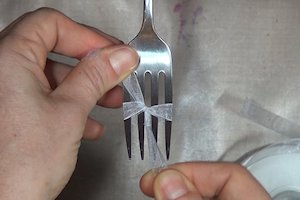
Step 13
Trim the ends and use the ribbon on a card or other project.

Video!
Your Turn
You've seen the tutorial, now you try it! We've got a section of the gallery set aside for Bow-Easy™ Basics. Try this technique, then upload your artwork to the gallery. Show us your creations!
***Please note - Internet Explorer/Edge is not a supported browser, and will not allow you to see the videos. Please use Chrome, Firefox or Safari to view our tutorial videos.

Questions and Comments
We'd love to get your feedback or questions. Leave your comment below.
Also, once you complete your bow, a small dab of Fray-Chek (Dritz; available in the notions section of most fabric stores--including Hobby Lobby and Wal-Mart) will keep the ends from fraying. Hence the name....
Page 1 of 1 pages