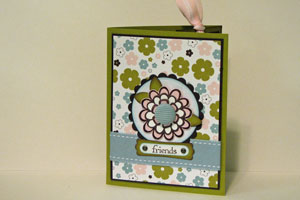
Card with Detachable Bookmark
by Mary Brown
Create a card with detachable bookmark.
Supplies
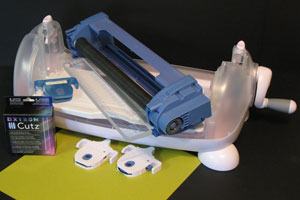
- Creatopia™
- Xyron™ Cutz Starter Kit
- Xyron™ Cutz Card Kit
- 12"x 12" piece of cardstock Cardstock
- Paper Trimmer
- Adhesive
- Stamps
- Ink
- Embellishments
Step-by-Step
-
Step 1
Place the Cutz Starter Kit Cartridge into the Creatopia.
Set the perforating blade at 2 1/2".
Tip: Use the arrow to help position any cartridge exactly where you want it.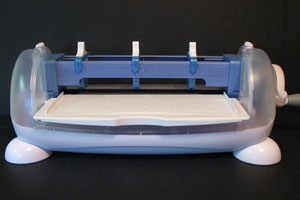
-
Set scoring blade at 6 3/4" and the cutting blade at 11".
Add your two guide wheels in between.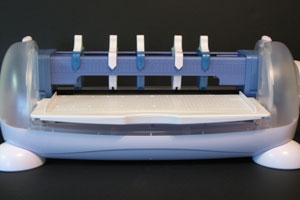
-
Step 2
Slide feeder tray horizontally and lock in place.
Line 12" x 12" piece of cardstock up with the right edge of the tray and slide toward the blades.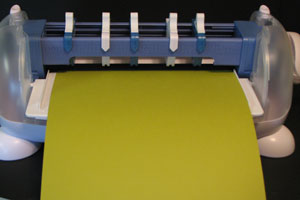
-
Step 3
Place stabilizer bar on top of your cardstock.
Turn handle and guide paper through cutter. Go slowly and stabilize paper coming out the other side.
Paper will be cut, scored, and perforated all at once.
Tip: Be careful at the very end as paper might veer a little off course.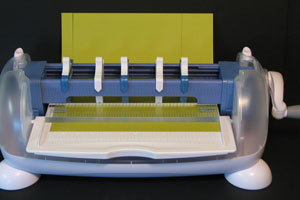
-
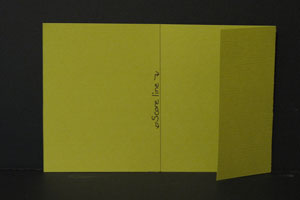
Your cardstock is now perforated at 2 1/2" and scored at 6 3/4.

-
Step 4
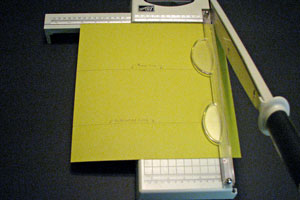
Your paper is now 11" x 12". Turn the paper a quarter turn and cut down to 11" x 11".
-
Step 5
With score and perforation lines perpendicular to the cutting blade, cut slowly at 5 1/2".
This will make two cards measuring 11" x 5 1/2".
Cutting and scoring information for regular paper trimmers:
Take a 5 1/2" x 11" piece of cardstock, score at 4 1/4" and perforate at 8 1/2".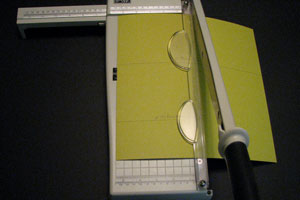
-
Step 6
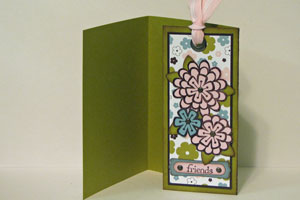
Take one card and fold the bookmark on the perforated line.
-
Step 7
Fold the left side over your bookmark and crease the score line.

-
Step 8
Decorate your card front
-
and your bookmark.
Video!
Variations
-
Change the size
Here a 4 1/2" x 12" cardstock strip was scored at 4 1/2" and perforated at 9" to create a square card.
Your Turn
You've seen the tutorial, now you try it! We've got a section of the gallery set aside for Card with Detachable Bookmark. Try this technique, then upload your artwork to the gallery. Show us your creations!
***Please note - Internet Explorer/Edge is not a supported browser, and will not allow you to see the videos. Please use Chrome, Firefox or Safari to view our tutorial videos.

 *
*
Questions and Comments
We'd love to get your feedback or questions. Leave your comment below.
Your video is awesome too, Beate... and I love your card!!
Page 1 of 1 pages