Bokeh Background
by Lydia Fiedler
Create a very simple, dreamy background inspired by a photography technique.
Supplies
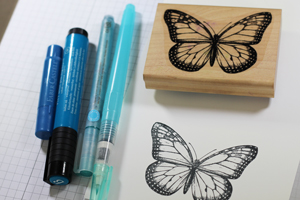
- Large stamp or die cut
- Dye ink pad (Stampin' Up! Tempting Turquoise used here)
- Metallic Gelato™ to match ink or other shimmery water-based medium (Metallic Blueberry Gelato used here)
- Coloring medium to match ink(PITT artist pen big brush used here)
- Pencil with new, flat white eraser
Step-by-Step
-
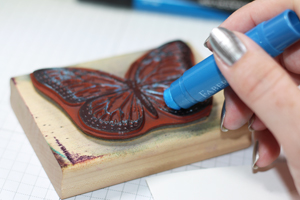
Step 1
Apply metallic Gelato directly to your stamp image.
-
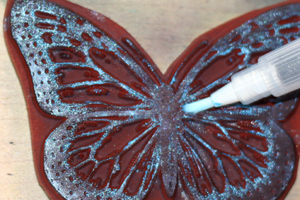
Step 2
Using a water brush, wet the Gelato directly on the stamp.
-
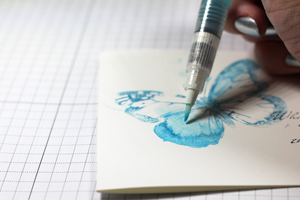
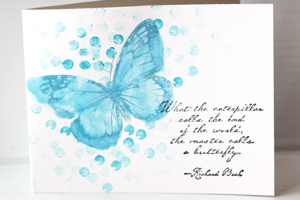
Step 3
Stamp image, and then using water brush, fill in the edges with more Gelato to create a shadow image for the card base.
-
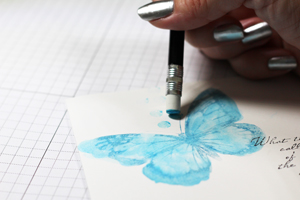
Step 4
Using the eraser like a stamp, add ink, and then gelato and stamp around your focal image - beginning close to the image and stamping farther away as the ink fades on the eraser.
-
Step 5
Continue stamping circles, some intense and some pale until you have the background you want.
-
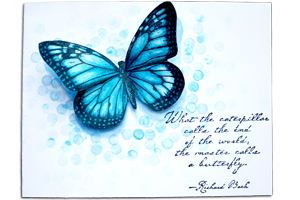
Step 6 (Optional)
Add a finished image, popped up over the shadow you created, to finish your card.
Video!
Variations
-
Highlight a die cut:
Use a die cut or punched shape instead of a stamped image for the focal point.
Your Turn
You've seen the tutorial, now you try it! We've got a section of the gallery set aside for Bokeh Background. Try this technique, then upload your artwork to the gallery. Show us your creations!
***Please note - Internet Explorer/Edge is not a supported browser, and will not allow you to see the videos. Please use Chrome, Firefox or Safari to view our tutorial videos.

 *
*
Questions and Comments
We'd love to get your feedback or questions. Leave your comment below.
Pat St Martin
Page 1 of 3 pages 1 2 3 >