Assembly Line Stamping
by Lisa Foster
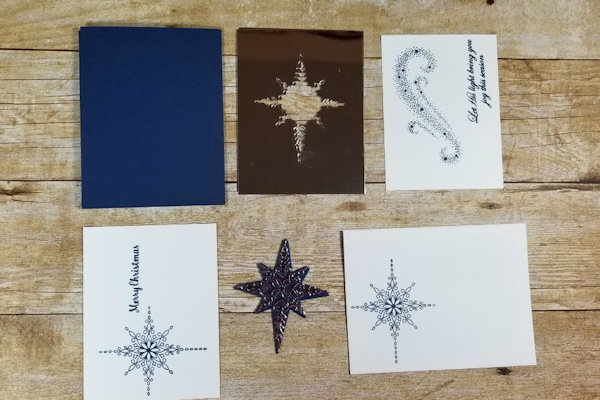
Try these tips for mass producing cards.

Supplies
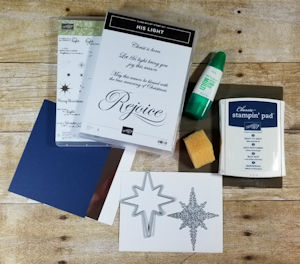
- Cardstock (Stampin’ Up!® Night of Navy, Silver Foil and Whisper White, scraps of Night of Navy used here)
- Ink (SU Night of Navy used here)
- Stamps (SU His Light and Star of Light used here)
- Die cuts (SU Starlight dies used here)
- Die cutting machine
- Other supplies as needed to complete the project (used here: strong liquid adhesive, craft mat, sponge, white envelopes, acrylic blocks, tape runner, adhesive-backed foam dimensionals. Pre-cut card bases if desired as an alternative.)
Step-by-Step
-
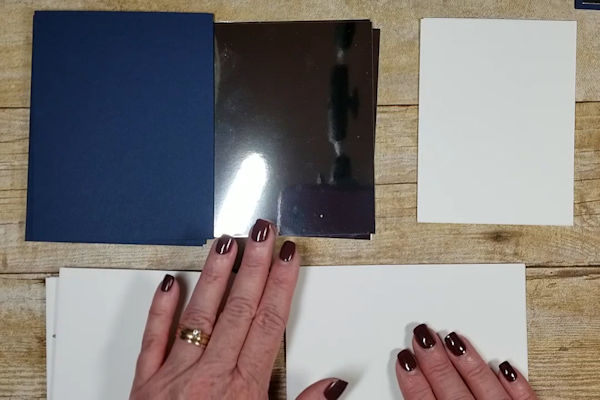
Step 1
Cut and score all your card bases first. Cut layering panels to size.
For the sample, card bases were cut to 5.5” X 8.5”, scored and folded at 4.25”. Silver foil layers were cut to 5.25” X 4”. White panels were cut to 5” X 3.75” (card front) and 5.25” X 4” (inside). -
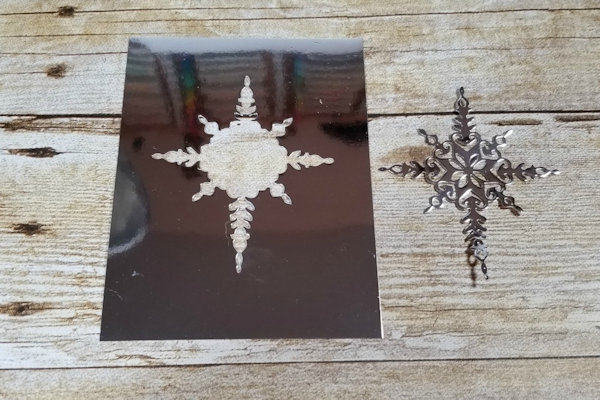
Step 2
Die cut layering pieces or embellishments from the center of a layering panel to save cardstock.
For the sample, a silver star was cut from the center of the silver layering panel. -
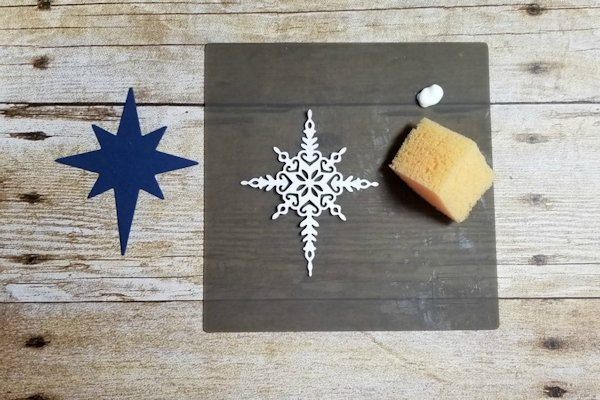
Step 3
Squeeze out a small amount of glue onto a craft sheet or other nonporous surface. Use a sponge to lightly apply the glue to die cut pieces.
-
Step 4
Stamp all pieces at one time (including the envelope, if desired).
TIP:
To ease this process, use a stamp positioner. -
Step 5
Line up all card elements in the order they are to be assembled, then assemble by layers, leaving embellishments to the end.
-
Step 6
Complete the cards!
Other helpful tips:
Stamp on pre-cut and scored card bases with matching envelopes.
Enlist family and friends to create an assembly line! Make it a FUN party!
When coloring an image, be sure to cut the image out before coloring in case of a coloring mishap.
Enjoy the process and think of how your recipients will be touched by your special handmade cards.
Share your tips in the comments below!

Video!
Your Turn
You've seen the tutorial, now you try it! We've got a section of the gallery set aside for Assembly Line Stamping. Try this technique, then upload your artwork to the gallery. Show us your creations!
***Please note - Internet Explorer/Edge is not a supported browser, and will not allow you to see the videos. Please use Chrome, Firefox or Safari to view our tutorial videos.

Questions and Comments
We'd love to get your feedback or questions. Leave your comment below.
First I have to figure out what the design will be, and I usually try to make 8 to 10 at a time. Clean and simple like yours, help to make them quickly.
My envelopes usually have assorted small stamps used on them, but matching if there's room. thanks again.
The first time I really did some stamping was for my wedding invitations, envelopes, and thank you cards. My sister-in-law invited a friend of hers over and we made them assembly line style.
Martha stamped them with Versamark, I put on the embossing powder and Jan heat embossed them. They were very simple. We already had the sentiment printed on them.
Thanks for a lovely tutorial.
Page 1 of 1 pages