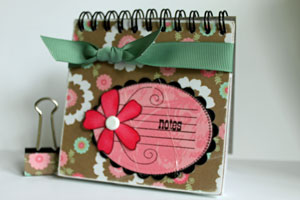
Altered Notepad
by Beate Johns
Take wire-bound notepads apart, decorate the front and put it back together.
Supplies
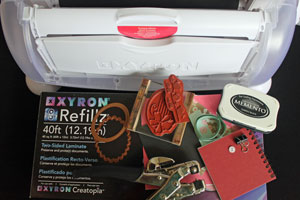
- Wire-bound Notepad
- Patterned Paper , Paper Salon paper used here
- Strong Adhesive , Xyron™ Creatopia used here
- Crop-a-Dile™, or other hole punch
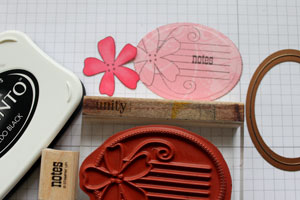
- Stamps (Unity's Endings & Beginnings kit used here
- Ink
- Embellishments
Step-by-Step
-
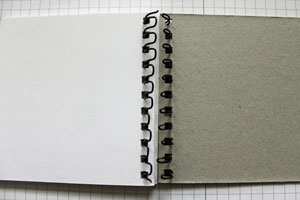
Step 1
Open the notepad to the last page.

-
Open the bindings wide enough to remove the covers.
-
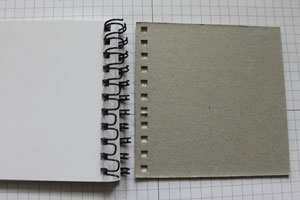
Step 2
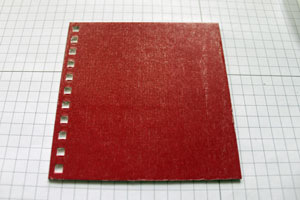
Remove the back cover.
-
Remove the front cover.
-
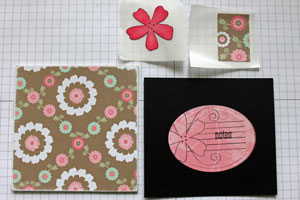
Step 3
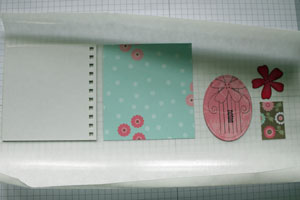
Stamp image either on cardstock or patterned paper.
-
Step 4
Apply adhesive to the back side of all pieces.
Here, all pieces were lined up in the Creatopia's tray. Push towards the ruler and start turning the handle to run them through the machine and apply adhesive to all pieces at once.
Tip: When using a Xyron, make sure anything that needs adhesive is placed right side up before running through the machine.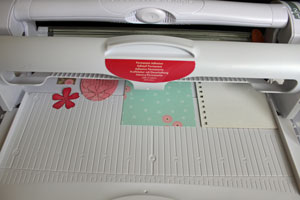
-
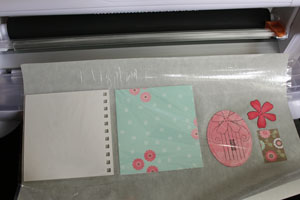
Once all pieces have emerged from the other side of the machine, use the cutting tool to cut the film.
-
Step 5
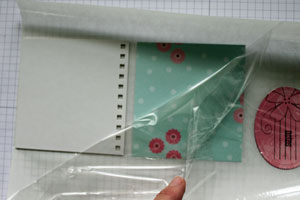
Remove the plastic sheet.
-
Your pieces are now covered with adhesive and ready to be used.
-
Step 6
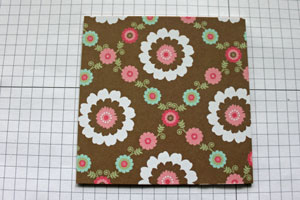
Remove notepad cover from backing sheet.
-
Add piece of patterned paper the same size as the cover over the exposed adhesive.
-
Step 7 (Optional)
Sand the edges of your cardstock for a softer look.
-
Step 8
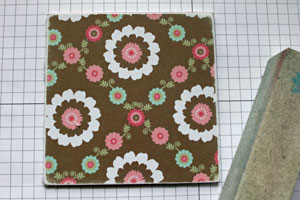
Adhere a slightly smaller piece of patterned paper to the back of the cover.
Leave enough of the cover exposed so you can still see the binding holes.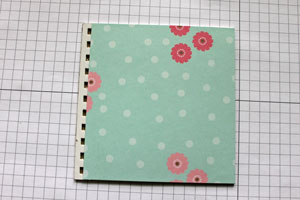
-
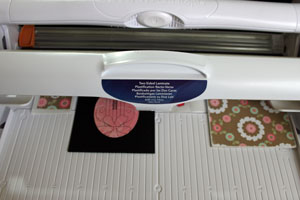
Step 9 (Optional)
Prepare all the pieces for lamination.
-
Step 10 (Optional)
Replace adhesive cartridge with laminating cartridge and line up the pieces you want to laminate
-
and run through the machine.
Tip: The Creatopia applies laminate to BOTH sides of anything that is run through the machine. Leave the backing sheet on anything that you want to remain sticky. Here, only the cover was laminated on both sides.
-
Step 11
Trim excess lamination from all pieces.
Tip:
Don't remove backing sheet until you've trimmed the extra lamination film from the piece.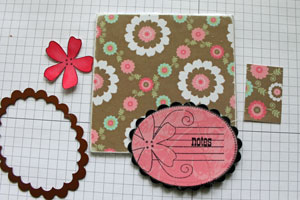
-
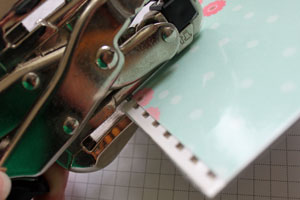
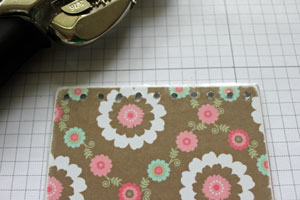
Step 12
Use a Crop-a-Dile™ or other hole punch to punch through the binding holes.
-
-
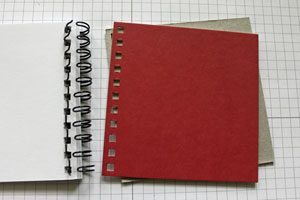
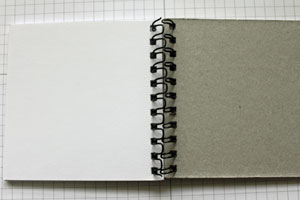
Step 13
Thread the cover back onto the binding.
Start with the front cover facing up,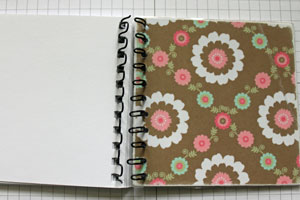
-
then move on to the back cover.
-
Step 14
Decorate the front.
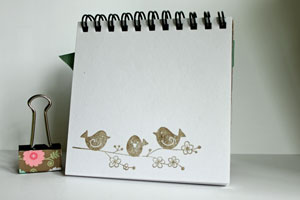
-
Add stamped images to the pages to spruce them up.

Video!
Your Turn
You've seen the tutorial, now you try it! We've got a section of the gallery set aside for Altered Notepad. Try this technique, then upload your artwork to the gallery. Show us your creations!
***Please note - Internet Explorer/Edge is not a supported browser, and will not allow you to see the videos. Please use Chrome, Firefox or Safari to view our tutorial videos.
 *
*
Questions and Comments
We'd love to get your feedback or questions. Leave your comment below.
Additional idea, make pocket dividers out of cardstock to insert into the book between the pages before putting back together. Makes a great planner for new babies, weddings, shopping, project journal, travel journal, gardening journal etc.
Tie variety of ribbons on the wire spiral.
I think it was a little of both. I wanted to save on the laminating cartridge and laminated everything together. I think it will be better if you have thicker items like the notebook cover (which was like a 1/4" thick chipboard), that you run those items through by itself. Laminating thin paper sheets without wrinkles is no problem.
A Splitcoaststamper member has requested journals for cancer patients. So this tutorial is very timely for me to try & participate. I've never made a journal before. Her request is on the Need a Lift forum under Journals of Love for Cancer in case anyone else is interested. I'm a cancer survivor & know writing or even coloring/crafting is great therapy!
I like the altered notebook. But I'm not impressed with the new Xyron, my Xyron 150 has the same problem, when I try to laminate something it always gives wrinkles. I only use it for adhesive now.
Eveline.
Try going to LSS or Archivers, Sign up for a class or 2 to help meet new fellow crafters.
I am trying to make a Christmas cracker.
It has more sharp corners than the usual round edged cracker. It holds a very small chocolate bar.
Page 1 of 1 pages