Altered Canvas
by Kimberly Van Diepen
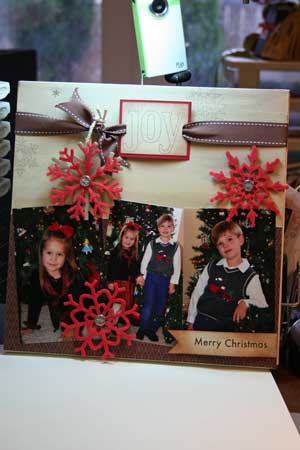
Alter a canvas with paint, photos and stamps and turn it into a wall hanging.
Supplies
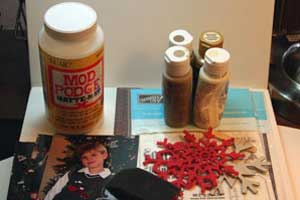
- Stretched Canvas
- Patterned Paper
- Mod Podge™ Matte Finish
- Acrylic Paint
- Two Sponge Brushes
- Paint Trays
- Stamp set of choice
- Horizontal Slit Punch
- Cardstock
- Embellishments
- Photo (Any photo size will do. Photo must be professionally developed.)
Step-by-Step
-
Step 1
Choose 4 complimentary colors of acrylic paint.
Add a little of each paint to your paint tray or styrofoam plate.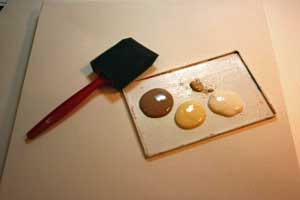
-
Step 2
Use long even strokes to paint the canvas with a foam brush. Make sure none of the canvas shows through your paint.
Use the darker shade of paint around the edges for a nice contrast.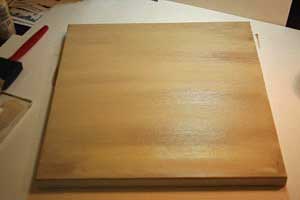
-
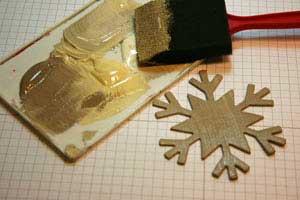
Step 3
Paint chipboard using the same acrylic paint colors. Let dry.
-
Step 4
Using a foam brush, lightly coat canvas with Mod Podge™ where you will place the patterned paper. Place your patterned paper over the Mod Podge™ area. Lightly press any air bubbles out using your fingers. Let dry.
Tip:
If you notice a lot of air bubbles you probably have TOO much Mod Podge™. Place a small amount of Mod Podge™ on your finger and press air out lightly.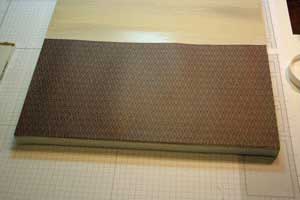
-
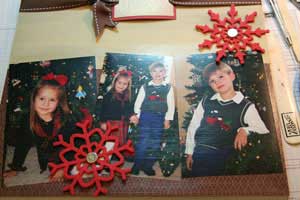
Step 5
Lightly apply Mod Podge™ to the back of your pictures. Place pictures onto canvas and lightly press out bubbles. Apply Mod Podge™ over pictures. Let dry.
Note:
Pictures will appear milky white. Make sure to use even strokes when applying Mod Podge™ for a finished look.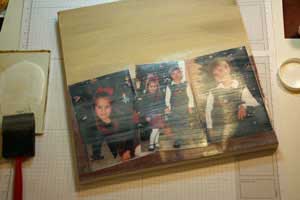
-
Step 6
Apply rub ons to neutral cardstock. Stamp image lightly over rub ons and adhere onto coordinating cardstock.
Punch two slits using horizontal slit punch.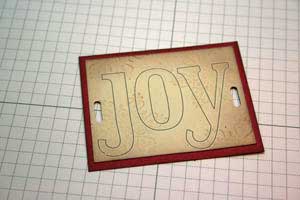
-
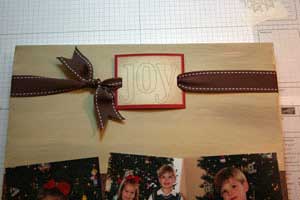
Step 7
Wrap ribbon around canvas and tie into square knot.
-
Step 8
Add embellishments to canvas.
-
Step 9
Chipboard was embellished by adding a large felt snowflake with a decorative brad.
Punch hole into chipboard and hang from ribbon.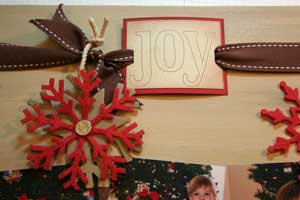
-
Step 10
Apply rub on to neutral cardstock and cut corners to make a paper banner. Stamp coordinating image.
Adhere banner to canvas with glue dots.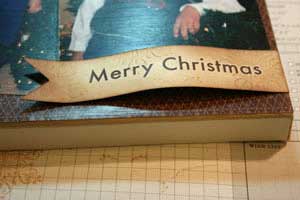
-
Your canvas is finished.

Variations
Tips & Tricks:
If you stamp onto your canvas use a pigment ink. Place a hard surface underneath the canvas so you can add pressure when stamping. Rub ons can be added before or after Mod Podge™.
Your Turn
You've seen the tutorial, now you try it! We've got a section of the gallery set aside for Altered Canvas. Try this technique, then upload your artwork to the gallery. Show us your creations!
***Please note - Internet Explorer/Edge is not a supported browser, and will not allow you to see the videos. Please use Chrome, Firefox or Safari to view our tutorial videos.

Questions and Comments
We'd love to get your feedback or questions. Leave your comment below.
Your altered canvas looks like a work of art. Thank you for sharing the idea. Sometime between now and the New Year I'm going to have to give this a try.
Hugs,
Still needing SU wall calendar ideas, so if you have any ideas, or know of any to look at. Send them my way if you can ok...
Have a Blessed and Healthy New Year!
Marlamae
are the brads though the canvas
Page 1 of 1 pages