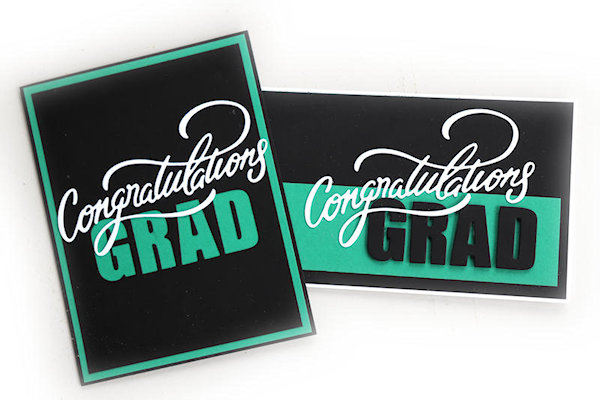
Aligning Letter Dies
by Dina Kowal
Learn tricks for lining up alphabet dies and die cut letters.
Supplies
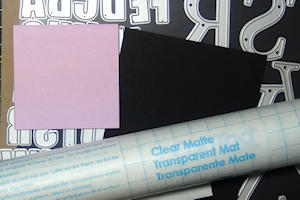
- Cardstock
- Alphabet die set with individual letters (Whimsy Stamps Bold ABC Die Set used here)
- Sticky notes
- Repositionable shelf liner, masking paper, transfer paper, or Glad® Press'n Seal® Food Wrap (Con-Tact® Self-Adhesive Shelf Liner, Clear Matte used here)
- Ruler or straight edge (Cut-Align by My Sweet Petunia used here)
- Adhesive (Bearly Art glue and 3M foam tape used here)
- Other supplies as needed to complete the project (used here: Impression Obsession DIE682 Congratulations)
Step-by-Step
-
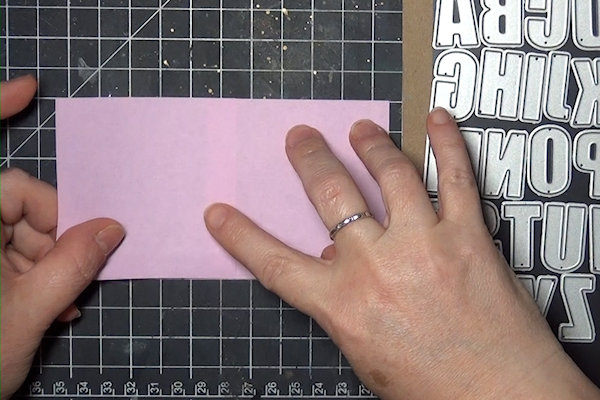
Step 1
Prepare a sticky note with the sticky side at the bottom and facing up.
-
If necessary for longer words or larger dies, stick two sticky notes together, overlapping and aligning the bottom edge. Tape toward the top if needed.
-
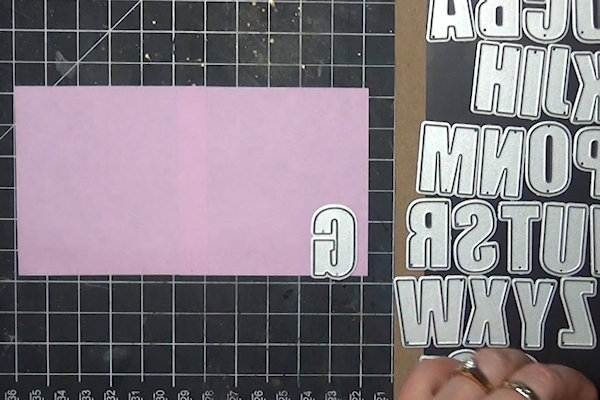
Step 2
Use the bottom edge of the sticky note(s) as a guide for your letter dies. Align the cutting edge on the edge of the paper, not the edge of the die, as margins may vary. Build your word from right to left – remember, you will be flipping it over to cut it from the cardstock.
-
Continue building from right to left.
-
Step 3
Check your work and make adjustments as needed.
-
Step 4
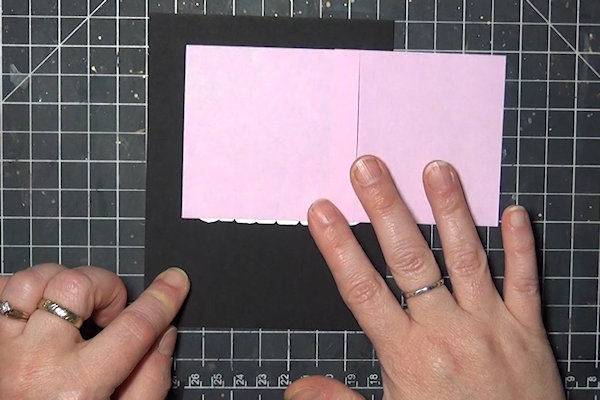
Flip the assembly onto your cardstock and position the word where you want it cut out. The other edges of the sticky note are helpful in checking for straight alignment.
-
Step 5
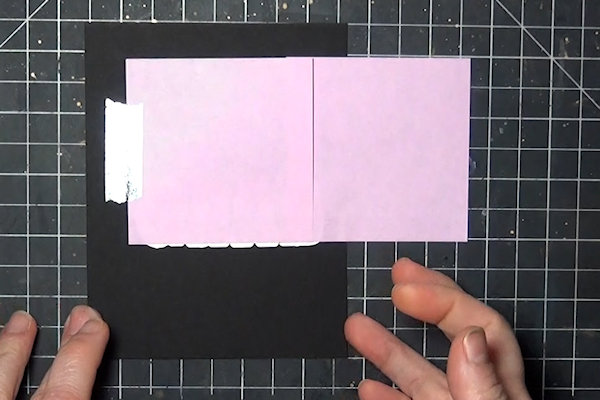
Press down any exposed adhesive on the sticky note, and add washi tape as needed to make sure the whole assembly stays in place for die cutting.
-
Step 6
Run the cardstock panel through your die cutting machine.
-
Remove the dies from the panel, but leave them attached to the sticky notes, especially if you’ll be cutting more panels for other cards. If there are negative cuts stuck in the die, leave them in.
-
Step 7
Adhere the cut panel to a card base.
-
If there are cutouts from any of the letters, adhere them in place. If they are still in the die, you may be able to add a little glue, align the dies into the cut opening, and press the pieces onto the cardstock through the holes in the dies.
-
Step 8
Embellish the panel as desired and complete the card.
-
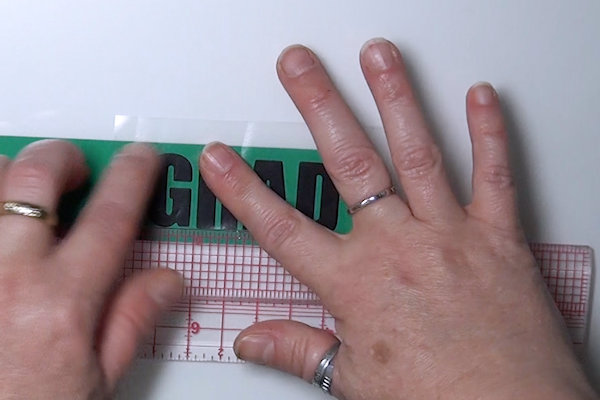
Step 9
Use a straight edge or ruler as a guide for aligning the cut out letters. (For the sample, the letters are 1” tall – the panel is 1 1/2" tall so the Cut-Align ruler was used to create a base line 1/4" from the edge.)
-
Step 10
Use repositionable contact paper or another removable adhesive sheet to hold the letters in place. Be sure the sheet extends past an edge of the panel so it can be folded to the back.
-
Fold the contact paper over to the back of the panel to create a hinge.
-
Step 11
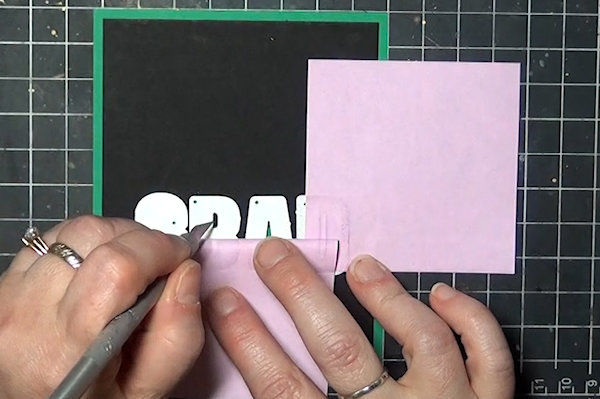
Lift the contact paper up with the die cut letters, and fold it back from the panel.
-
Add glue or foam adhesive to the back of the letters.
-
Step 12
Fold the panel up over the letters and burnish well to ensure that the letters are well adhered.
-
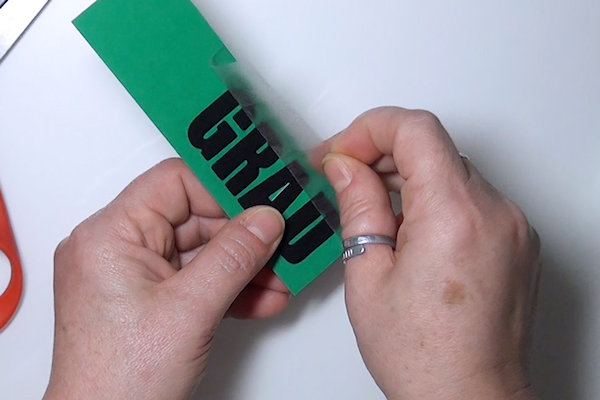
Step 13
Remove the contact paper.
-
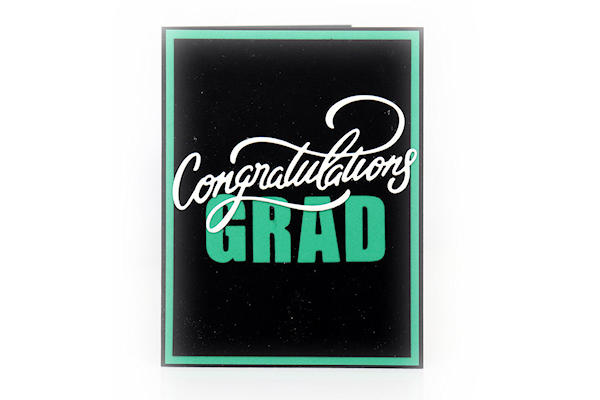
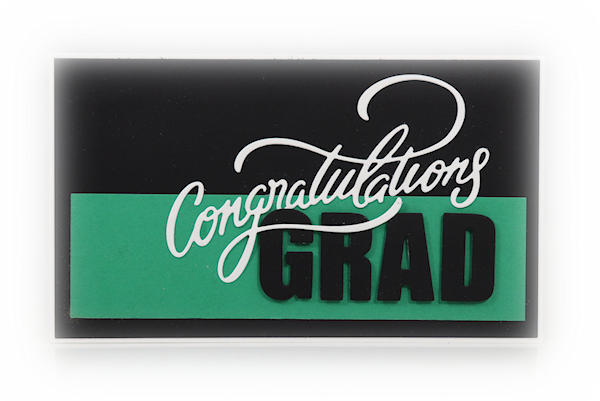
Step 14
Embellish the panel as desired and complete the card.


Video!
Your Turn
You've seen the tutorial, now you try it! We've got a section of the gallery set aside for Aligning Letter Dies. Try this technique, then upload your artwork to the gallery. Show us your creations!
***Please note - Internet Explorer/Edge is not a supported browser, and will not allow you to see the videos. Please use Chrome, Firefox or Safari to view our tutorial videos.

 *
*
Questions and Comments
We'd love to get your feedback or questions. Leave your comment below.
Page 1 of 1 pages