Acrylic Distress
by Beate Johns
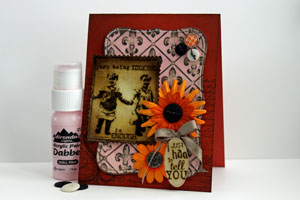
Create a rustic background with an embossing folder and acrylic paints.
Supplies

- Embossing Folder (Cuttlebug™'s Fleur De Lis used here)
- Cardstock
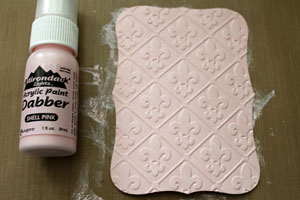
- Light Acrylic paint (Adirondack® Shell Pink Acrylic Paint Dabber used here)
- Sanding tool
- Brown dye ink, (Walnut Stain Distress ink used here)
- Blending tool
- Water mister
- Cotton cloth
- Additional cardstock and embellishments to finish the project
Step-by-Step
-
Step 1
Cut your cardstock to the size you need. Emboss the cut cardstock with an embossing folder and die cutting machine of your choosing.
Alternative:
A Label 8 Nestabilities™ die was used to cut the piece in the sample, but you can use any shape die.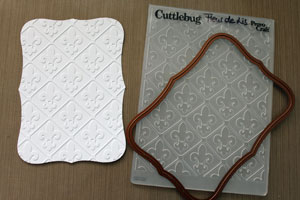
-
Step 2
Apply Acrylic Paint over the entire piece of cardstock. Let paint dry.
-
Step 3
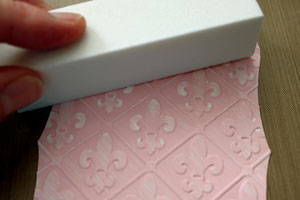
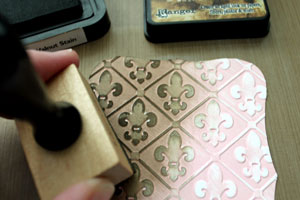
Start sanding the raised images.
-
Continue to sand until most of the paint on the raised part of the cardstock has been removed.

-
Step 4
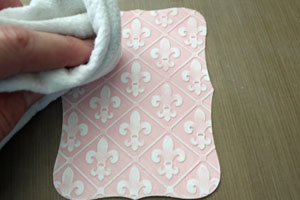
Wipe away dust with cotton cloth.
-
Step 5
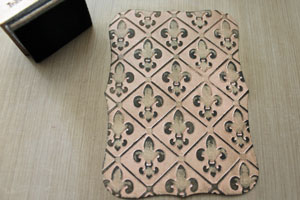
Apply brown dye ink to the cardstock.
-
Continue to blend ink into the cardstock until the entire piece is covered.
-
Step 6
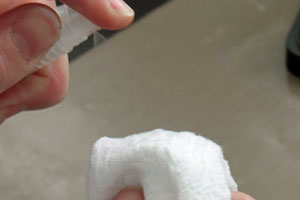
Dampen the cotton cloth with a water mister.
-
Step 7
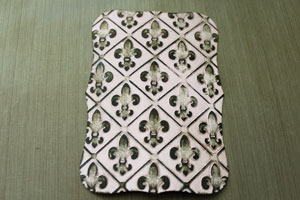
Clean the excess ink off the painted cardstock with a moist cloth.

-
The brown ink will only remain where the acrylic paint has been sanded off.
-
Step 8
Finish your project.
Video!
Your Turn
You've seen the tutorial, now you try it! We've got a section of the gallery set aside for Acrylic Distress. Try this technique, then upload your artwork to the gallery. Show us your creations!
***Please note - Internet Explorer/Edge is not a supported browser, and will not allow you to see the videos. Please use Chrome, Firefox or Safari to view our tutorial videos.
Questions and Comments
We'd love to get your feedback or questions. Leave your comment below.
I love using distress inks and distressing!
I definitely have to try this!!
Page 1 of 3 pages 1 2 3 >