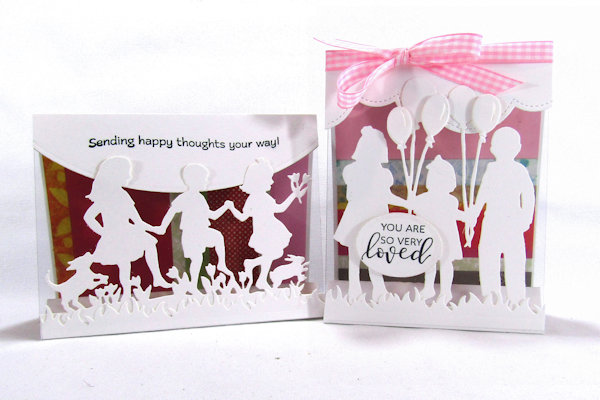
Acetate Tent Card
by Dina Kowal
Make a tent card with a clear front.
Supplies
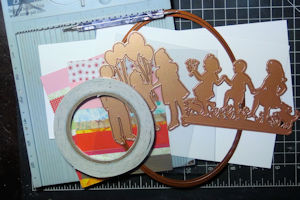
- Cardstock for base (Neenah 110# Classic Crest Solar White cover stock used here)
- Background panel (quarter sheet of solid or patterned paper, gel print, stamped, stenciled or sponged background, etc.)
- Scoring tool
- Border edge die or large shaped die (Spellbinders Grand Nestabilities Oval die used here)
- Strong double sided tape (Scrapbook.com brand used here)
- Heavy clear sheet (20 mil report cover used here)
- Dies (Spellbinders Shapeabilities Dance For Joy and The Cat’s Pajamas Grass Cutups used here)
- Sentiment stamp (Impression Obsession C13769 Happy Thoughts used here)
- Adhesive (Grafix Artist-Tac Dry Adhesive Sheet used here)
- Ribbon (opt.)
- Other supplies as needed to complete the card
Step-by-Step
-
Step 1
Cut a sheet of sturdy cardstock in half to create a 5 1/2” x 8 1/2" panel.
Score along the long side at 1 3/4”, 6”, 7”, 8”. -
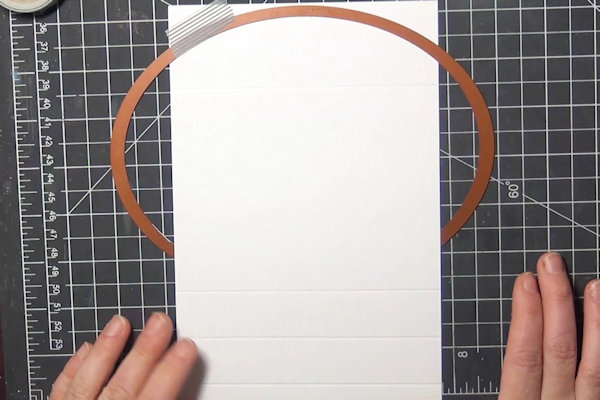
Step 2
Use a decorative edge die to shape the 1 3/4" end section of the panel.
If you don’t have a border die, you can use one side of a larger shaped die that will accommodate a 5 1/2" panel width. Slide the panel through the opening of the die so that the cutting edge is only on top of the panel where you want to cut. -
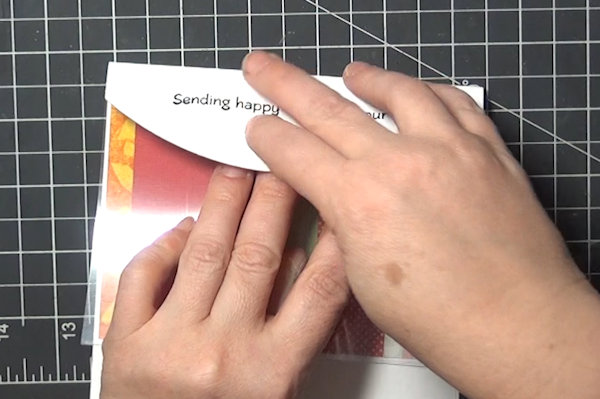
Step 3
Plan your design. If you want to have a stamped sentiment on the 1 3/4" section of the panel, stamp it now. (Remember, the top panel will fold down onto the card front. Orient your stamping as shown.)
-
Step 4
Trim down the quarter sheet background panel, cutting 1/8” from the width and length (finished size 4 1/8" x 5 3/8"). Adhere it to the inner section of the card.
-
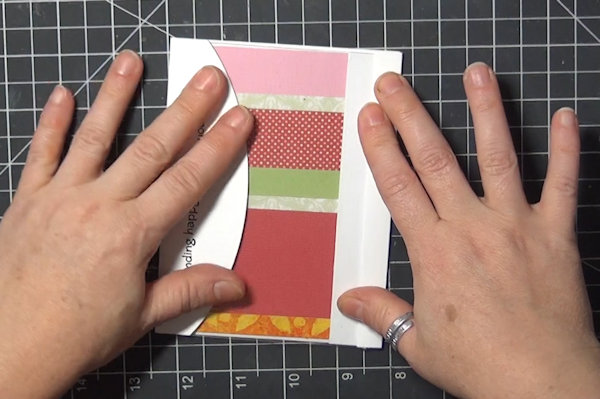
Step 5
Add strong double sided tape on the top flap…
-
…and on the 1/2" flap at the bottom of the card.
-
Step 6
Pull off the liner of the tape at the top of the card first. Line up the acetate panel with the fold, and close the card to adhere.
-
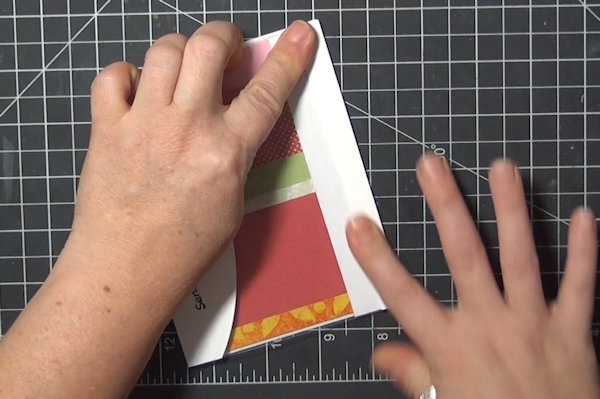
Step 7
Fold the panel up at the 6” score line, down, and then up again to create the tent base.
-
Step 8
Before removing the liner of the tape on the 1/2” flap, check to make sure the acetate panel is sized correctly. Trim slightly if needed. You may need to trim up to 1/8” from the bottom, depending on the thickness of your cardstock.
-
Pull off the liner of the tape at the bottom, tucking the acetate under the 1/2" flap. Press to adhere.
-
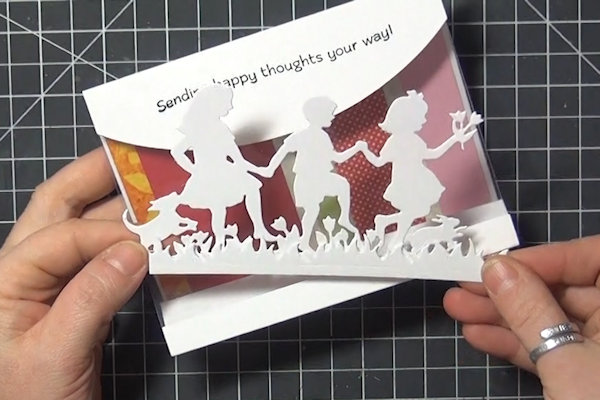
Step 9
Adhere die cuts to the front of the card. Tie a ribbon around the top fold or add other embellishments if desired.
-
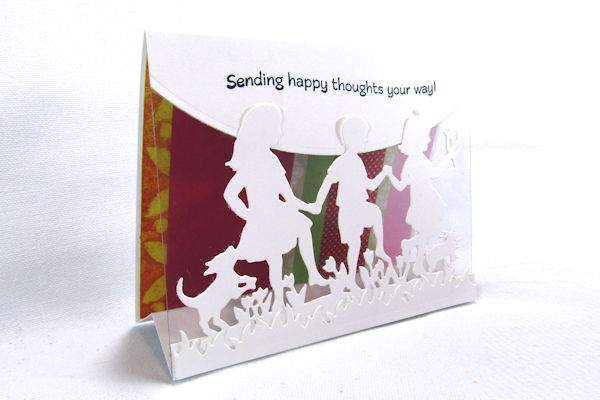
Step 10
Complete the card.
-
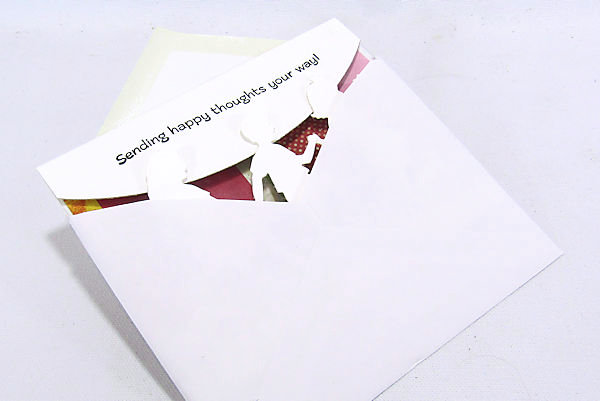
This card will fold flat for mailing in a standard A2 envelope. Depending on the thickness of your cardstock, the fit may be a little snug, and the card may require extra postage.


Video!
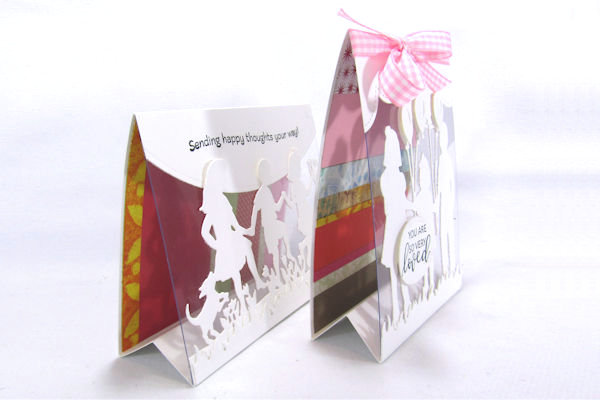
Variations
-
For a vertical tent card, begin with a card base that is 9 3/4" x 4 1/4". Score along the long side at 1 3/4", 7 1/4", 8 1/4”, and 9 1/4". Follow the rest of the instructions above.
Supplies used here: Lawn Fawn Puffy Cloud Border Lawn Cuts, Spellbinders Shapeabilities Balloon Kids, Nestabilities Classic Ovals, The Cat’s Pajamas Grass Cutups; Impression Obsession B13775 So Very Loved
-

Your Turn
You've seen the tutorial, now you try it! We've got a section of the gallery set aside for Acetate Tent Card. Try this technique, then upload your artwork to the gallery. Show us your creations!
***Please note - Internet Explorer/Edge is not a supported browser, and will not allow you to see the videos. Please use Chrome, Firefox or Safari to view our tutorial videos.

Questions and Comments
We'd love to get your feedback or questions. Leave your comment below.
Thank you and anxious to make.
Linda R
Thanks for the trick and tips, Dina!
This is a fantastic card! Keep up the great work!
Thanks for you help.
Page 1 of 1 pages