Serendipity Technique
by Dina Kowal
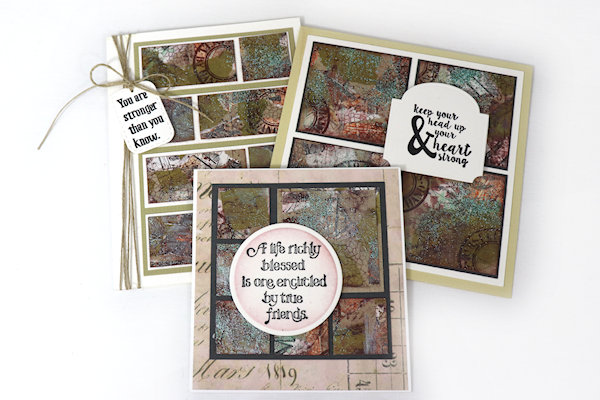
Create a mixed media masterboard then cut it into accent pieces.
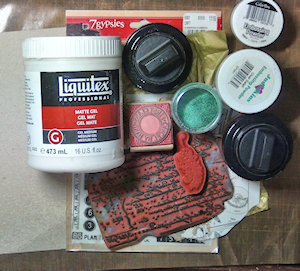
Supplies
- Sturdy paper or lightweight chipboard (chipboard from the back of a paper pack used here)
- Matte gel medium (can sub Mod Podge, glue stick, or diluted white glue)
- Tissue paper and/or designer papers
- Palette knife or wide brush
- Stamps
- Embossing powder (Ranger Verdigris embossing powder used here)
- Heat tool
- Inks (Versafine Clair Pinecone and Distress Oxide Cracked Pistachio used here)
- Gilding paste or acrylic paint (Mint metallic gilding polish used here)
- Heavy duty trimmer
- Other supplies as needed to complete the project
Step-by-Step
-
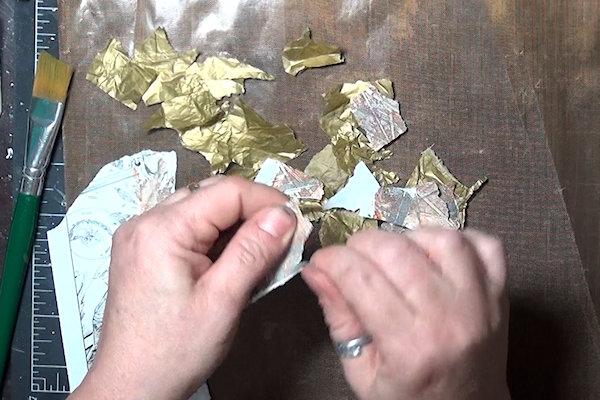
Step 1
Choose some lightweight coordinating papers. For the sample, metallic tissue paper and a gel printed textbook page were used. Tear the paper into pieces about 1” in size.
-
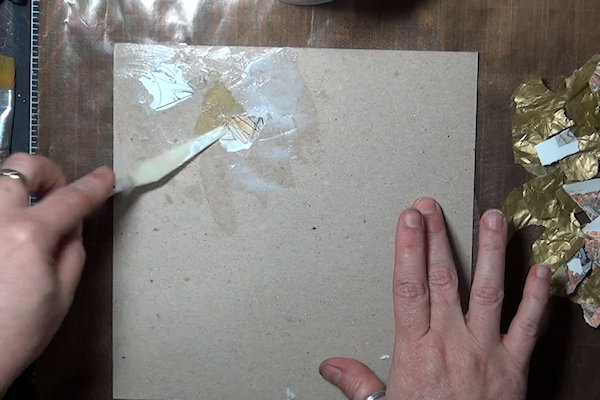
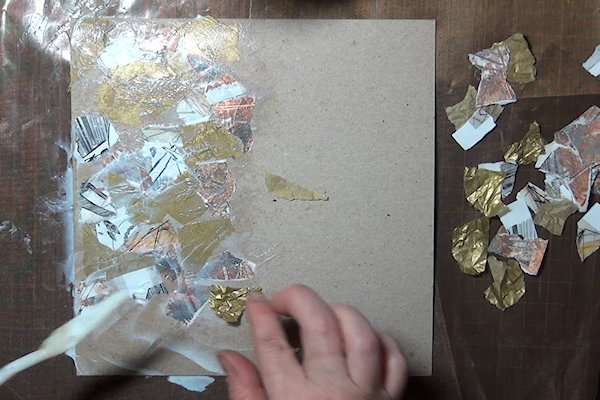
Step 2
Working on a substrate of lightweight chipboard or heavy paper, spread matte gel medium in one area at a time, and adhere the paper pieces randomly. Use a brush or palette knife to smooth the paper scraps down.
NOTES:
Matte gel medium is best for this technique because it spreads easily for good adherence to the panel, and can be spread over the top of the pieces as well to smooth them down. If you use another adhesive, use complete coverage to ensure that all pieces are stuck well when the panel is cut up.
Wrinkles in tissue paper create great texture in later steps. -
You can cover the area completely with paper, or leave some of the base color showing through.
-
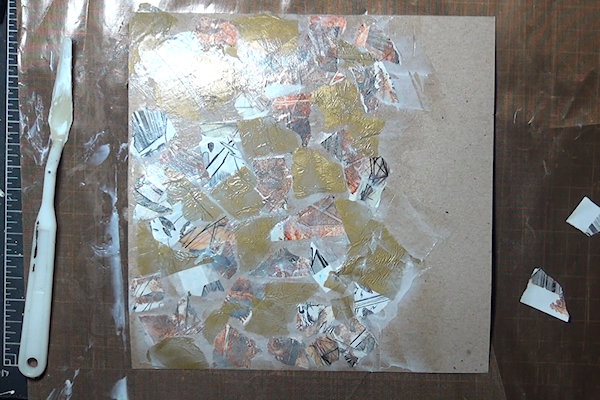
Step 3
When you are pleased with the coverage of your base, leave it to dry completely.
TIP:
Once the panel is dry to the touch, press it under a book to prevent warping. -
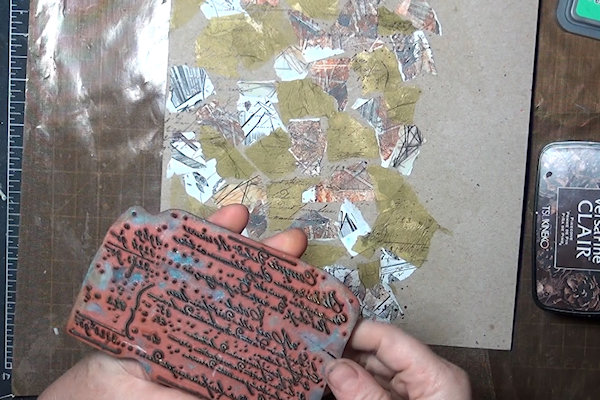
Step 4
When the panel is completely dry, add decorative stamping. Here a script stamp was used randomly over the panel to add a base of texture.
-
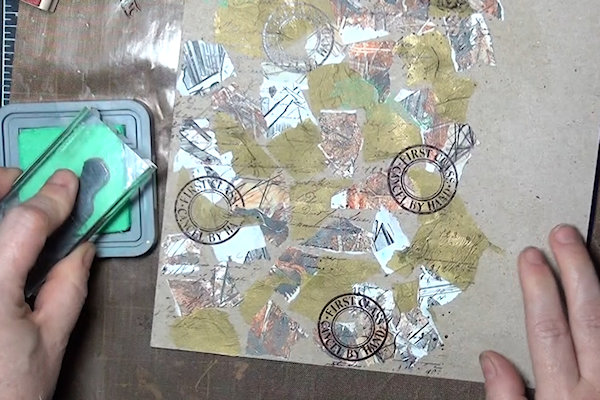
Add more stamping in coordinating colors.
TIP:
Use fine and bolder stamps for variation in design. -
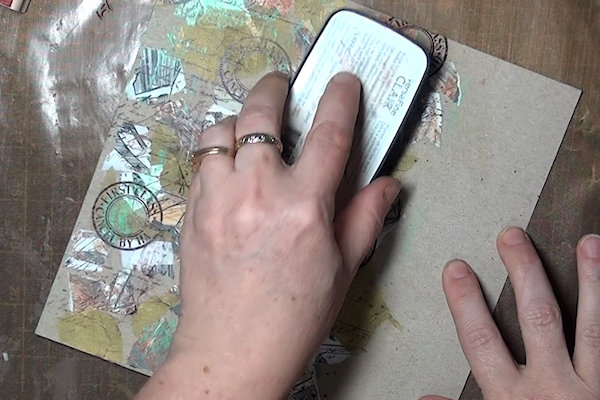
Step 5
Swipe ink lightly over the panel – this will add light color, highlight any texture already on the panel, and give random areas for embossing powder to stick to.
-
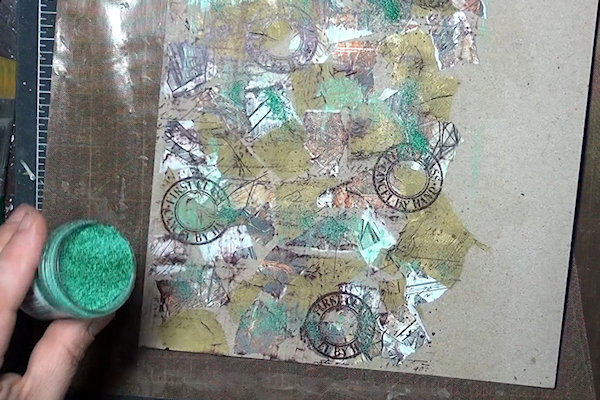
Step 6
Sprinkle embossing powder randomly on the panel.
-
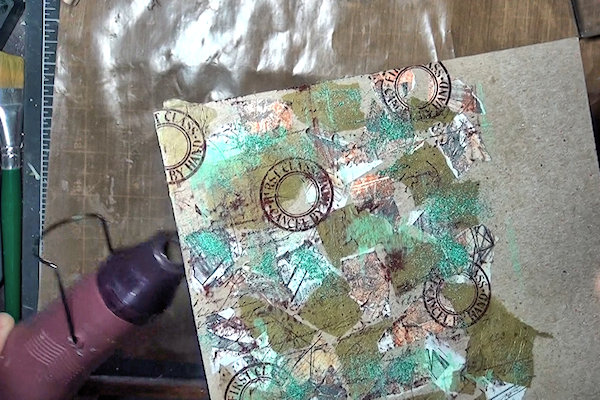
Heat from the back of the panel to activate the powder. If your panel is heavy, be sure to keep the heat tool moving to avoid scorching the paper and causing the matte medium to bubble up.
-
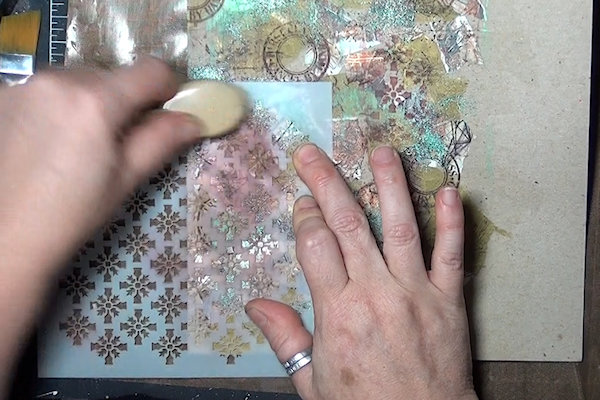
Step 7
Add stenciling to the panel using ink or paint.
-
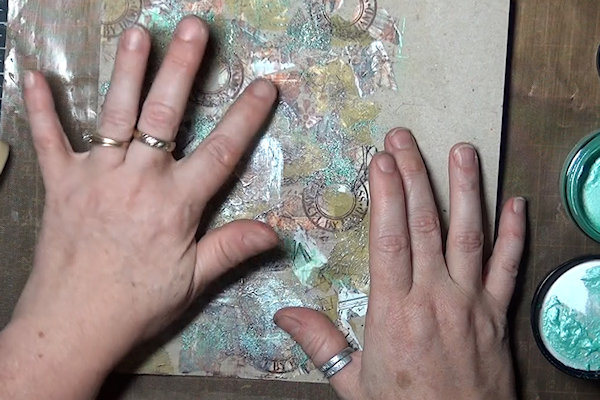
Step 8
Using your finger, very lightly apply gilding paste to the panel, highlighting any wrinkles, edges, or textures that appear.
-
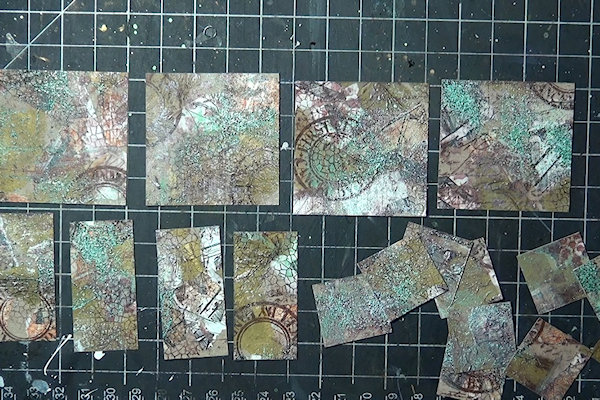
Step 9
Cut the panel into pieces. According to tradition, the pieces should not be larger than 2” square. Samples here were cut into 1” and 2” squares and 1” x 2” rectangles using a guillotine trimmer.
-
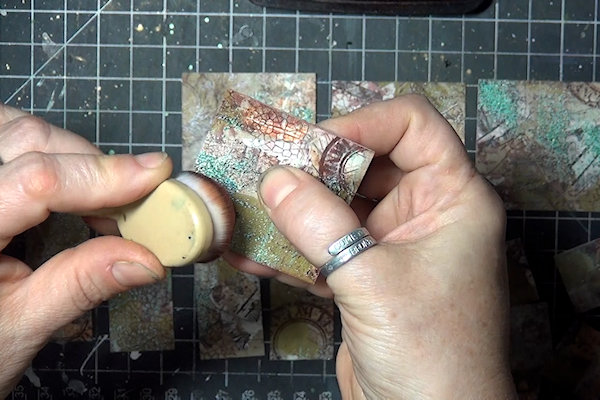
Step 10
Brush ink around the edges of the cut pieces if desired for a finished look.
-
Step 11
Arrange the pieces as desired to decorate cards or other projects.
Video!
Your Turn
You've seen the tutorial, now you try it! We've got a section of the gallery set aside for Serendipity Technique. Try this technique, then upload your artwork to the gallery. Show us your creations!
***Please note - Internet Explorer/Edge is not a supported browser, and will not allow you to see the videos. Please use Chrome, Firefox or Safari to view our tutorial videos.

Questions and Comments
We'd love to get your feedback or questions. Leave your comment below.
Page 1 of 1 pages