3D Dies
by Shelly Hickox
Adhere die cuts to create a 3D image.
Supplies
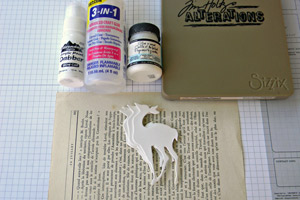
- Mat board or chipboard
- Die capable of cutting thick material
- Quick grip adhesive
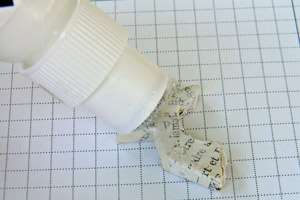
- White glue
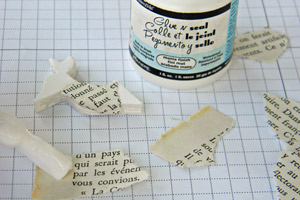
- Paper for covering completed die cuts (I used a vintage book page)
- White paint (optional)
Step-by-Step
-
Step 1
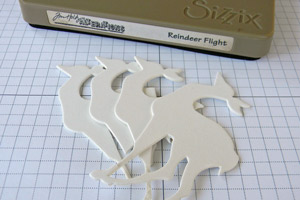
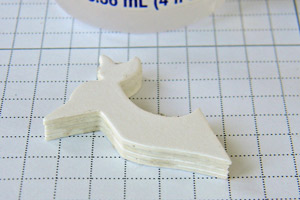
Die cut four pieces of chipboard or mat board in desired shape.
-
Step 2
Determine where the angled cut needs to be, if project requires it.
-
Step 3
Trim all die cuts as required.
-
Step 4
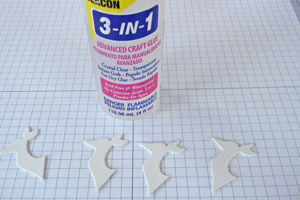
Glue shapes together, stacking one on top of another. Let dry.
-
Step 5
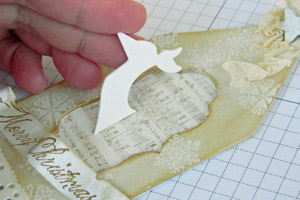
Tear paper into small pieces. Cover with glue and adhere to stacked die cuts, smoothing to follow the contours of the shape. Continue until the entire piece is covered.
-
Step 6 (Optional)
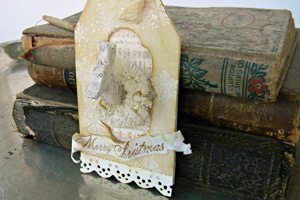
To soften the look of the text, cover lightly with white paint.
-
Step 7 (Optional)
Use completed 3D die piece in project as desired.

-
Video!
Your Turn
You've seen the tutorial, now you try it! We've got a section of the gallery set aside for 3D Dies. Try this technique, then upload your artwork to the gallery. Show us your creations!
***Please note - Internet Explorer/Edge is not a supported browser, and will not allow you to see the videos. Please use Chrome, Firefox or Safari to view our tutorial videos.

Questions and Comments
We'd love to get your feedback or questions. Leave your comment below.
Hugs and smiles
Hugs and smiles
What an awesome idea! I'll start looking at my dies
in a whole new way! Possibilities! What did you use for the wreath around the deers neck? Great
job! look forward to hearing from you.
CDRich
CD, the wreath is from Tim Holtz Woodlands Idea-ology set. It comes with a large and small tree and the wreath.
http://shellyhickox.blogspot.com/2011/11/oh-deer.html
Page 1 of 2 pages 1 2 >