3D Circle Ornament
by Chris Olsen
Use die cut circles to create a dimensional ornament.
Supplies

- Cardstock
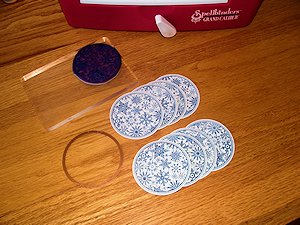
- Circle die (3" Spellbinders circle die used here)
- Stamps (Our Daily Bread designs Christmas Pattern Ornament stamp set used here)
- Ink
- Scoring tool
- Die cutting machine
- Scissors
- Strong adhesive (Zip Dry Glue used here)
- 2 long decorative stick pins
- 1 crystal bead - 10-15mm
- Cording - 11 inches
- Ribbon
Step-by-Step
-
Step 1
Die cut eight cardstock circles all the same size. Stamp with a coordinating circle stamp, or other background image.
-
Step 2
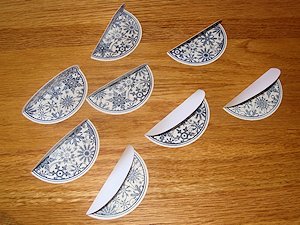
Fold or score each of the 8 circles in half on the side without stamping. Fold each circle in half.
-
TIP:
Use a scoring board or attachment for a crisp center line.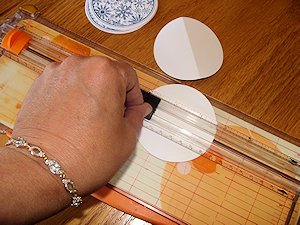
-
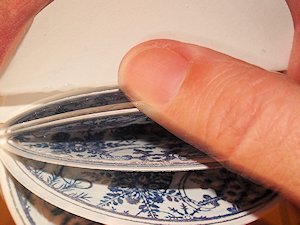
Step 3
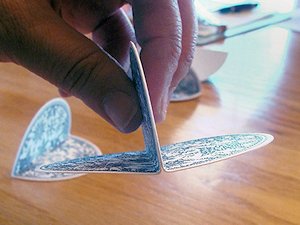
Glue together two circles by placing adhesive on half of each circle on the unstamped side.
-
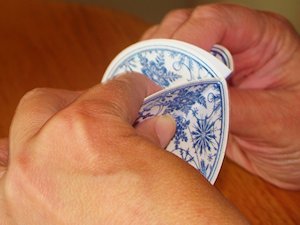
Step 4
Continue gluing the circles together by placing adhesive on one half of each circle until 4 circles are adhered together.
-
Step 5
Fold cording or twine in half to create a hanger. Make sure to have looped end out about 1 1/2" - 2" above the circle ornament. Glue in to ornament center.
NOTE:
The ends should not hang out at the bottom.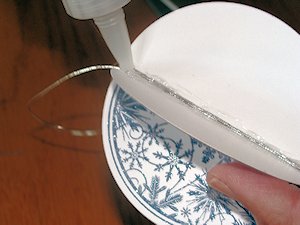
-
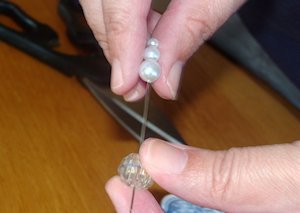
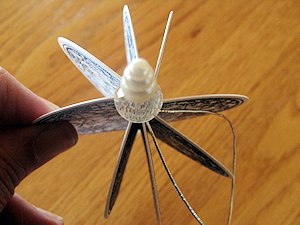
Step 6
Set aside ornament a minute while you place decorative bead on one beaded stick pin.
-
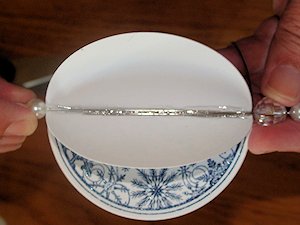
Step 7
Adhere both stick pins into the center of the folds, placing the stick pin with the added bead at the top where the cording or twine is folded. Beads should be placed to the outside of the circle’s edge.
-
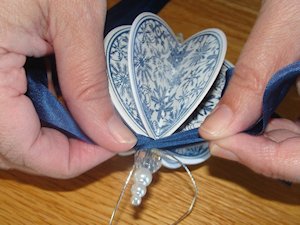
Step 8
Continuing placing adhesive on one half of the remaining circles and adhering to the ornament.
-
Step 9
On the last circle place adhesive on both sides and insert so there are no longer any blank sides showing.
-
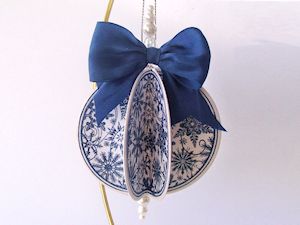
Step 10
Tie ribbon in a bow around the very top of the ornament.
-
Step 11
Complete and display the ornament.
Video!
Your Turn
You've seen the tutorial, now you try it! We've got a section of the gallery set aside for 3D Circle Ornament. Try this technique, then upload your artwork to the gallery. Show us your creations!
***Please note - Internet Explorer/Edge is not a supported browser, and will not allow you to see the videos. Please use Chrome, Firefox or Safari to view our tutorial videos.

Questions and Comments
We'd love to get your feedback or questions. Leave your comment below.
Thanks Dina too for doing the video! Love yours as well!
Page 1 of 1 pages