2-5-7-10 Box
by Jenn Balcer
Create party favors with just one sheet of cardstock, some scored lines, and some adhesive.
Supplies
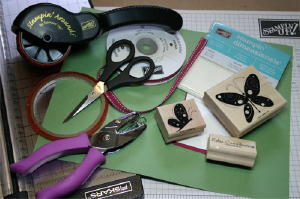
- 8 1/2" x 11" Sheet Colored Cardstock
- Cardstock scraps for front of box
- Corner Rounder Punch or decorative scissors
- 1/8" handheld circle punch
- Paper trimmer with scoring blade
- Scissors
- Sticky Strip™
- Stampin' Dimensionals
- Stamps, Ink, Ribbon
Step-by-Step
-
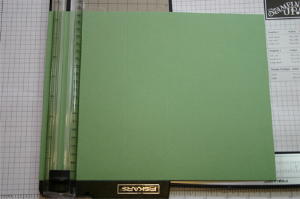
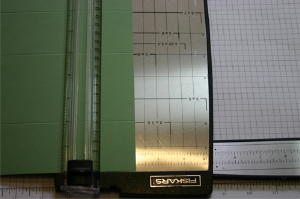
Step 1
Position cardstock lengthwise. Using scoring blade on paper trimmer, score cardstock at 2", 5", 7", and 10".
-
Step 2
Turn cardstock, and score at 2" and 7".
-
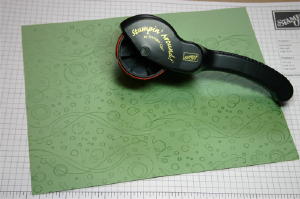
Step 3
Stamp scored cardstock as desired.
-
Step 4
Hold cardstock horizontally with the 2" section at the top.
Use scissors to cut off all but one 2" tall section from the top of the cardstock as shown. This will be the flap closure for the box.
Cut the narrow piece at an angle to create tab for adhesive.
Make vertical cuts at the bottom to create 1 1/2" tall flaps, and cut off the narrow piece. This will be the bottom of the box.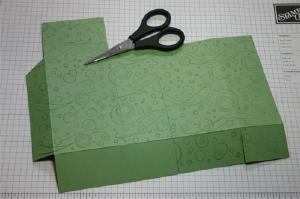
-
Step 5
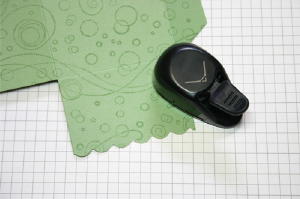
Remove guide from corner rounder and punch along 2" flap to create a scalloped edge on box flap, making sure to line punch up so that scallops connect. Or, use scalloped scissors for a faster decorative edge.
-
Step 6
Use a bone folder or other straight edge to sharply crease all scored lines to shape box.
Apply Sticky Strip™ close to side tab's score line.
Remove red liner, and carefully construct box.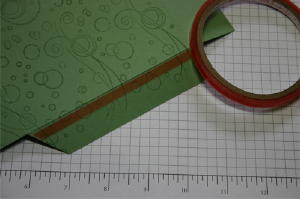
-
Step 7
Fold small flaps toward center of box, and large flaps over small flaps.
Apply Sticky Strip to outside edge of large flap under what will be the box front.
Remove red liner, and apply pressure to finish bottom of box.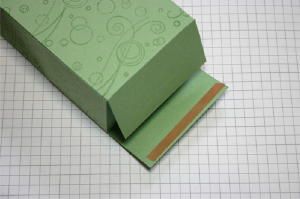
-
Step 8
Line up front of box with back of box at top and pinch together. Release.

-
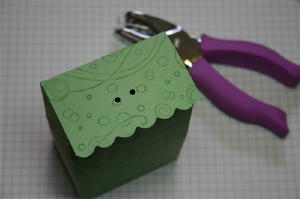
Punch two holes in flap with 1/8" handheld punch.
-
Step 9
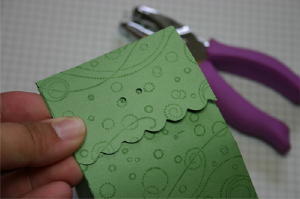
Pull flap down to close box, and use a pen to mark where holes were punched.
Use 1/8" handheld punch to punch holes at markings.
-
Step 10
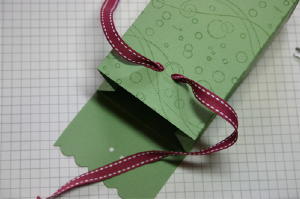
Thread ribbon through holes on box. Center ribbon.
Use 1/8" handheld punch to punch holes at markings.
-
Step 11
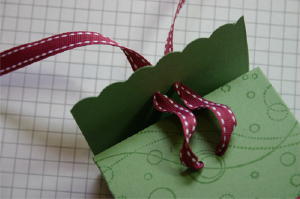
To close box, thread ribbon through holes punched through flap.
Pull to tighten, and tie bow.
-
Step 12
Stamp scrap cardstock (here, the largest layer is 2 3/4" square), embellish, and adhere to box front with Stampin' Dimensionals.
Enjoy filling and giving!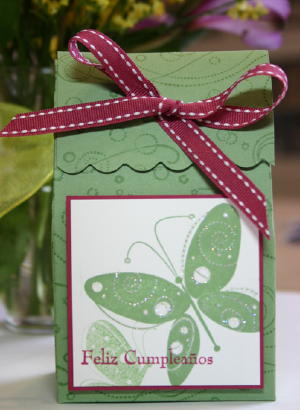
Video!
Your Turn
You've seen the tutorial, now you try it! We've got a section of the gallery set aside for 2-5-7-10 Box. Try this technique, then upload your artwork to the gallery. Show us your creations!
***Please note - Internet Explorer/Edge is not a supported browser, and will not allow you to see the videos. Please use Chrome, Firefox or Safari to view our tutorial videos.

Questions and Comments
We'd love to get your feedback or questions. Leave your comment below.
Thaks for the great tutorial. These would make such cute Valentine's Day treat boxes for my DD's preschool class!
For step by step instructions on how to make the scallop border with this punch, check here
Thanks.
Use an envelop, seal shut.
Score each side 1 1/2 inches -reverse fold in on each side. Take a piece of cardscore the size of the envelope fold in half.
Punch holes through bag and cardstock and run ribbon through punched holes.
so easy.
Bonnie
To Jenn--LOVE this idea!! Thanks!
Page 1 of 4 pages 1 2 3 > Last »