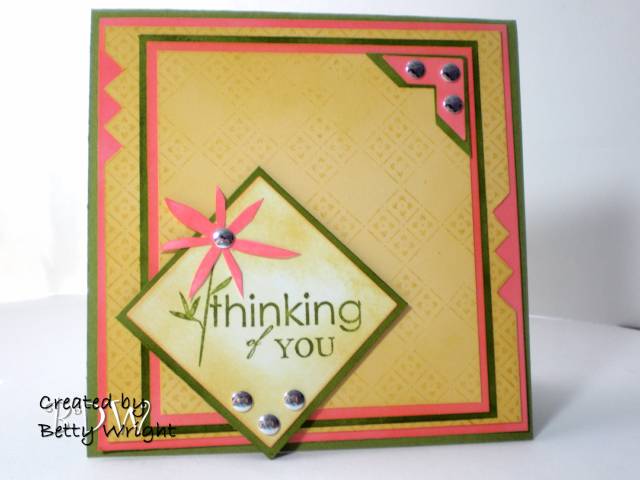
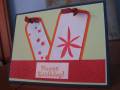
I masked the background stamp with 5/8" squares to create the checkerboard pattern. I cut notches with scissors in the sides for added detail as well as cut out the flower. I used the last of my silver adhesive dots from my elf scraperlinsey(Linsey)!!!!
My background masking was so intensive to me as all the squares have to be removed before the ink dries, that I did not want to cover it up with the main image...lol!!!! So, I put the flower and sentiment to the bottom left.
Date: Thursday, April 24, 2008 GMT Views: 1483
Favorited:8
Registered: August 7, 2007 Location: North Carolina Posts: 28113
Thu, Apr 24, 2008 @ 4:05 PM
WOW! I know how much work this was for you but boy was it worth it! I wouldn't cover it up either! Just love this fresh new look! There's not another like it, and i love that!
------------------------------ MY GALLERY My BLOG
No card is complete without at least one cat hair
DT: Our Daily Bread designs
Happily a Fan Club Member Romans 6:23
Registered: September 7, 2005 Location: The 5280! Posts: 10329
Thu, Apr 24, 2008 @ 5:35 PM
Love this card! tfs!
-t
------------------------------ Tenia Nelson Thanks for the lovely comments!!
My Blog:Jazzy Paper Designs Summer 2012 CAS DT Member
Currently designing for some great companies!!!