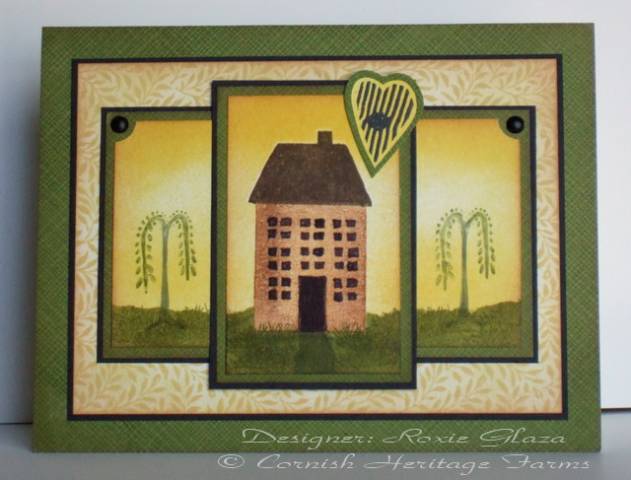
Measurements: Leaves panel before border: 4 ¾” x 3 ½”, trees before borders (this is one panel): 4 x 2 ¼”, house before borders: 1 11/16” x 2 ¾”.
I used a couple technique IÂ’ll call masking rubber and distressing rubber and hereÂ’s what I did:
-Use a stamp positioner.
-Use a post it note to mask off the rubber from the roof line down, ink up the rubber, remove the mask and stamp. Now mask off the roof area and ink up the lower portion of the house, with a sponge distress the rubber on the edges just like you would when distressing paper but with a lighter touch, remove the mask and stamp.
-Mask off the entire house on paper this time, line up the panels as they will appear on the card. Tear a post it or plain paper and set in place over the sky area and sponge on the green for grass.
-Mask off the path area and sponge on grey over the green.
-Stamp on the grass image with the same color as the grass, this gives the character to the landscape. Make sure some of the image comes up over the house and into the sky area.
-Sponge on the sky using Stampin Up - Summer Sun with a straight up and down motion. Sponge on a little Ranger distress ink using the color Scattered Straw.
-The windows and door are colored in with a brown marker. This part of the image is open.
-The leaves panel is done with chalk ink.
-All paneledges are distressed with Ranger Tea Dye distress ink.
Paper: White, Fiskars – black, Stampin Up – Old Olive
Ink: Stampin Up classic – Summer Sun, More Mustard, Going Gray, Color Box chalk – Yellow Cadmium, Ranger – Tea Dye, Walnut, Scattered Straw distress ink, StazOn – Jet Black
Accessories: Stampin Up markers Old Olive, Going Gray– for trees, Chocolate Chip for house, ticket punch, Craft Essentials – brads, sponge, sticky/post it notes
Techniques: Rubber masking, rubber distressing, masking, ink distressing, cut out


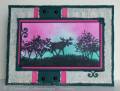

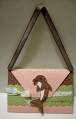


 Love the stamping on the back panel!!
