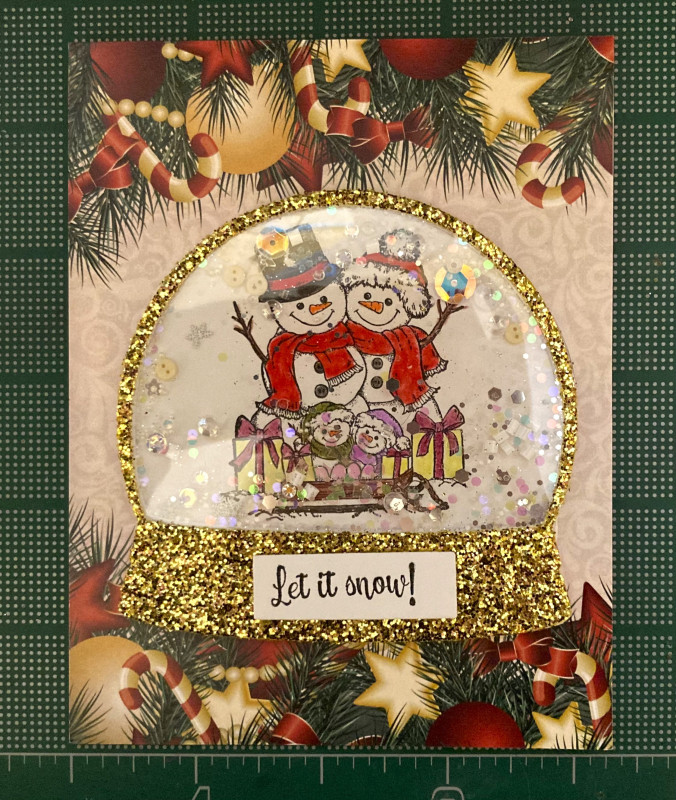
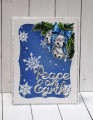
I haven't posted in a long time since I've been swamped in my little Etsy shop, but THIS card I wanted to be sure to share -- my very FIRST shaker card!
I fell behind in my other Christmas cards so I decided to buy a card kit from Divinity Designs -- Snowman Family Christmas Card Kit -- changing my cards for this year in the hope of getting them done. Welllllll, I misunderstood the sample card image for the kit online and thought it was supposed to create a shaker card... it wasn't. (This was before the assembly video was posted on their site.) Sooooo, I still wanted to create a shaker card and revised their card kit, adding some other items and making it into what I was originally hoping for (but adding more time and expense, of course). I'm still very happy with how this turned out and expect to be able to complete all of these cards in time.
The kit includes the stamps, the sentiment strip dies, the globe dies, a small amount of glitter, 25 acetate window sheets, and 25 glossy garland border designer paper sheets. (When I run out of the background paper I've got some other miscellaneous Christmas papers to use and some more acetate.)
On a white A2 card base, I adhered the glossy garland border paper and trimmed off the excess, using some to decorate the inside of the card. Next I die cut the globe die once from heavy gold glitter paper and once from white cardstock... keeping the gold glitter snow globe outline and the white center part of the globe. Then I also die cut a snow globe out of thin cardboard and used that to trace the snow globe outline onto the acetate window sheet and fussy cut it out. (Because there isn't a matching die included to cut out the whole snow globe outline without also cutting out the center portion of the globe, hence one of my problems.) Finally, I die cut the snow globe once more from a sheet of 2mm thick double-sided adhesive foam, keeping the globe outline and saving the center and leftovers to use elsewhere.
The card kit assembly video instructed you stamp the snowman family directly on the glossy garland paper and to color the image using markers. I wanted to use colored pencils, which wouldn't work on the glossy paper, so that's why I die cut the snow globe out of white cardstock for the center of the globe. After stamping the snowman family on the white cardstock center portion of the snow globe, I colored the image with colored pencils and adhered it near the center of the A2 card base.
Using a fine-tip bottle of glue, adhere the acetate globe outline to the back of the gold glitter snow globe, trimming off any excess acetate that hangs over the edge of the gold glitter paper. Set aside to dry. Once dry, remove one side of the paper on the foam adhesive snow globe die cut and adhere the foam to the acetate side of the gold glitter and acetate layer.
In the center of the snowman family image on the card base, assemble bits and pieces for the shaker filling (various glitters, mini buttons, sequins, mini rhinestones, 11/0 seed beads, microbeads, etc.). Peel off the 2nd paper backing from the foam snow globe, carefully line it up with the edges of the center white snowman family panel, and adhere it to the front of the card, securely pressing all foam adhesive tape to the card front. Shake it to spread the shaker pieces out.
Stamp the "let it snow!" sentiment in Jet Black ink on a scrap of white cardstock. Die cut it using the sentiment strip die; adhere it to the base of the gold glitter snow globe using a piece of leftover 2mm foam tape. Stamp other sentiment inside of card. TFL!
Date: Tuesday, September 19, 2023 GMT Views: 259
Favorited:0