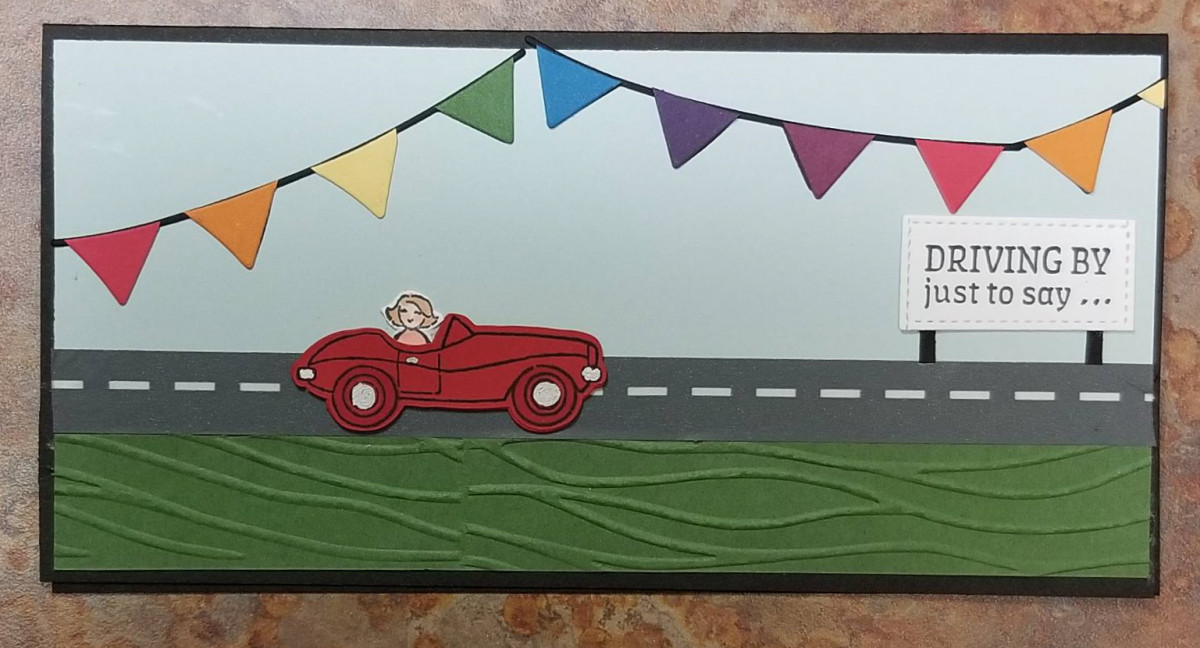
Retro Rubber Challenge Blog #177 - Tic-Tac-Toe I chose the diagonal row that starts from the lower left to the upper right: birthday, die cutting, embossing. The challenge requires that you use a stamp that is at least a year old,,, I used the little lady stamp from Stampin' Up! (SU) 2005 "Loads of Love"... yikes, that's 12 years old!!! https://www.retrorubberchallengeblog...c-tac-toe.html
Alyson Mayo's FB Group https://www.facebook.com/groups/723887278295009 which is private, but all you have to do is ask to join. Alyson does beautiful cards and video tutorials. She is giving prizes for members who make cards, tags, 3D items that have a rainbow theme. I made rainbow pennants for my card.
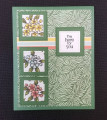
I created this card by first die cutting the three pennant strings using the SU "Bonanza Die" set. I then cut two additional pennants in each of the ROY-G-BIV colors listed in the table below and glued them on to the black pennant bases.
The grass is made by embossing SU Garden Green cardstock with the SU "Seaside" embossing folder. I glued this to the bottom of the black card base front.
Next I cut a "sky" from SU Soft Sky cardstock and glued it above the grass strip. I then used an unbranded Washi Tape that looks like a highway and ran it along the border where the sky meets the grass.
For the car, I used the SU Sale-a-brations free stamp set "Driving By" and stamped the car in black onto SU Real Red cardstock. I used a Sharpie silver paint pen to color the hubcaps, bumper and door handle. To cut the car out, I used my Brother ScanNCut CM350 leaving a 0.04" border around the car. For dimension, I cut out three more car shapes from the red cardstock and glued them to the back of the stamped image. I then glued the car onto the road.
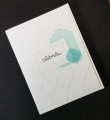
I wanted this birthday card to be a birthday card, so used the sentiment stamp from the "Driving By" set that says "Driving By Just to Say Hi". I cut off the "Hi" from the stamp and stamped it onto white cardstock. I used a black Sharpie pen to put three little dots at the end, because inside the card it says "Happy Birthday".
To make the sentiment look like a road sign, I used the SU "Stitched Shapes" second smallest square die and cut out the sentiment so it was at the bottom of the die cut. Then used the same die again and positioned it so that it would cut out the sign just above the sentiment. I cut a narrow strip of black cardstock to make the sign's "legs".
The lady driving the car is from the 2005 "Loads of Love" set. I colored her with Copic markers, then fussy cut her out and tucked her into the red car.
I think this would make a great birthday card for either I guy or a gal. I am rating it's difficulty level as a "3" out of a possible "5" just because of the many steps it took to complete it. None were difficult, just time consuming.
Date: Saturday, March 5, 2022 GMT Views: 749
Favorited:2
Accessories: SU Seaside Embossing Folder, SU Stitched Shapes Dies, SU Bonanza Dies, Tombow Multi Liquid Glue, Unbranded Highway Washi Tape, Paper Snips
Techniques: Embossing, Die Cutting, Digital Cutting