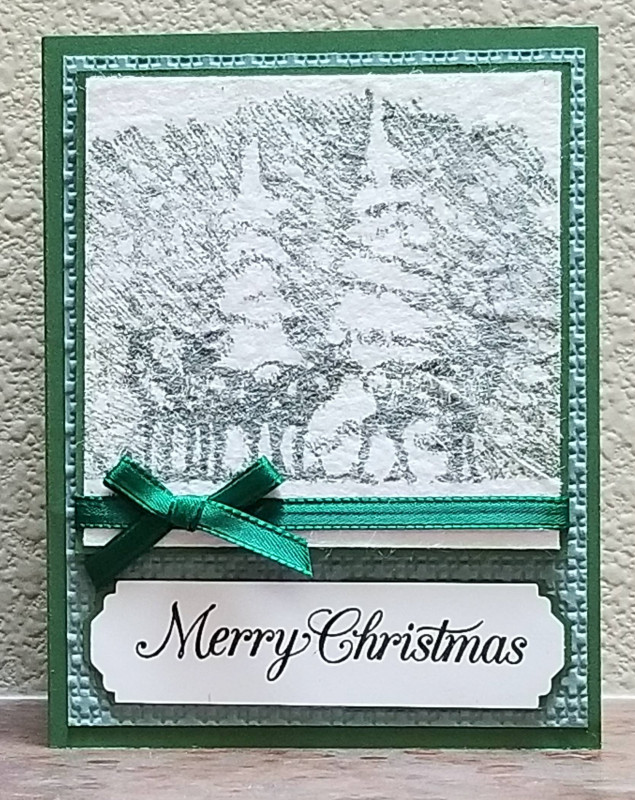
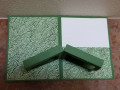
This card was made for a sketch challenge that also challenged us to "use one or more folds". On the outside, it looks like a straight forward card with a beautiful snowy scene of deer. But on the inside, it's actually a pop-up card that has two 3D frames pop up! See adjacent photos for inside and top views.
I won't go into a lot of explanation about the technique since I'm providing a very good link to the "Pop-Up Frame Card" by a British lady whose name is Claire Ottaway. Here's the link to here YouTube tutorial. ( ). Claire provides measurements in both inches and metric for an A4 5-3/4"x 71/2" card. I made mine an A2 4-1/4"x 5-1/2" size. Below are the measurements for the card I made:
Front Panel Measurements:
Card base: 4-1/4"x 5-1/2" Dark Green
Front Mat: 4"x 5-1/4" Light Green (Embossed)
Image Panel: 3-5/8x 3-5/8" White (Dryer Sheet
Technique)
Image Panel Mat: 3-3/4"x 3-3/4" Dark Green
Sentiment Panel: 4"x1" White
Sentiment Panel Mat: 4"x1" Dark Green
Inside Panels Measurements:
4"x 5-1/4" Pattern Paper
4"x 2-1/2" Pattern Paper
4"x 2-5/8" White (for inside personal note)
Pop-Up Frame (same measurements as Claire)
5-3/4"x 7-1/2" Dark Green
Score-lines at: 2-7/8" along the short side so it goes the length of the piece
Score-lines at: 1/2", 3-1/2", 4", 7" along the long side
It's tricky to get the pop-up to fit so it doesn't show when the card is closed, but it can be done. If you'd rather make a smaller frame you will need to cut your dark green smaller and adjust all you score-lines and cuts smaller. It worked with Claire's measurements, you will just have to repeatedly test placement before gluing it down.
Clair included a ribbon tie on her tutorial, so you might consider that since the pop-up makes the card bulky and it doesn't stay closed on its own.
I mounted my front matted snow scene panel using foam tape for added dimension. The sentiment I "matted" by using the same punch as the white sentiment piece to punch out the dark green cardstock, then cutting the green punched piece in half so that you can glue the two halves slightly sticking out either end of the sentiment piece to create a mat at both ends.
I am rating the difficulty level of this card as a "4" out of a possible "5" because it actually uses two techniques, and requires attention to measurement details.
Date: Friday, August 6, 2021 GMT Views: 834
Favorited:2
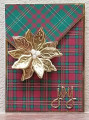
Stamps: SU A Beautiful Season, SU Poinsettia Petals
Paper: SU Garden Green, Soft Succulent, Forever Greenery DSP
Paper Size: A2
Ink: SU Mossy Meadow, Real Red, Mint Macaron, Versamark
Accessories: Used dryer sheet, Tombow Multi Liquid Glue, SU Poinsettia Dies, SU Stitched Shapes Dies, SU Lattice Embossing Folder, SU Lovely Labels Pick-a-Punch, SU Gold Detailed Embossing Powder, Offray Dark Green Narrow Ribbon, SU Dazzling Diamonds Glitter, Scissors