This card was made for the Christmas Card Thowdown Color Challenge #18: http://52cct.blogspot.co.uk/ in which we were required to use ONLY the colors red, pink and green.
I had seen a card on Pinterest by Bronwyn Eastley (http://addinktivedesigns.com/2017/07...-of-christmas/) that made a clever shadow box using the "Carols of Christmas" bundle that I REALLY liked. I used her card as my inspiration with a few changes using heat embossing.
There are several Shadow Box Card tutorials online that are in the A2 format, but I felt that the card would really make more of a statement by going larger to a C6 size like Bronwyn did. So the two main Whisper White card pieces (front and back) were cut at 5-3/4"x 8", and scored on all short ends at 1" and 2".
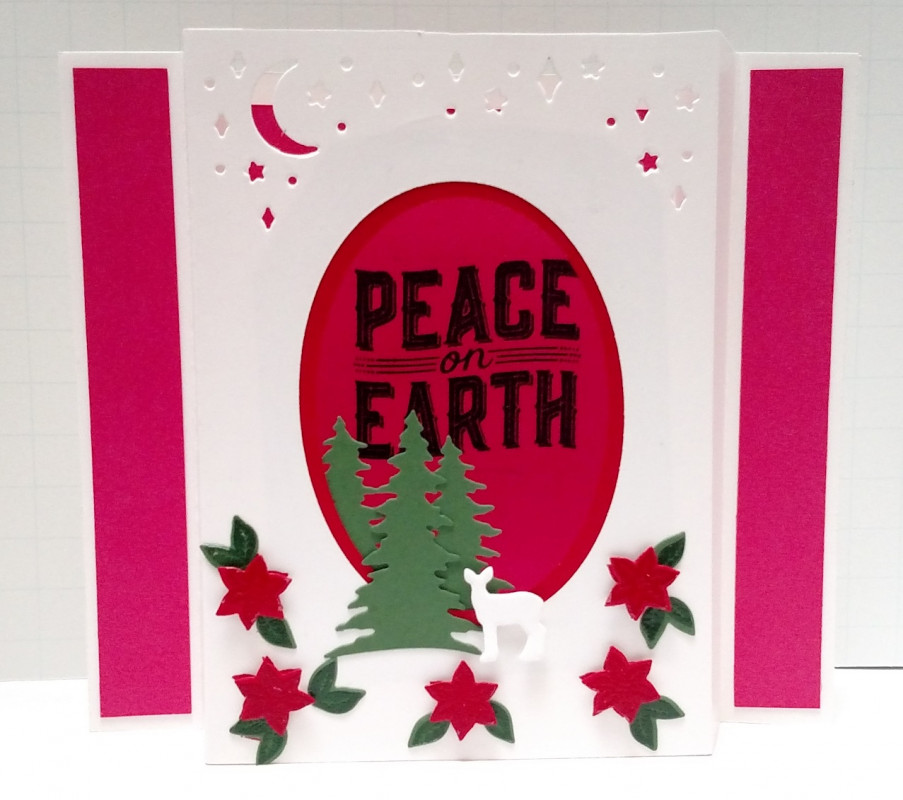
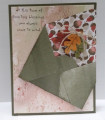
I die cut a large oval in the center of the piece I chose for my front panel, then on a rectangular scrap of Real Red I die cut the next smaller circle and glued this to the back of the front panel to create an inset matting for the larger oval. I then die cut the two pine trees using the Stampin' Up! Card Front Builder dies, and glued the two-tree cut on the back of the card front so the two trees peaked through the oval cutout, and glued the single tree on the front side of the card so it centered between the two other trees.
The inside of the card was a piece of Rich Razzleberry cardstock cut smaller than the large center panel of the back piece of the card. I stamped the sentiment using Versafine Black Onxy ink using my MISTI to re-stamp three times for a solid stamped image. I glued this stamped Rich Razzleberry panel to the back so that the sentiment peaked through the upper part of the oval opening.
The front card panel was further decorated by punching out the moon and stars die from the Card Builder Thinlits set. The poinsettias on the bottom of the card front were stamped with Versamark an coated with clear embossing powder before being heat set and then cut out with the flower and leaves dies included with the SU Card Front Builder Thinlits set. The cute little white deer is also in this die set. I attached him and the flowers with small pieces of Adhesive Foam Strip. The leaves were glued onto the card front.
The two front 1" wide "wings" of the card were decorated by gluing down a 3/4" x 5-3/4" panel of Rich Razzleberry cardstock using Tombow glue.
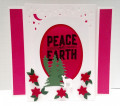
The final step was to assemble the card. This is easily done by first folding the two panels in opposite directions so that their narrow left and right sides meet along the centerline of the card (as you look down on it from the top of the card). The other score lines are folded so the front card panel sets forward, and the back panel sets backward. Then, doing one side at a time, put two pieces of strong Tear & Tape from the top and bottom of the 1" narrow sides, then press the front and back panels together. The card will now easily stand up as a shadow box with two side "wings" for stability.
The finished size of this card is about 4-1/2"x6-3/8" (C6). It is certainly possible to make an A2 size version. A Splitcoaststampers tutorial for this size can be found at: Shadow Box Card Tutorials at Splitcoaststampers
Date: Friday, September 22, 2017 GMT Views: 894
Favorited:2
Your bold colours make a bright and beautiful card which will certainly stand out. It's an interesting design, too. Thanks for playing along at Christmas Card Throwdown. AlisonC DT