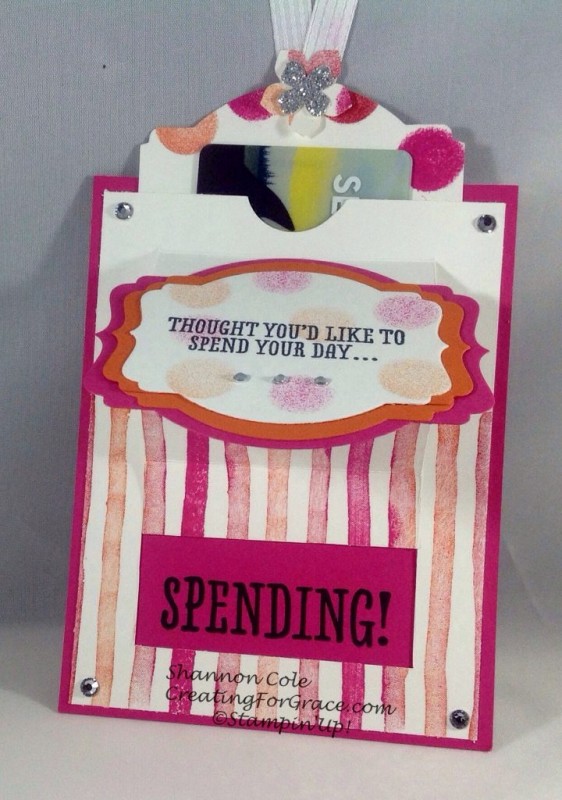
you can see how the mechanics of the moving parts work, actually fairly easy once you watch the video tutorial 🙂donÂ’t forget that the base card size, in this case the melon mambo, is regular A2 size which is 5.5″ x 4.25″. The white layer is also the same size to begin with and often you would leave it that way if both layers were the same color, or you didnÂ’t care if you had a border. In the video tutorial I show how to make the window slider in the card first and then trim each side 1/8 of an inch, and the top one quarter of an inch. That gives the card a frame. The inside slider portion starts at 3″ x 5″ and use any decorative technique on the topperÂ…
To make the slider pop up portion of the card:
start with the regular A2 size and with your card vertical at 3 1/2″ use your cutting blade to create a cut from the 3/4″ line to the 4 3/4″ line. Flip your paper 180° and repeat. Turn your paper horizontally with the decorated side to the right, and starting your measurement from the right side this time line it up at 3/4″ and cut from (from cut line to cut line) 3/4″ in to 3 1/2 inches.(not all the way). Again turn your paper 180°, and repeat, but use the scoring blade this time. Flip your paper again so the white side is to the left at the 4 inch mark and score from 3/4″ to 3 1/2″Â…. To keep things simple I just matched up the two score lines and folded so I would have an other score in between.
Date: Thursday, June 1, 2017 GMT Views: 1902
Favorited:3