This tutorial includes tips and tricks for designing holiday tags!
Note: Some images were limited in size by the forum. If you have trouble seeing anything, I posted a link to my blog where the images are much larger. You can also click the links that say "See larger image" which links to the image on pinterest.
First, choose a christmas color scheme for your tag:
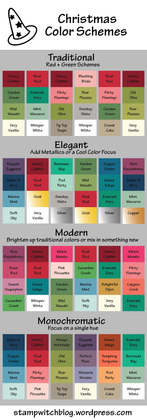 See larger image!
Example: Bermuda Bay + Pool Party + Real Red + Whisper White
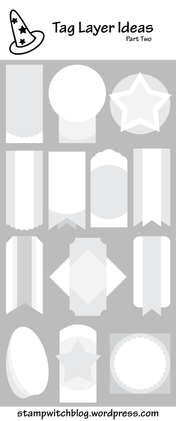
 Next choose a tag shape:
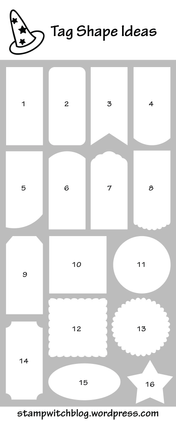 See larger image!
Example of simple tag shapes:

Use basic dies shapes to change a boring rectangle into an exciting new shape!
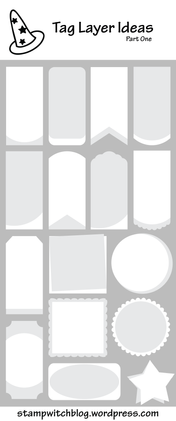
 If desired, layer tag shapes together:
 See larger image!
 See larger image!
Examples of layered tag shapes:
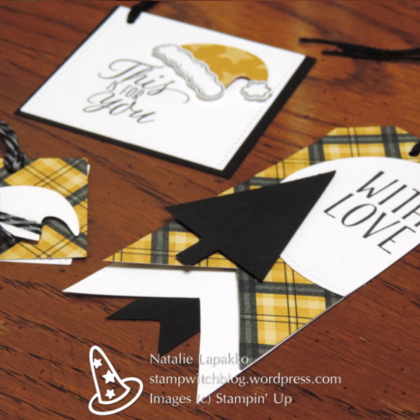
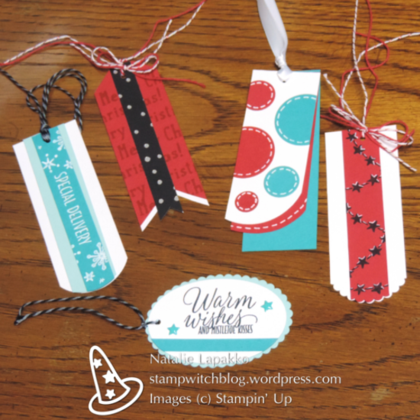
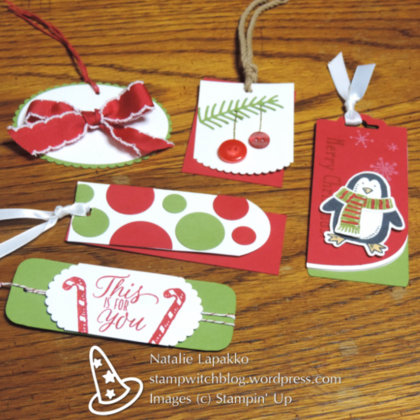 Decorate your tags with sentiments, stamps, ribbons, and other embellishments!
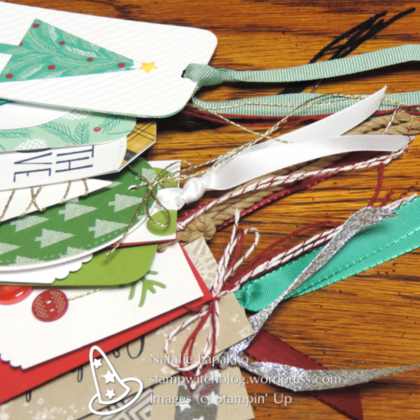
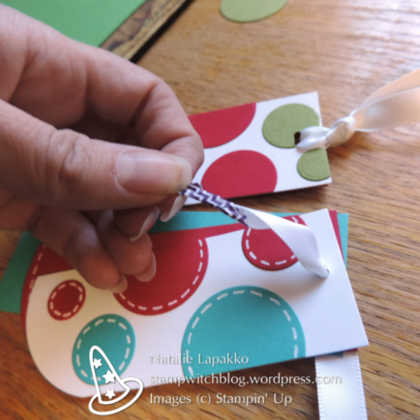
Tags need something to attach them to a package. Try ribbon, baker's twine, yarn, and more!
To thread a thick piece of ribbon through a tiny hole in a tag, wrap the end in washi tape!
Tags are so small and quick to make that they are a great opportunity to experiment. Try a new technique, use some mixed media, add found objects, use unconventional papers, or add some bling to your tag using an embellishment you haven't tried before!
Some embellishments to try:
- Rhinestones
- Glitter
- Twine with a sparkly twist
- Sequins
- Shiny ribbons
- Washi tape
- Metallic paper
- Beads
- Doilies
- Enamel shapes
I tried some new things with my tags, too! One was using glitter. I hadn't done much with glitter + paper crafting before now... well not since I was like 10. It was fun!
After making all these tags, I actually have MORE tag ideas I want to try than I did before I started. Once you get going, you don't want to stop. Pretty soon your work area looks like this:
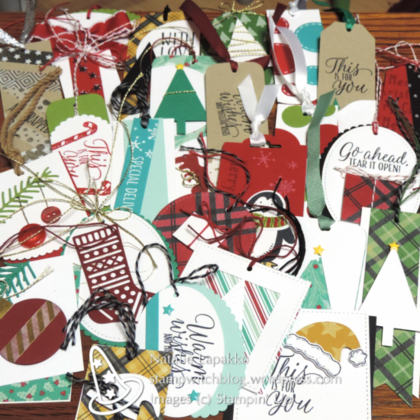
Enjoy and happy holiday crafting!
For more info, see my blog post about my Tag-Stravaganza weekend.


