Splitcoaststampers.com - the world's #1 papercrafting community
You're currently viewing Splitcoaststampers as a GUEST. We pride ourselves on being great hosts, but guests have limited access to some of our incredible artwork, our lively forums and other super cool features of the site! You can join our incredible papercrafting community at NO COST. So what are you waiting for?
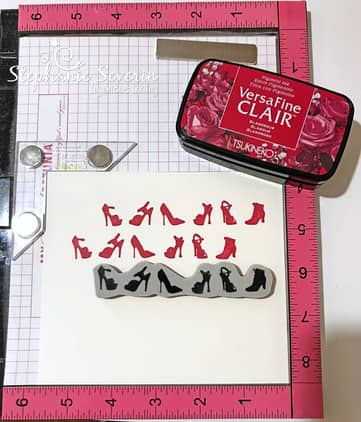
No way I could have done this w/o my Misti. Silhouettes are always hard to stamp dark but silhouettes on watercolor used to be impossible! For this, I die cut the circle & watercolored it then put it back & put the whole thing into my Misti & stamped it like 4 or 5 times to get it this dark. Star Wish IC651 by justwritedesigns - at Splitcoaststampers
Here is my latest project, using my Misti! I COULDN'T HAVE done these without my Misti, & I actually have a TON more to make! THANK GOODNESS for THE MISTI!!!!!!!!!!!!!! ;) Please check my gallery for my tag here: TAGS! by TLady - at Splitcoaststampers
You can check my blog to see even more variations of this tag!
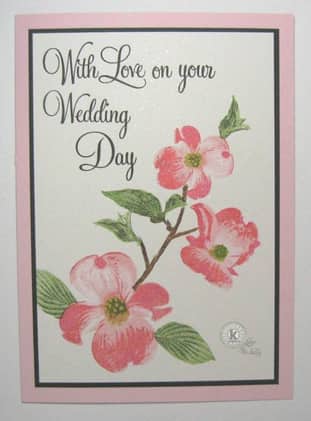
There is a technique that I believe originated with Virginia Lu and then Penny Black's Jill Foster has often used (see YouTube) where you lightly stamp a scene, then re-stamp LOTS using markers to colourize the stamp. When done, you clear emboss over the scene and then you can add a background without messing up all that lovely colouring. I used one of my oldest stamps for this CAS489 card, and the MISTI made re-stamping numerous times a breeze.
There is a technique that I believe originated with Virginia Lu and then Penny Black's Jill Foster has often used (see YouTube) where you lightly stamp a scene, then re-stamp LOTS using markers to colourize the stamp. When done, you clear emboss over the scene and then you can add a background without messing up all that lovely colouring. I used one of my oldest stamps for this CAS489 card, and the MISTI made re-stamping numerous times a breeze.
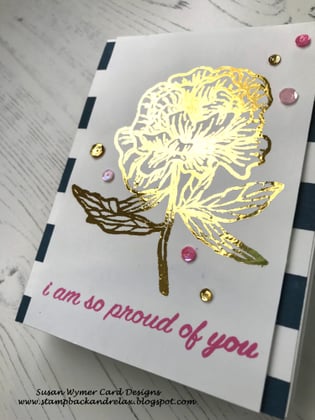
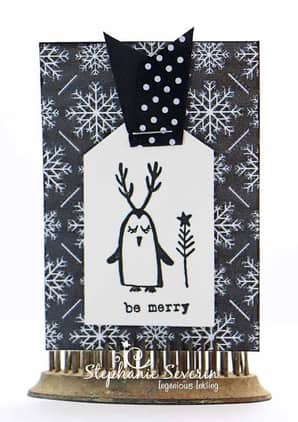
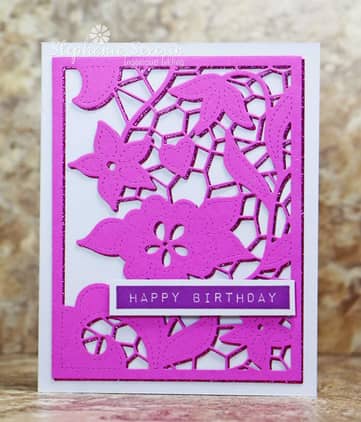
The stamping on the inside of this shutter card was much easier thanks to MISTI. I had to be very careful to get the three words stacked just so to fit in the heart aperture, and then to have the words above and below all line up nicely, too. Closeups on my blog: Tweedcurtain Productions: My Kind of Guy
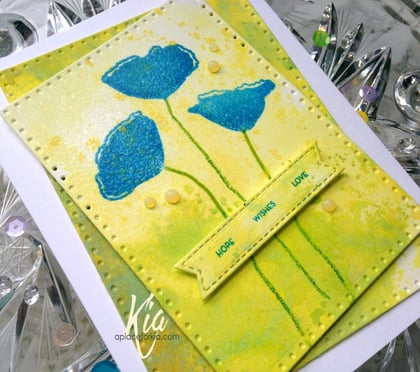
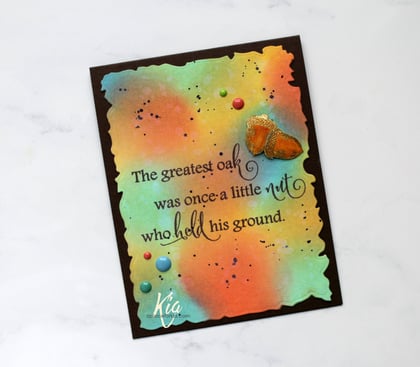
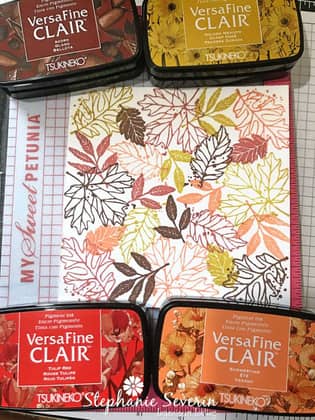
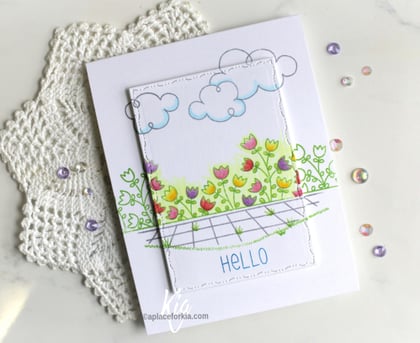
My Sweet Petunia is hopping today with Crackerbox & So Suzy Stamps. Come join in the fun. You can find the deets and links [URL=www.aplaceforkia.com/2018/08/misti-meets-crackerbox-so-suzy-stamps.html] here[/UIRL].
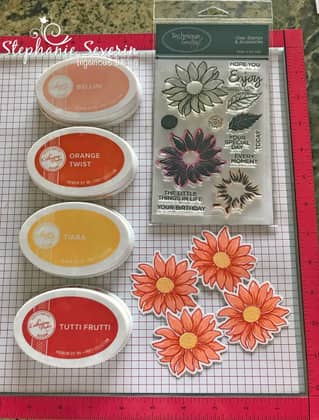
I have never thought to use colored cardstock to make the more solid images look nice...I always attempt this with using white and lots of black ink and until the MISTI it would never look nice...
Hmm...next time think like Stef...
__________________ On a positive note, I'm too old to have a mid-life crisis! ~~anonymous
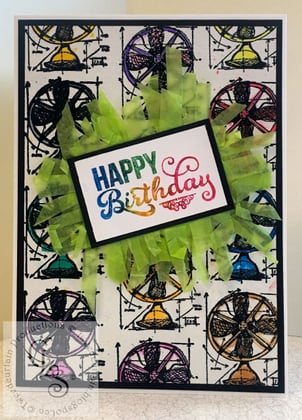
Used my MISTI for both placement of the fans and to repeatedly stamp the sentiment with various markers until I got the blend I wanted. More on my blog.
Kia and ladies...your cards are gorgeous. I love my misti. Thanks for all of the tips. Happy day
__________________ The Difference Between Try and Triumph Is Just A Little Ump Wednesday: Alpha Challenge
Thursday: Ways To Use It Challenge
Monthly: MMJ Challenge….get inky and have fun
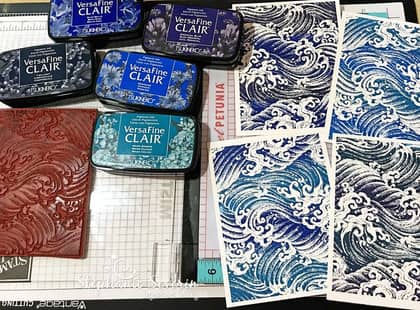
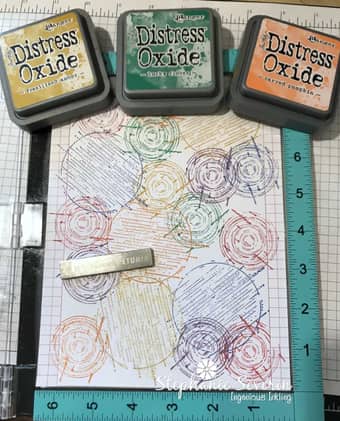
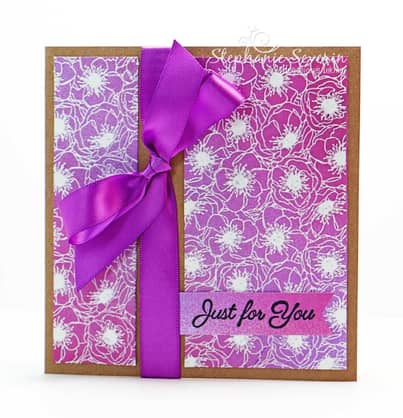
I used my MISTI with white craft ink on textured watercolor paper to get a perfect background image ... being able to stamp multiple times makes sure you get full ink coverage on the slight texture of the watercolor paper to produce this gorgeous Emboss Resist Technique
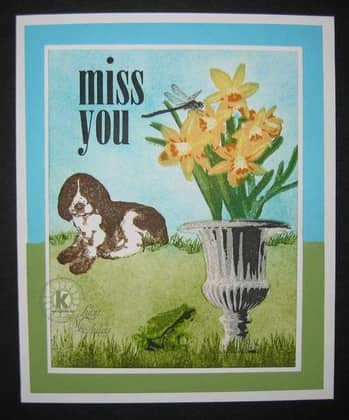
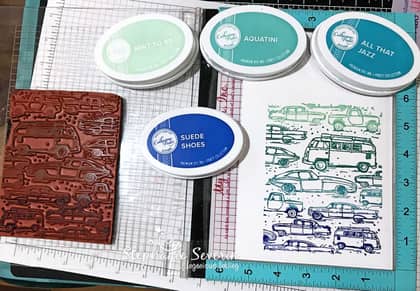
I used my MISTI to create this fun little scene ... love being able to stamp those large background stamps perfectly, even on textured & inked watercolor paper